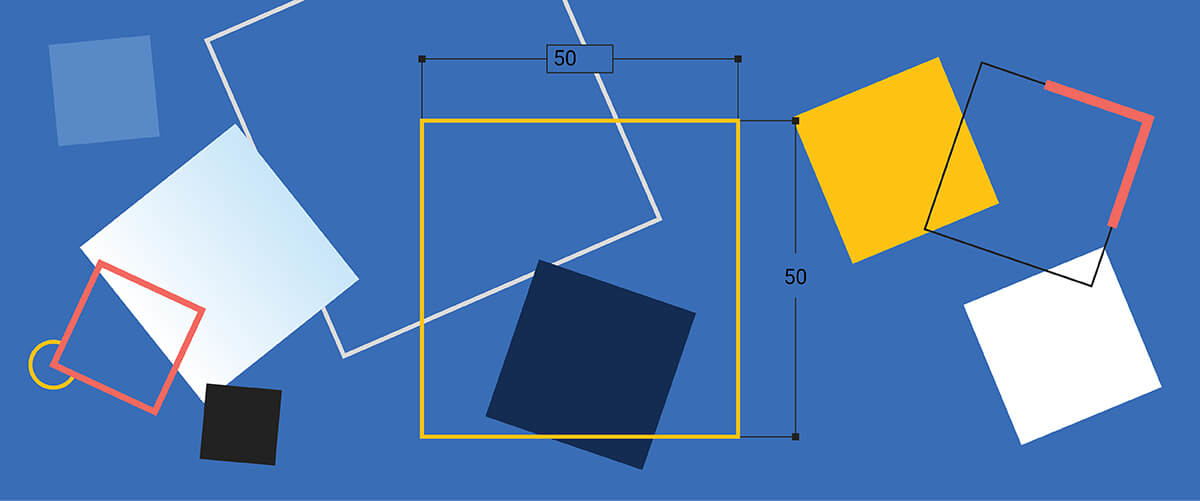
As a technical illustrator, I've always found that there is more than one way of completing the same task and every illustrator has their own techniques and methods. One of the best things about BricsCAD is that it offers options. It allows you to work the way that is best for you. To demonstrate this, here are 11 ways to draw a square in BricsCAD. They might just surprise you.
The easy way
Let's start simple. Use POLYGON, by default the number of sides is set to 4. Draw from the center to a vertex, center to side or along an edge.

The almost as easy way
Click the rectangle button, type REC in the Commandline OR right click and select 'Rectangle' from the Quad. So long as DYN is turned 'on', then it's simply a case of typing in the size you want.

Tip: Hover over the polylines and hold ctrl to select a section of the polyline, repeat this on the opposite side and use Nearest Distance to change the dimensions of the rectangle.

Polylines
You can also create a rectangle using the polyline tool. First, turn on ORTHO. Then, click your starting point and draw 3 polylines at 90 degrees. Complete with 'close'.

Note: If you draw 4 polylines and then click 'close' an additional, hidden vertex will be created, giving you a 5 sided polygon.
Constraints
This time we're going to turn a non-uniform shape into a square. First, draw out your 4 sided polygon. Don't worry too much about being precise. Then add your constraints. The bonus of this method is that you can then edit any of the constraints at any point to adapt to your needs.

Lines
Another option is to draw one line, displace it, rotate with a copy and then join.

Boundary
If you have a selection of lines that already mark out your square, you can use the boundary tool to generate a closed polygon. First check that Enable Boundary Detection is turned 'on'. Then, simply hover over the boundary and use the GENERATEBOUNDARY command.

Tip: This also works for hatching.
Extract edges
If you have a cube or any solid with a square side, you can use XEDGES to extract the edges and draw a square. The advantage is that this works on any plane. Ensure that Face Selection is turned 'on'. Then, simply hover over the face and use the XEDGES command.

Square the circle
If you have a set of 4, curved, joined polylines you can adjust the bulges to create a square. Hover over a polyline section and hold Ctrl, click to select the section and adjust the bulge in the properties panel.

PEdit
You can use the straighten option in the PEdit tool library to remove vertices. Complete using Nearest Distance.

Array
If you have one line you can use an ARRAY to rotate it around a central point. Although this does draw a square, you will need to explode the Array and then join the lines in order to create a completed square.

Hint: In this example I have marked my center of rotation with a point.
LISP
LISP is a little scary if you've never used it before, but extremely powerful for repetitive and complex tasks. To draw the same square of 50×50, use the following commands in the command line:
(setq a (getpoint))
0,0,0
(setq b (getpoint))
50,50,0
(command "rectang" a b "")(princ)
Click here to learn more about LISP.
Have I missed any techniques?
Why not let me know in the comments below.
Try it for yourself
Easy to try, easy to buy, easy to own. That's BricsCAD®. Try all of our products, for free for 30 days at www.bricsys.com. Freedom of choice, plus perpetual (permanent) product licenses that work with all languages, in all places. You'll love what we've built for you with the BricsCAD® product family.
Disclaimer: These links are being provided as a convenience and for informational purposes only; they do not constitute an endorsement or an approval by Bricsys of any of the products, services or opinions of the corporation or organization or individual. Bricsys bears no responsibility for the accuracy, legality or content of the external site or for that of subsequent links. Contact the external site for answers to questions regarding its content.
More Tuesday Tips:
- BricsCAD Trial Versions
- Glossary of CAD terms
- Reduce your work time with The Quad
- Save time with Propagate
- Edit polylines in BricsCAD
- Converting to .dwg
- BIMTags
- 11 -- ways to draw a square in BricsCAD
- A quick guide to DXF
- Solids, Surfaces, and Meshes
- Sweep
- Callouts, leader lines & balloons
- Automate Technical Drawing
- Orthographic Drawing from a 3D Model in 20 Seconds
- 'api-ms-win-crt-runtime-dll' Error while starting BricsCAD
- Everything you need to know about Render Materials in BricsCAD
- Transform 2D Entities with Stretch
- Move, Edit and Change Entities at Hyper Speed with BricsCAD
- The BricsCAD® Hotkey Assistant & Tips Panel


