Is it just me or is it beginning to look a lot like Christmas? Why not unwind with this fun Christmas project and make yourself your very own Rudolph the Red-Nosed Reindeer in CAD?

How to Make Rudolph the Red-Nosed Reindeer in CAD:
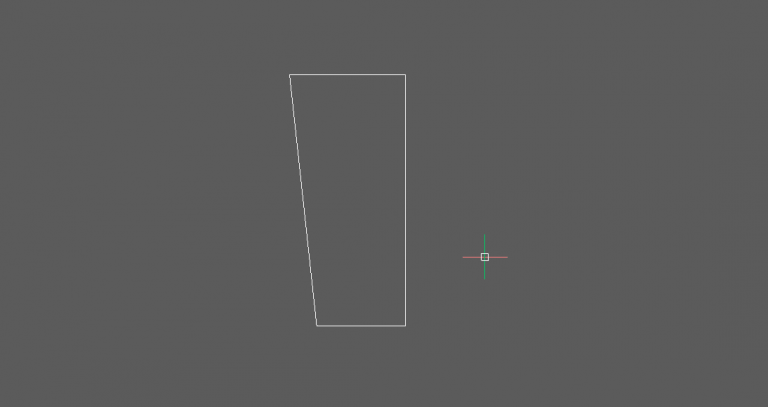
- Start by making the head of Rudolph the Red-Nosed Reindeer. Create a polygon shape, as shown:
- Extrude up.
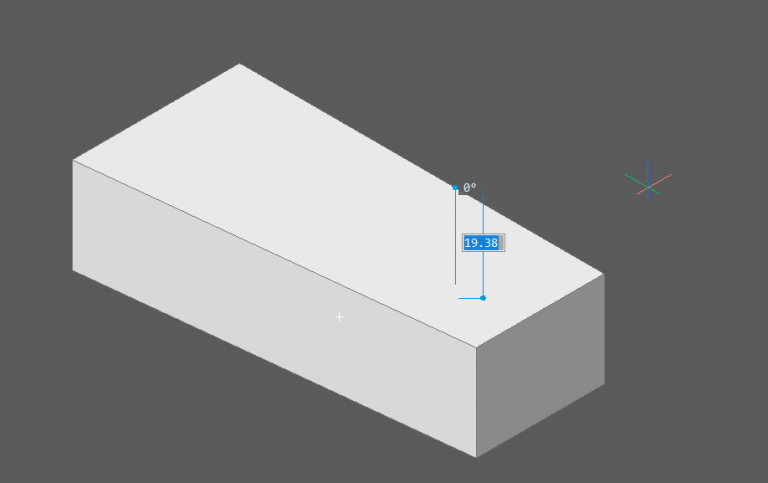
- Imprint lines on the top and bottom as shown.
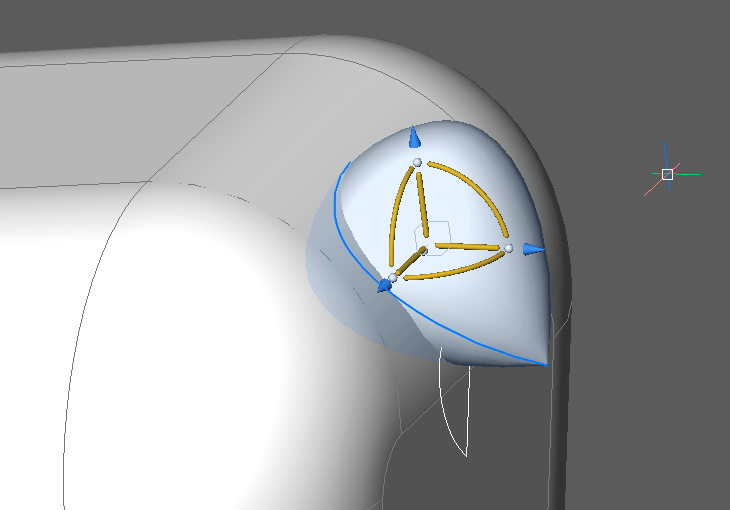
- Use the Manipulator and DmPushPull to adjust the faces as shown.
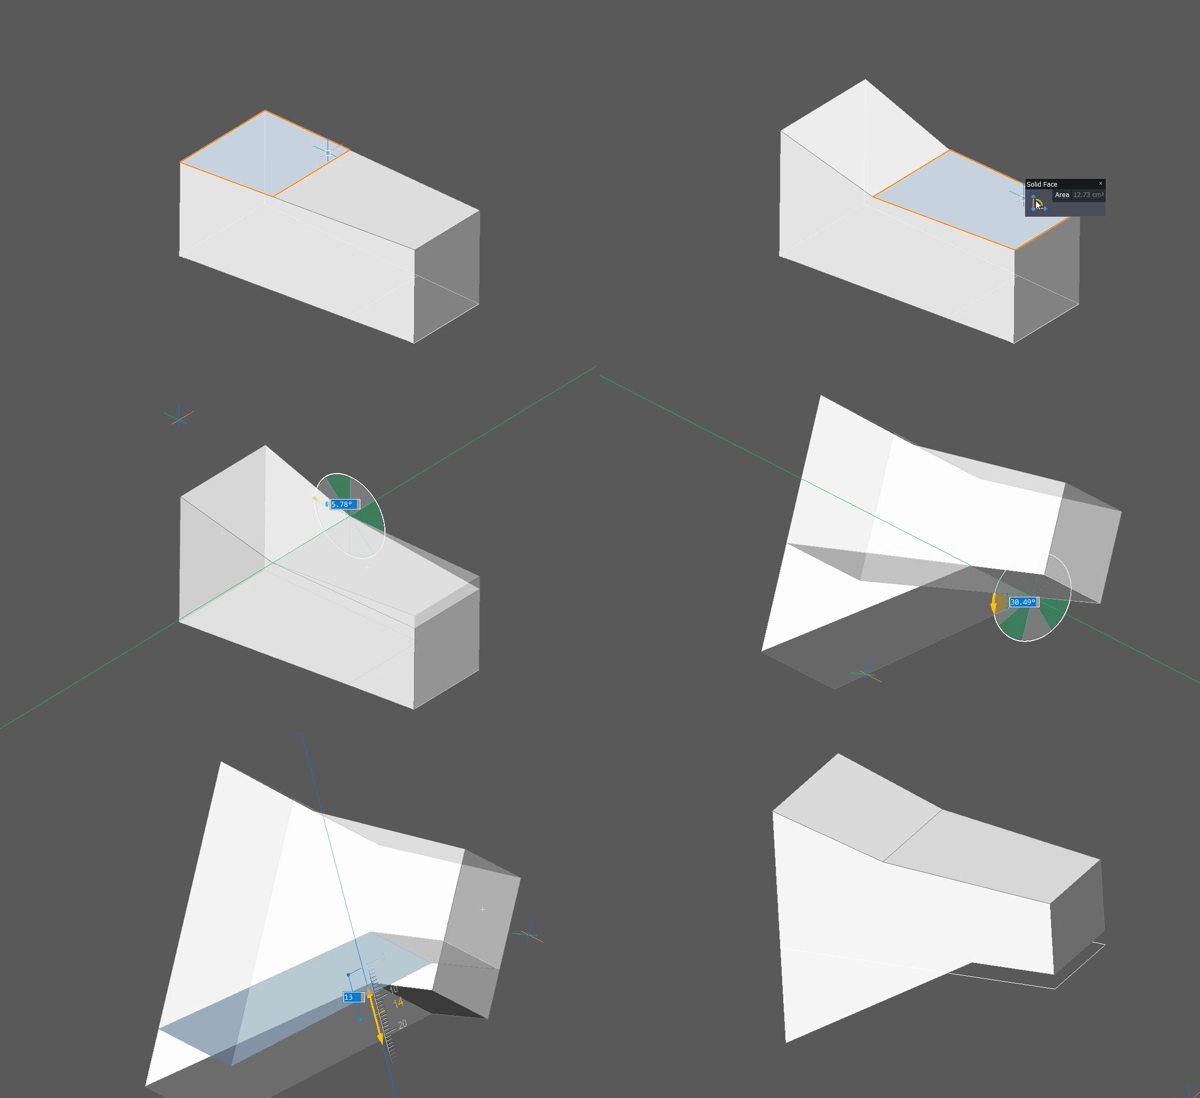
- Mirror.
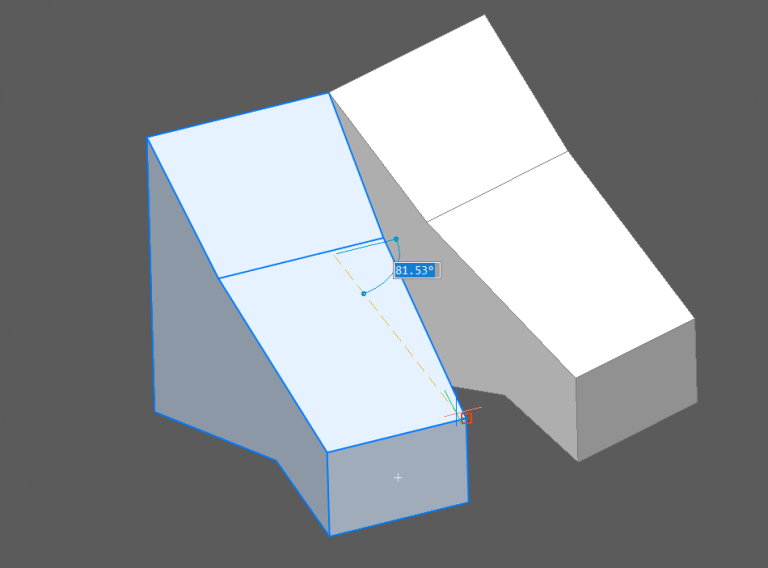
- Union.
- Fillet.
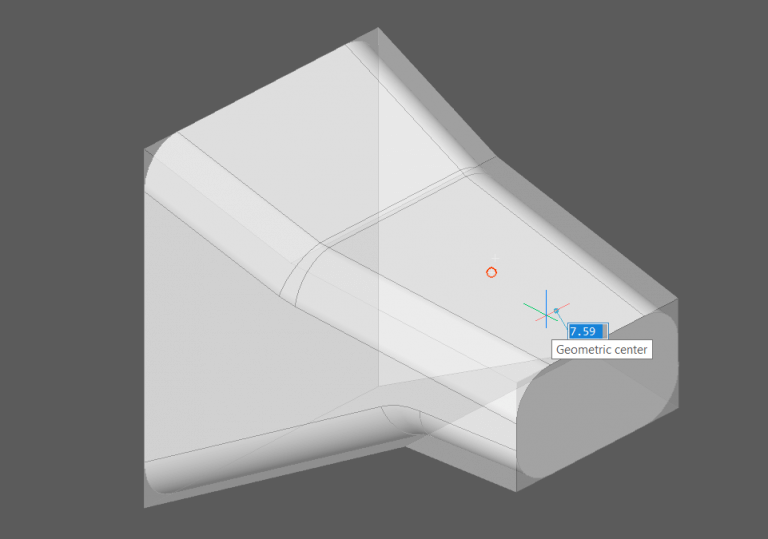
- Repeat for the nose.
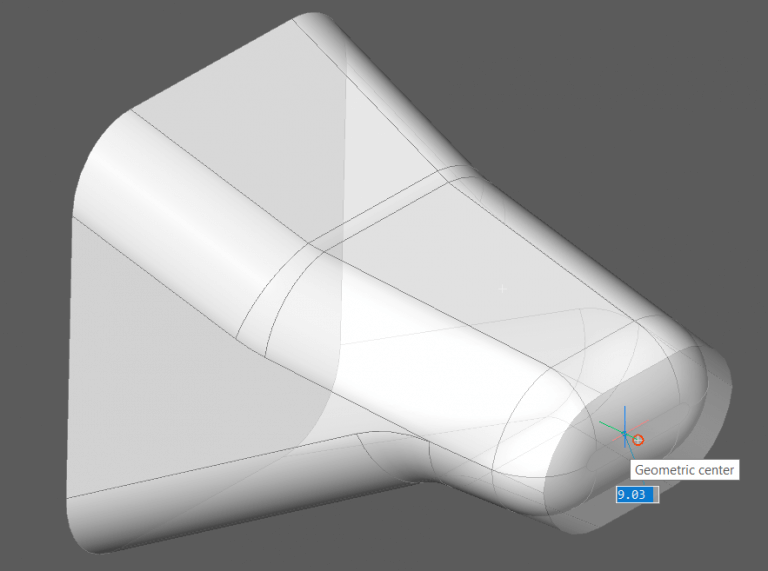
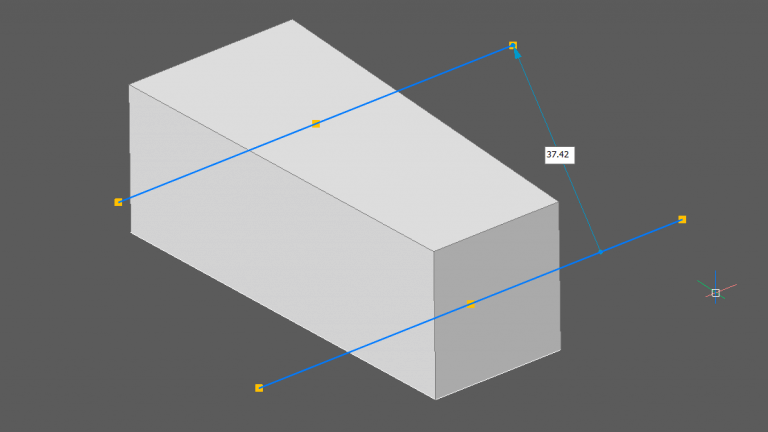
- Create a guideline, as shown.
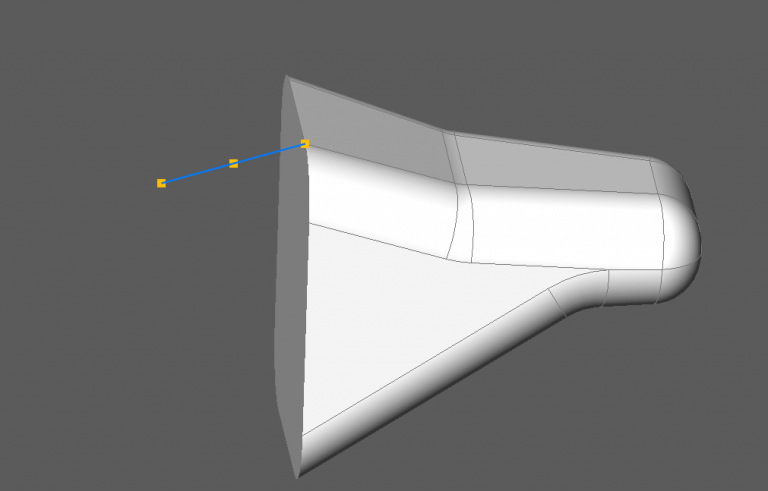
- Extrude the end face. Set the direction to the guide curve and add a taper angle of 10°.
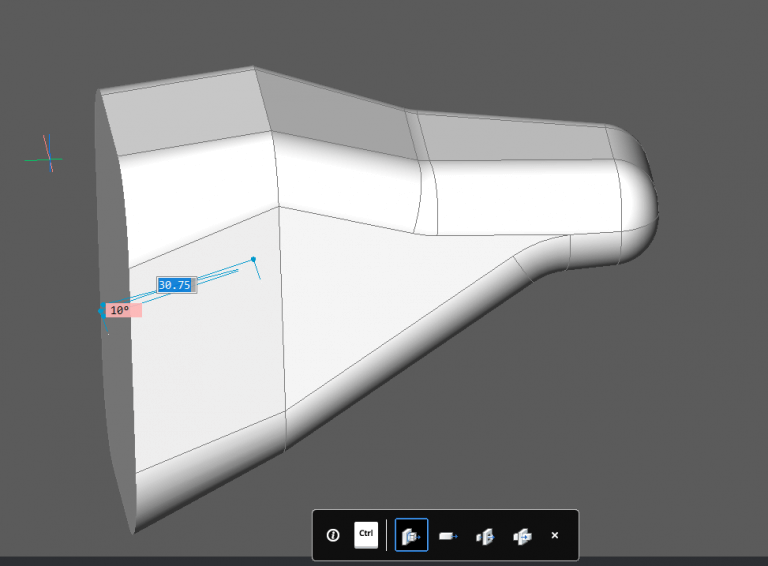
- Extrude again, use the y-axis for the direction and set the taper angle to 5°.
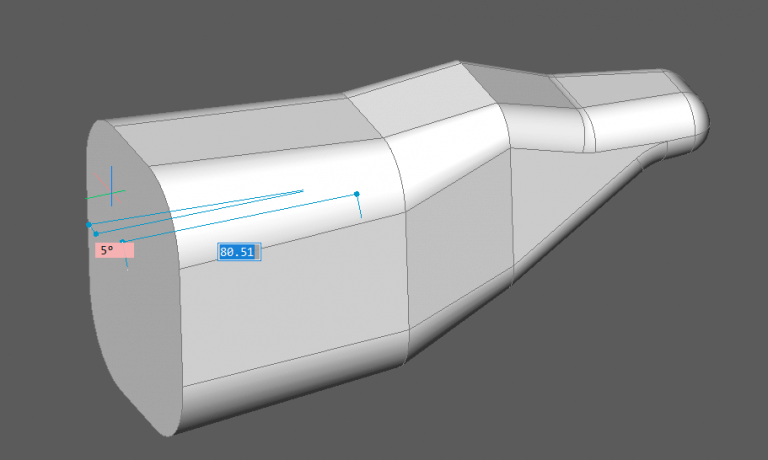
- Use the Manipulator to change the angle of the back face.
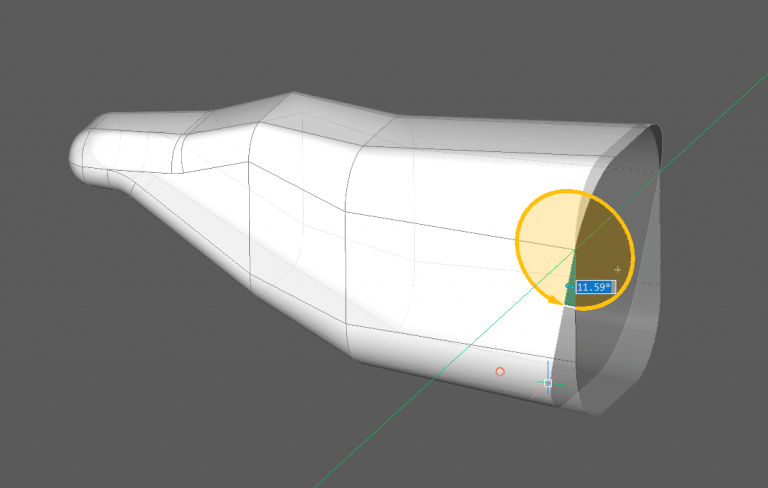
- Fillet the edges.
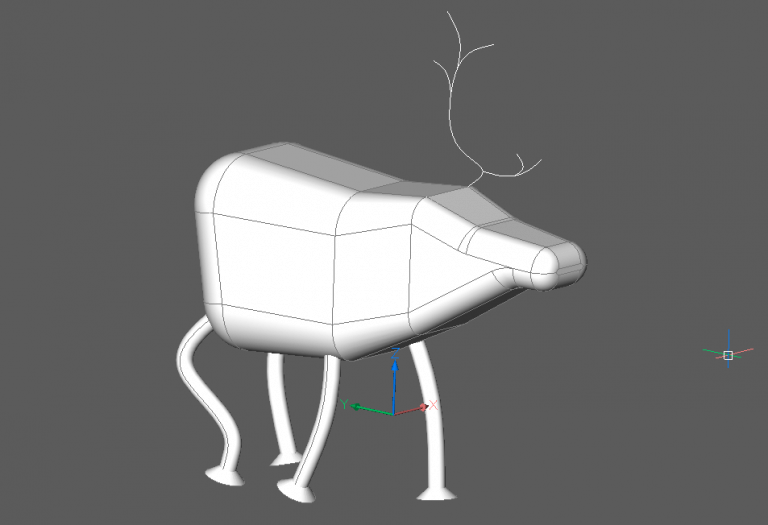
- Use Spline to create some legs.
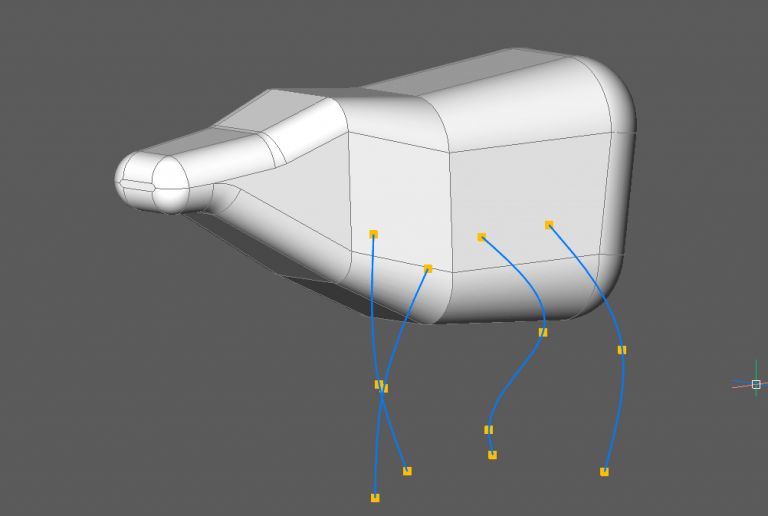 Tip: Hit the Shift Key to align the UCS with the faces on the sides of the body.
 - Use DMThicken to transform the splines into solids.
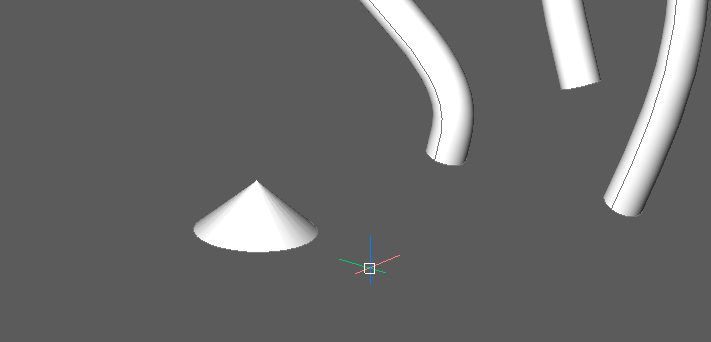
- Create a Cone.

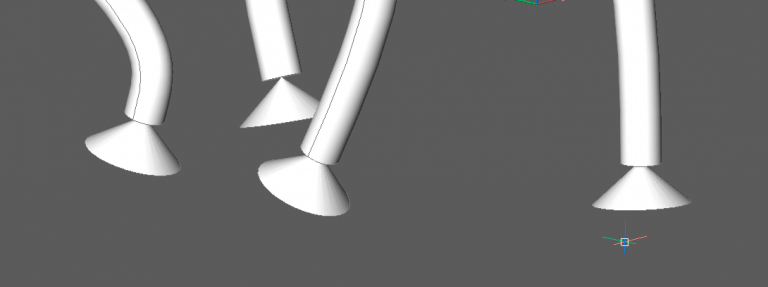
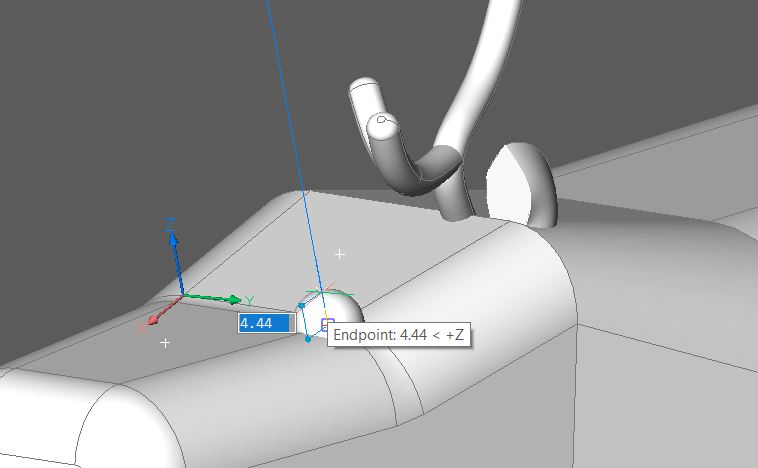
- Copy it into the end of each leg and move it into position.

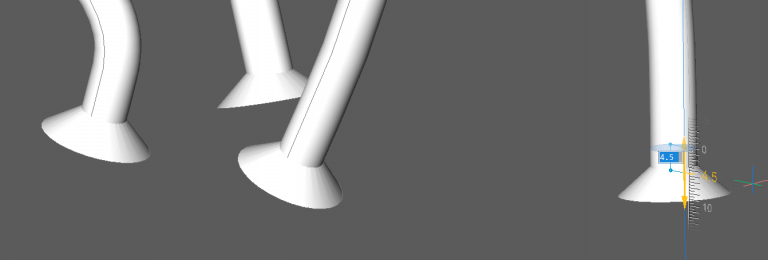
- Use DmPushPull to extend the ends of the legs into the hooves.

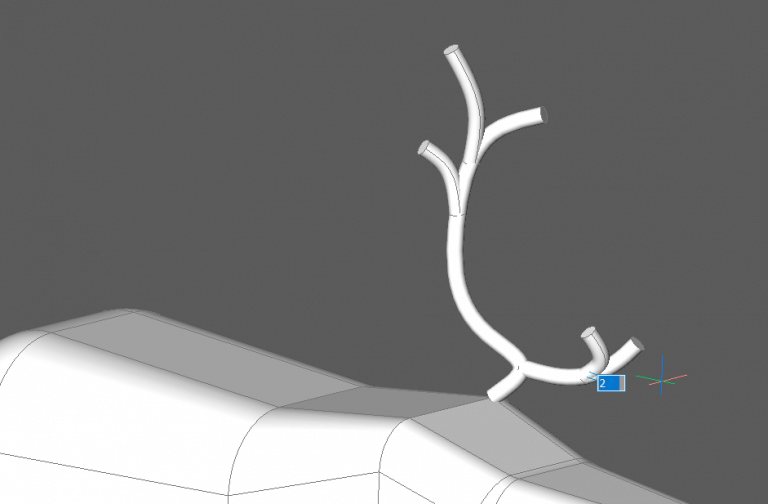
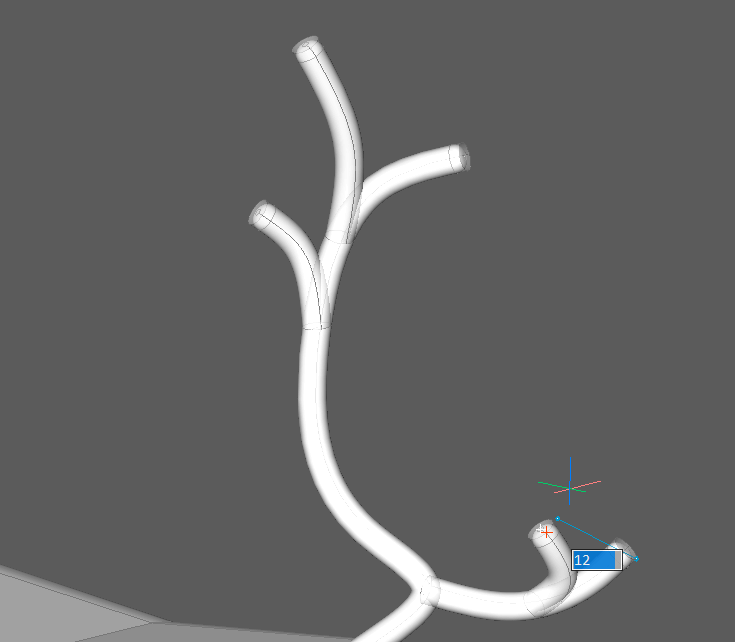
- Use Spline to create an antler.

- Use DMThicken to convert this into a solid.

- Use Fillet to soften the edges.

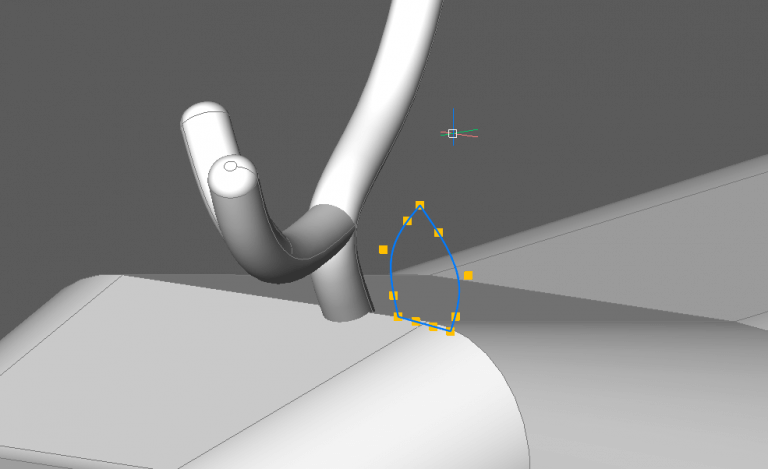
- Use a closed Spline to create an ear shape.

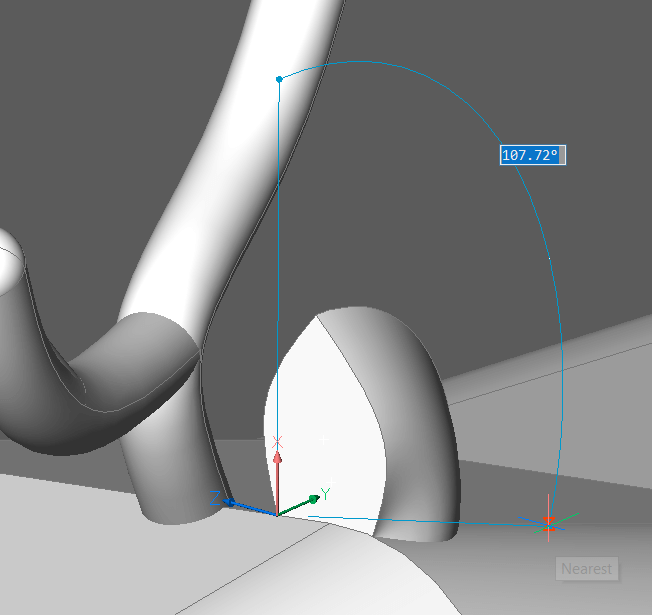
- Use Revolve to create the ear.

- Use a Sphere to create an eye.

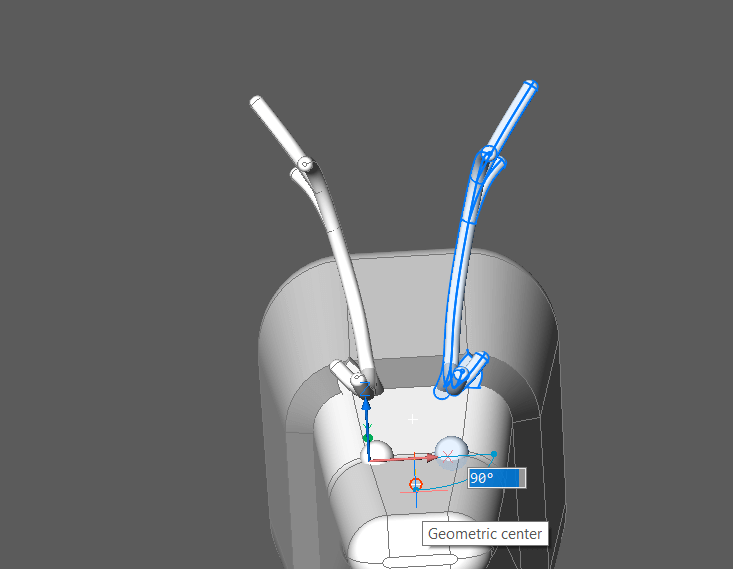
- Mirror the face.

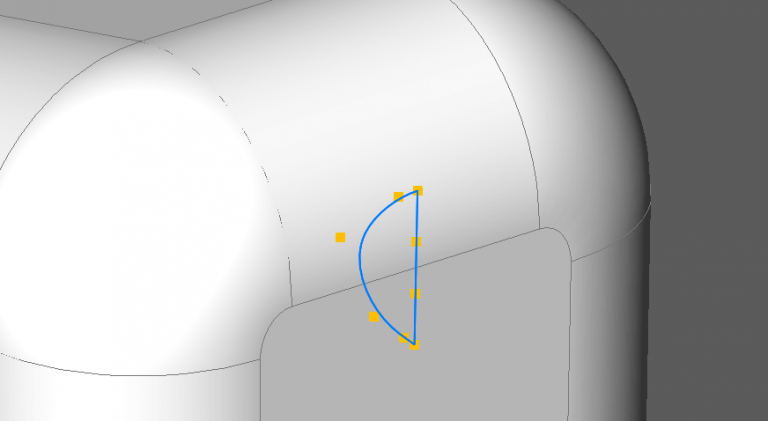
- Use a closed Spline to create a half tail shape.

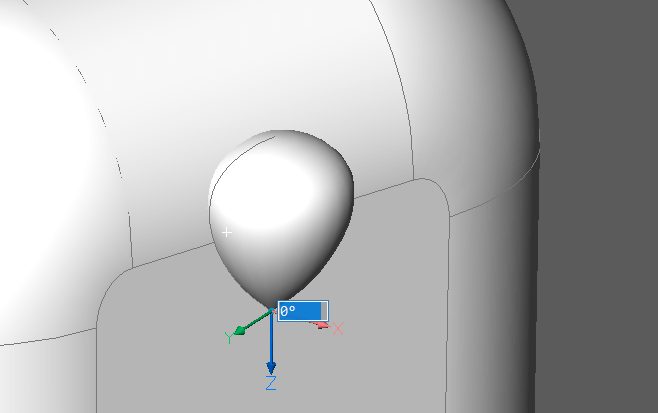
- Use Revolve to create the solid.

- Use the Manipulator to move the tail into position.

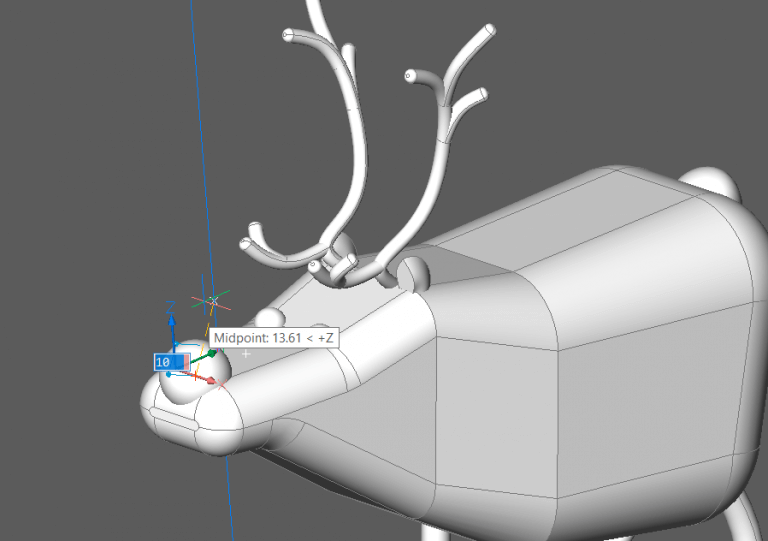
- Last, but not least, use a Sphere to make the nose.

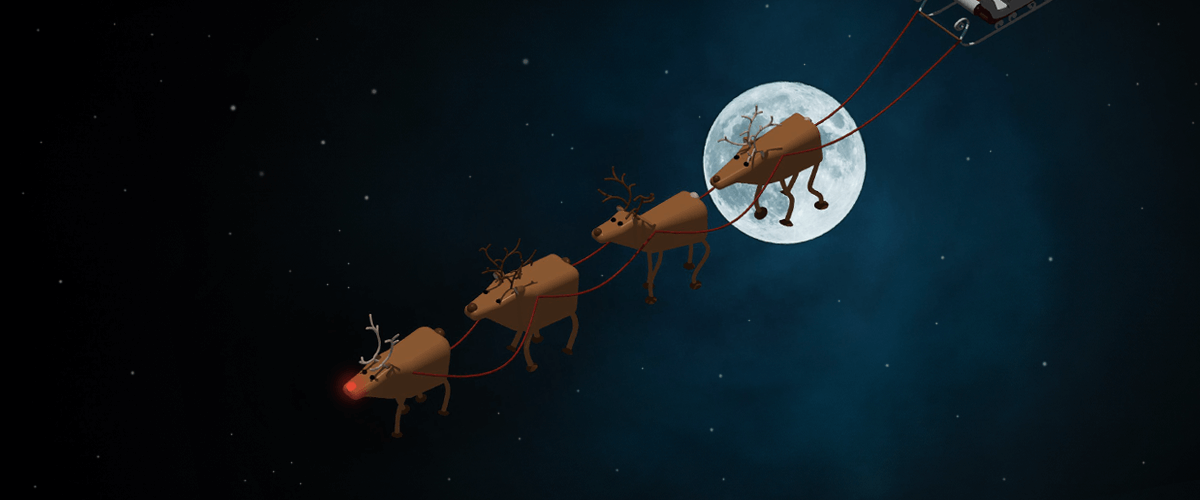
- ...And finish him off with some materials.

Merry Christmas and happy CADing everyone.



 Tip: Hit the Shift Key to align the