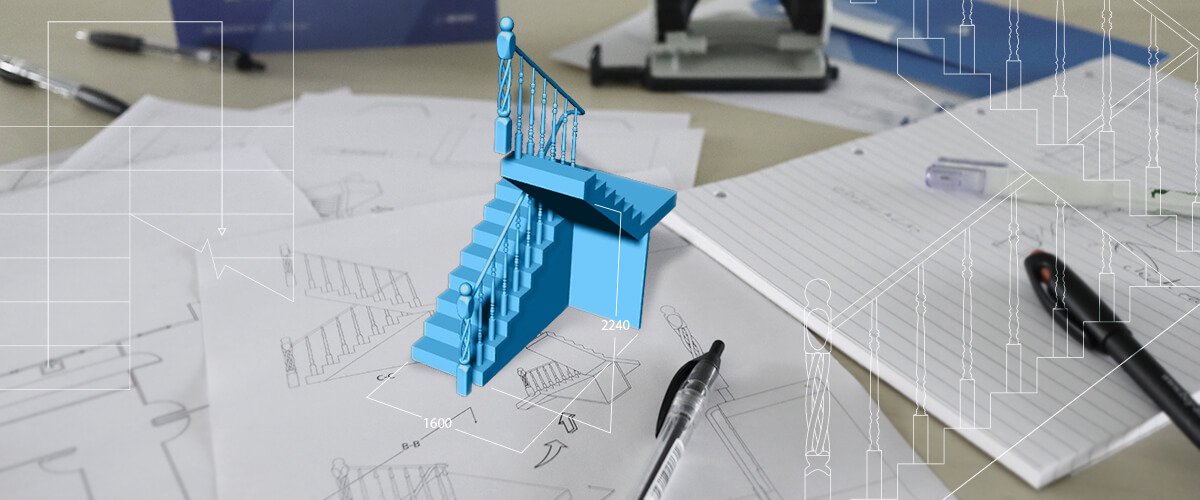
The Handrail
I used EXPLODE (as covered last week) on the array then edited the balusters on the middle step. Afterward, I created a spline along the top of the balusters and swept along the line.
To do this:
- Draw a 3D Polyline or Spline along the top points of the balusters.
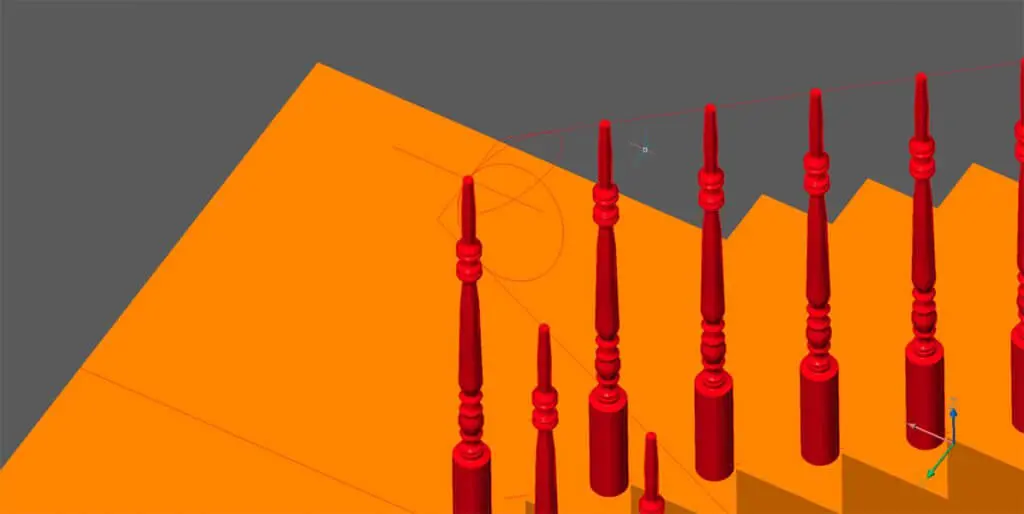
You can not fillet 3D polylines, so I used circles. Then trimmed and joined the lines together.- Place a circle perpendicular to the end of the spline.
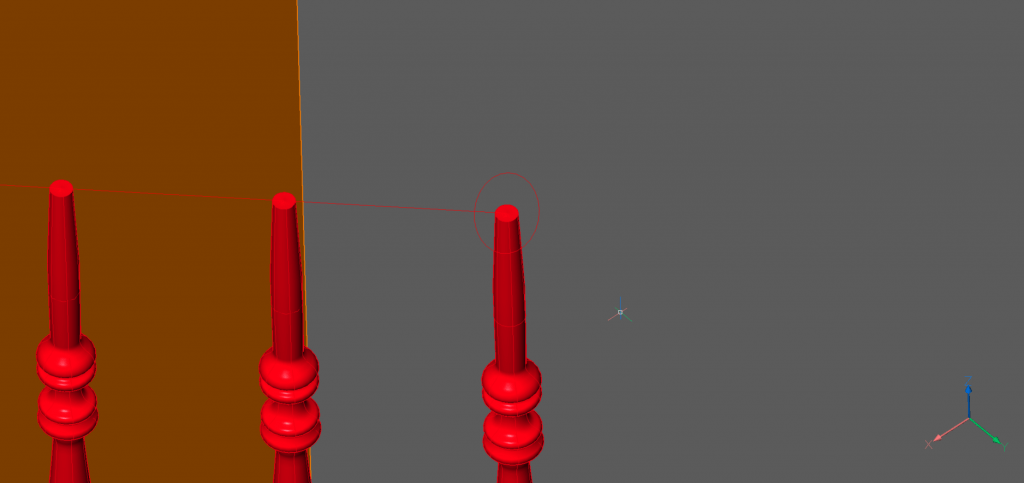
- Use SWEEP.
- Select the shape
- Hit Enter
- Then select the line.
Tip: for more unusual results try using the twist mode.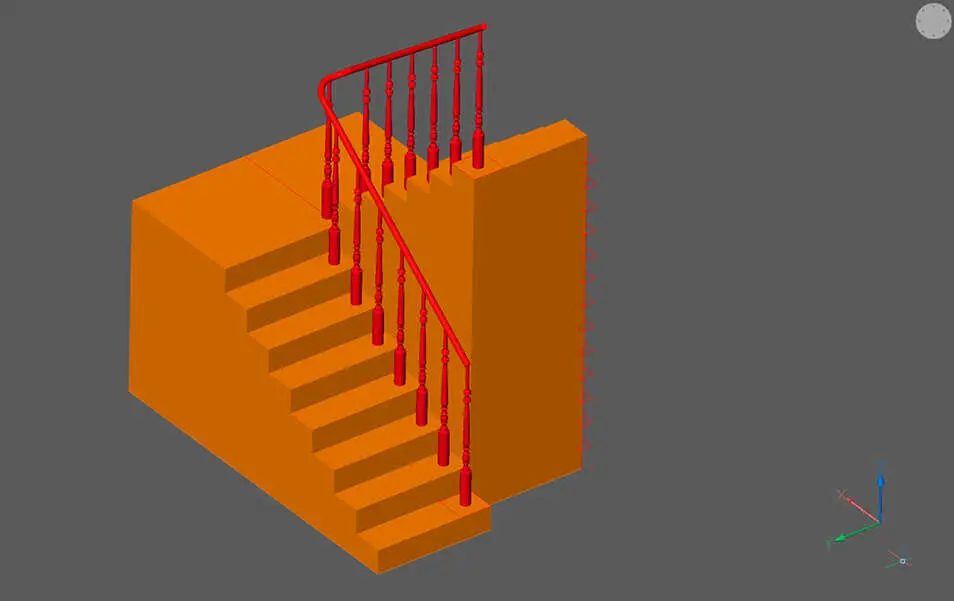
The Newel
To make the newel I used a similar technique to model the balusters. I then extruded rectangles to remove the excess material, chamfered, added columns and applied a twist.
Note: Twist is only available in BricsCAD Mechanical or BricsCAD BIM.

To do this:
- Create your top and base parts in the same way as the balusters.
- Next use EXT Subtract, Both sides.
- Apply a chamfer to the hard edges.
For this example I used a radius value of 20. - Then draw in the columns. Use ARRAYPOLAR to repeat the object 4 times.
- Use UNI to create a solid object.
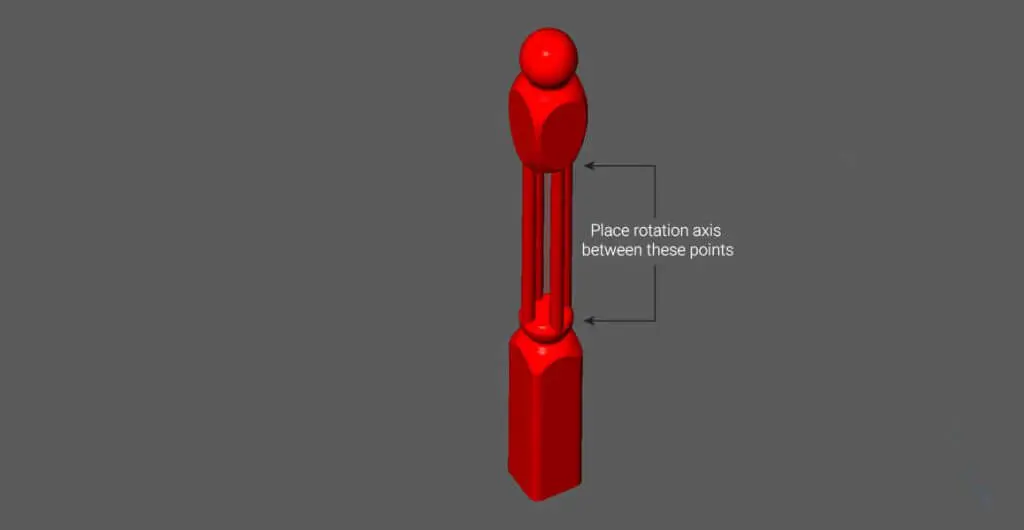
- Finally, apply TWIST. Use the centerline as your axis. Place the start and end points of twisting axis between the rectangular portions to prevent the rectangular portions becoming twisted.
Finishing Up

I removed the excess material by drawing the cutting line on to the steps and added wall details. Then I imported the newel and extended the handrail.

Next time
Join me next week when I make the bathroom. Learn even more advanced CAD modeling techniques.
Don't have BricsCAD yet?
Easy to try, easy to buy, easy to own. That's BricsCAD. Try all of our products, for free for 30 days at www.bricsys.com. Freedom of choice, plus perpetual (permanent) product licenses that work with all languages, in all places. You'll love what we've built for you with BricsCAD.
Keep Reading
- Moving from 2D to 3D CAD
- 3D Drawing from engineering plans
- Drawing everything but the kitchen sink
- More Advanced Modeling
- The Shower
- The Sink
- The Toilet
- Walls and Floors
- The Roof
- Windows and Doors
- Create your own components
- Rubber Duck
- Laser-cut puzzle project
Note: This series is intended as a guide to demonstrate how to use different aspects of 3D modeling tools. It may not always demonstrate the fastest way of getting the result. Keep coming back to see if we cover a faster technique at a later date.

