In this tutorial, we will look at two BricsCAD commands: COPYGUIDED and MOVEGUIDED. The COPYGUIDED command is used to copy entities with relevant geometry, and the MOVEGUIDED command allows you to move entities along with their relevant geometry. Let’s look at how to use both.
Using the COPYGUIDED Command To Copy Entities
We’ll start with the COPYGUIDED command. For an example, we will copy the window shown in the drawing below to both another horizontal location in the drawing, as well as a vertical one.
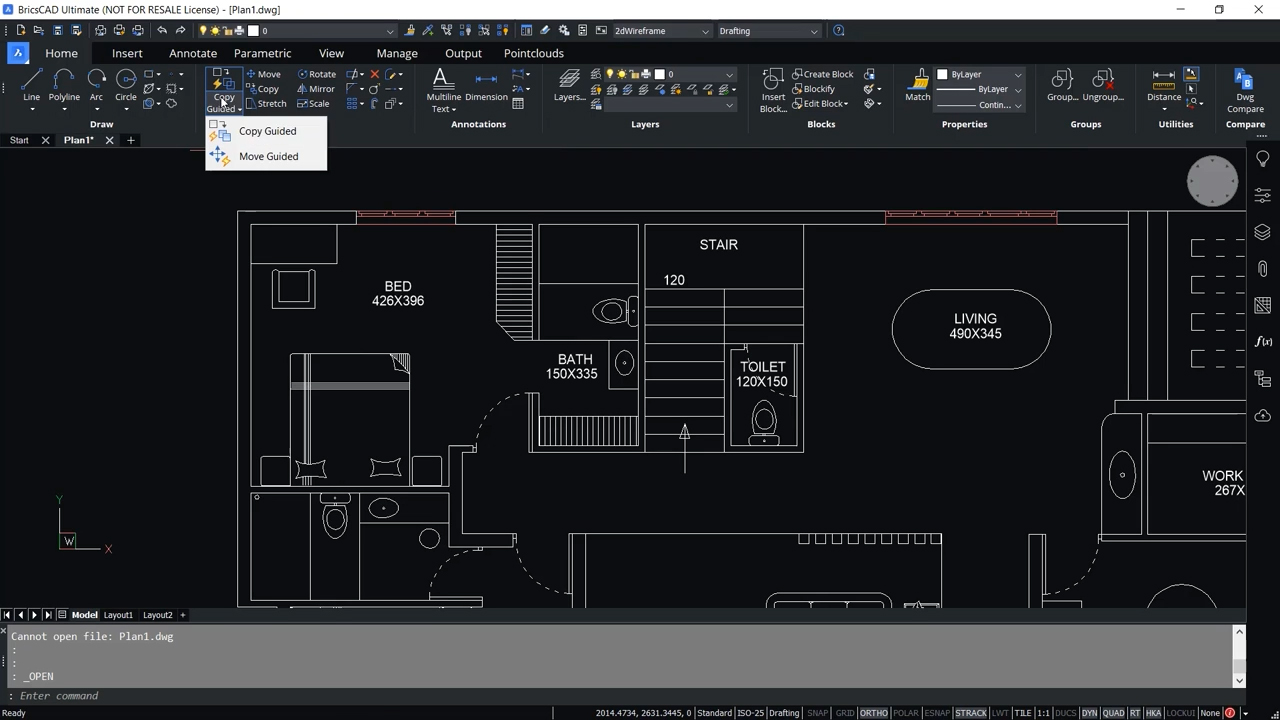
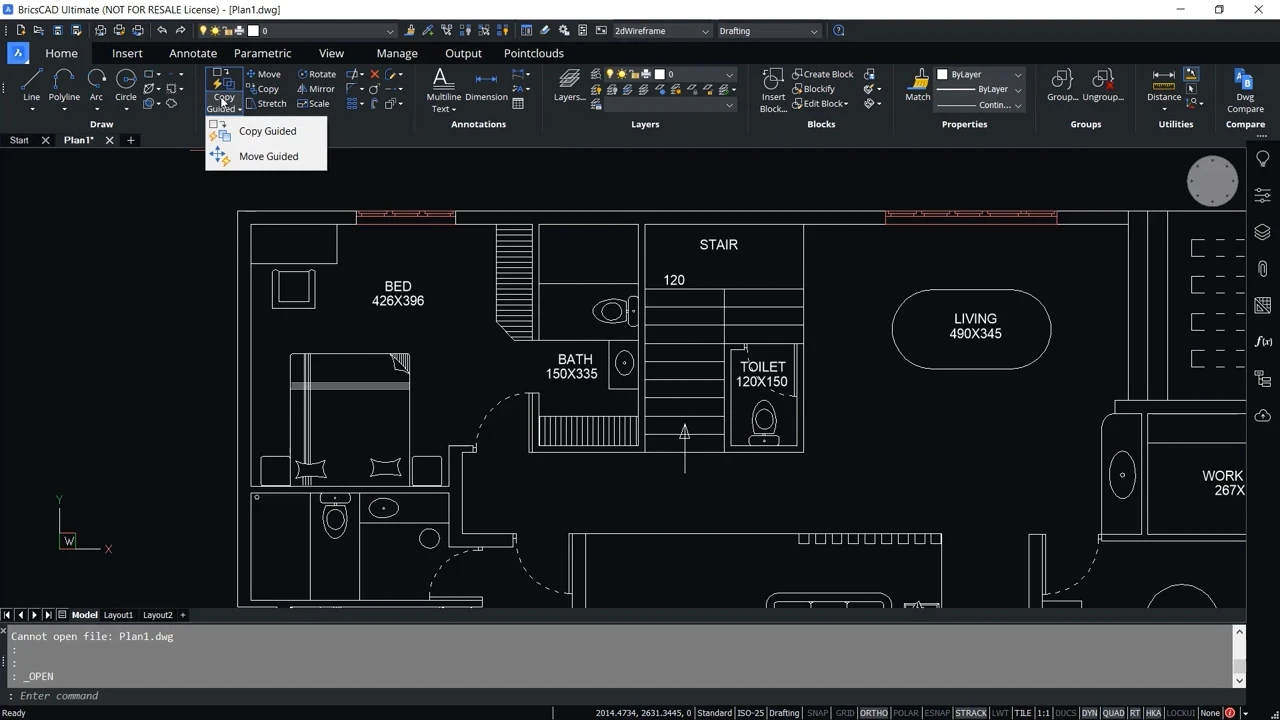
Instead of using the 'Copy' command, we will use the COPYGUIDED command to copy the window. To use the COPYGUIDED command, click on the ‘Copy Guided’ button in the ‘Home’ tab of BricsCAD and choose ‘Copy Guided’ from the dropdown menu.
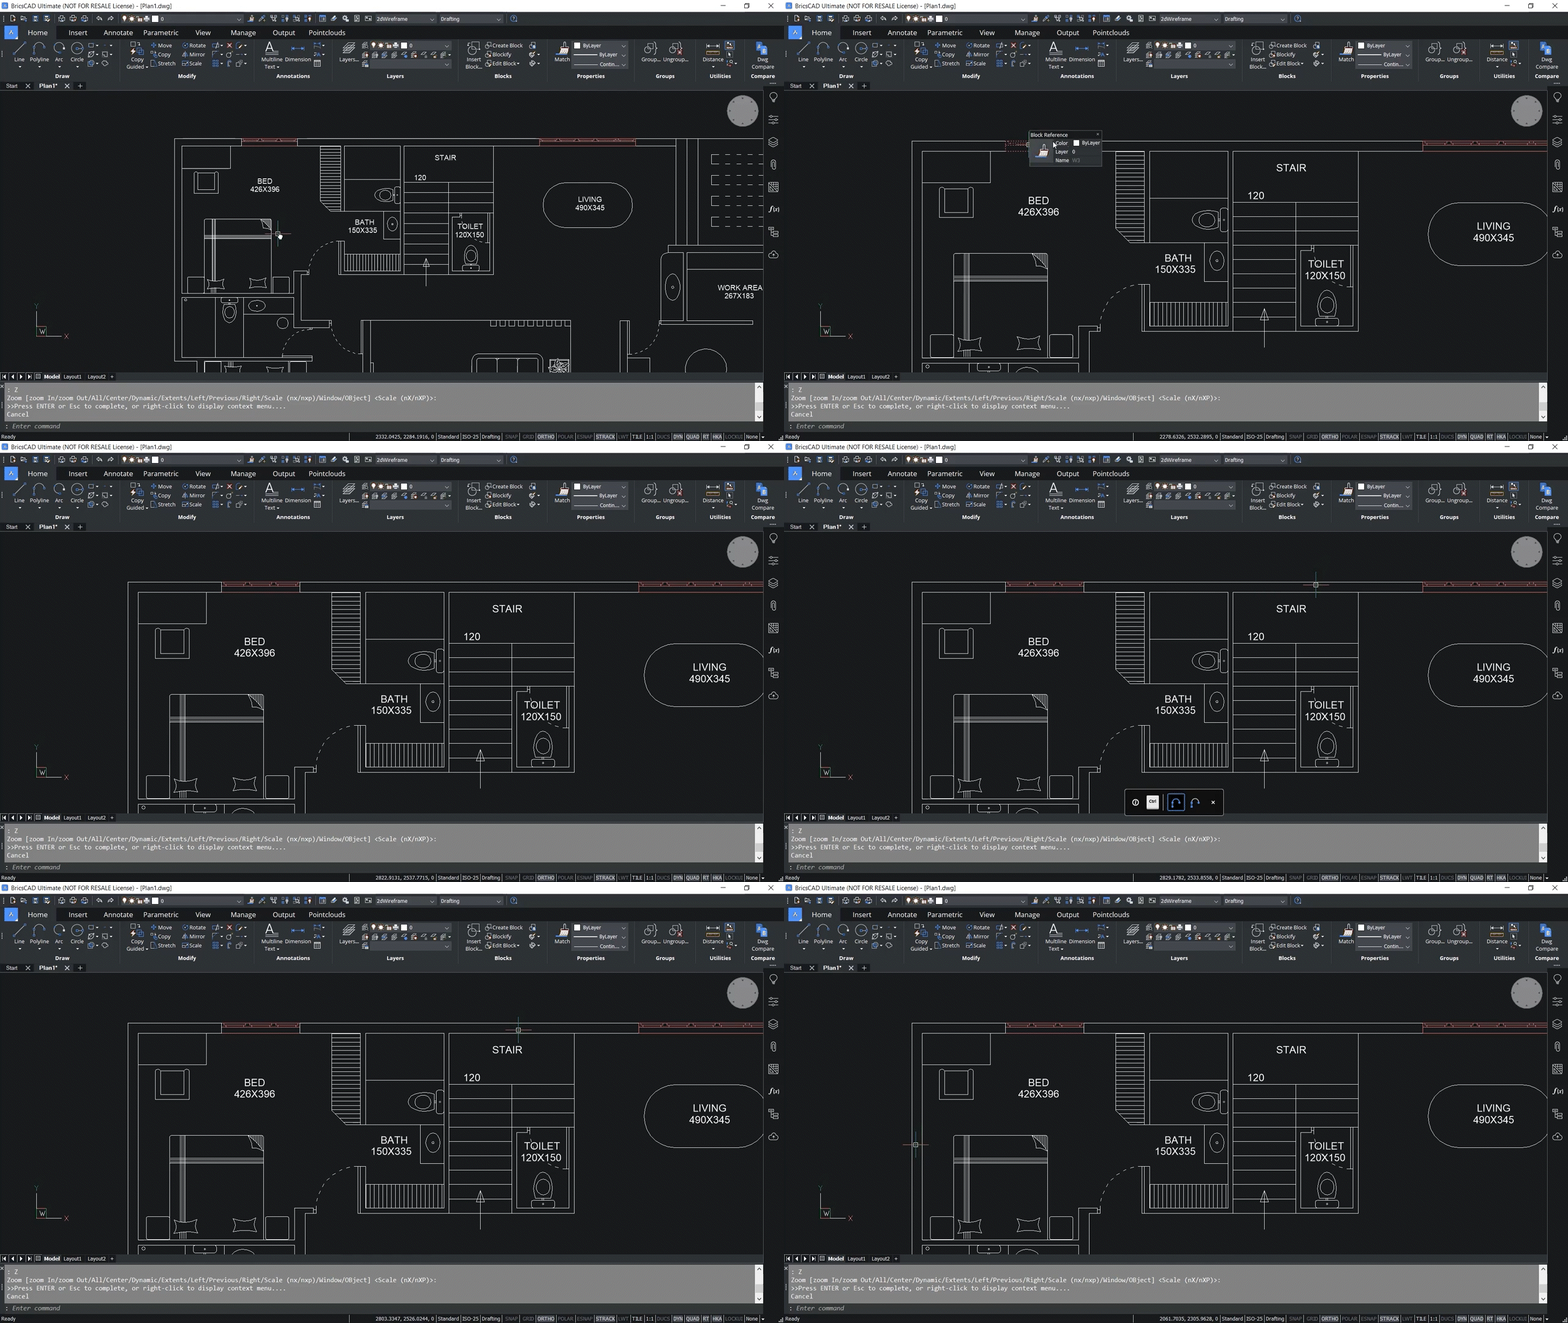
The next step is to select the entity you want to copy by clicking and dragging with the mouse, as you can see in the example below.
You will also see in the example that the wall lines have turned blue after the window is selected. These blue lines will act as guide curves for the COPYGUIDED command. Using these guide curves, you can align this object at any desired location in your drawing.
You can see how that works in the example below. When you select and drag the entity, the guide curves move along with the entity. You will see two arrows on both sides of the window below. The blue arrows indicate the anchor points and direction of the guide curves. The copied entity will only align with the geometry that matches the number of guide curves and the distance between them.
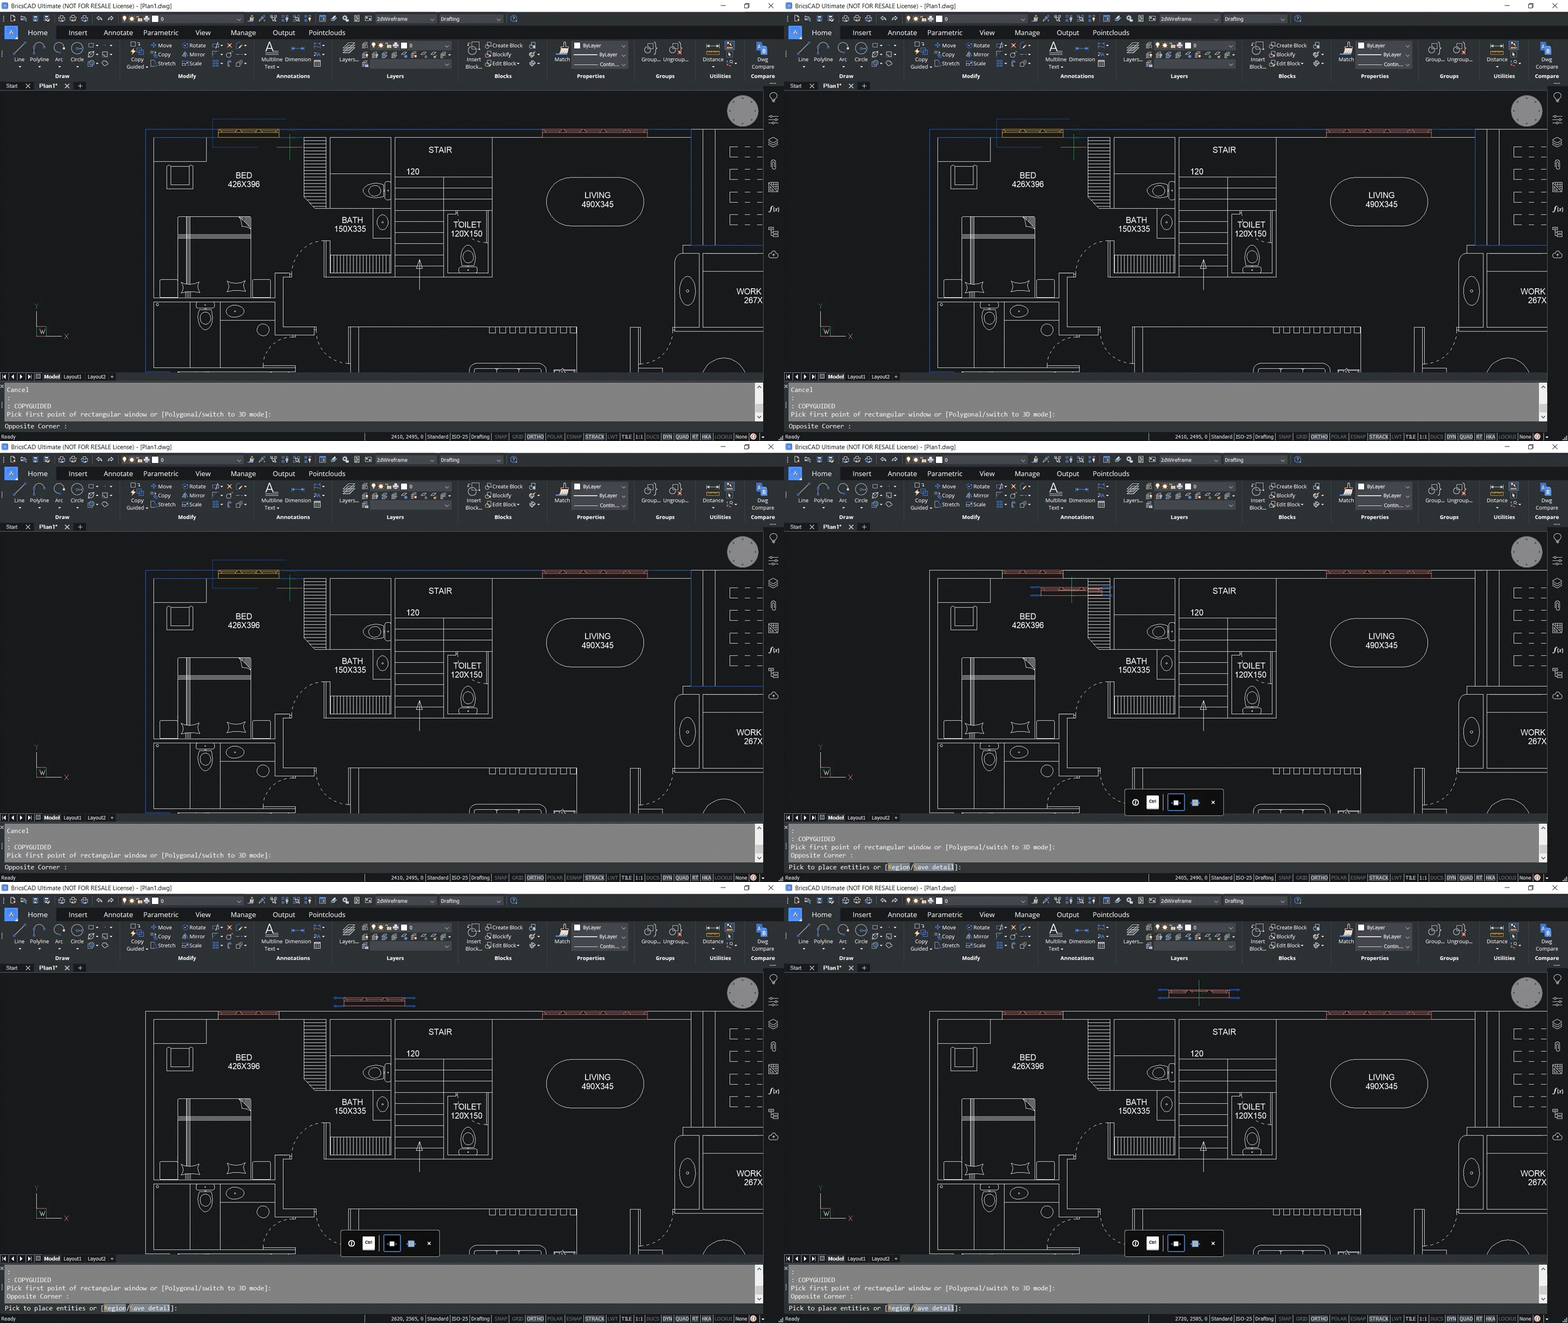
You can see how this works in the example below. The window entity won’t align with any of the inside walls because the guide curves don’t match up. But when we drag it to one of the outside walls with the same geometry, it aligns with the wall perfectly.
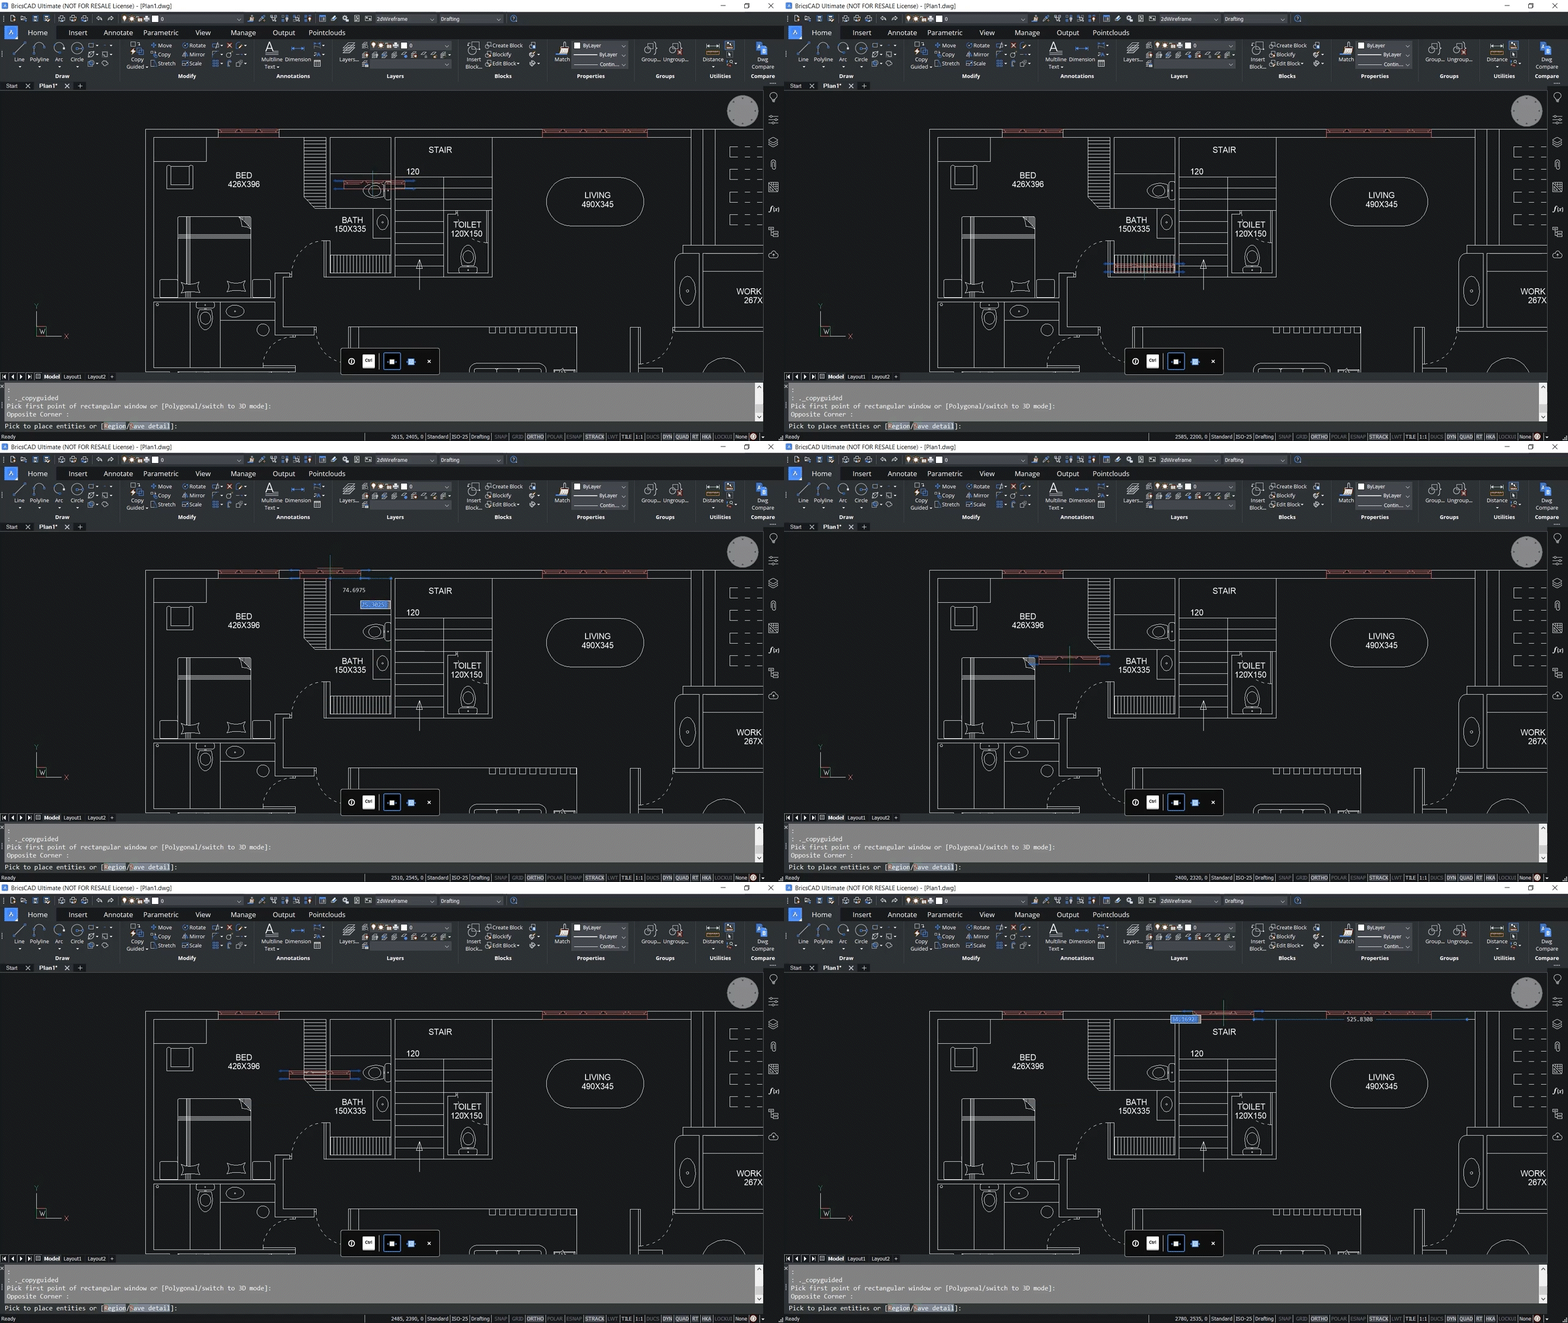
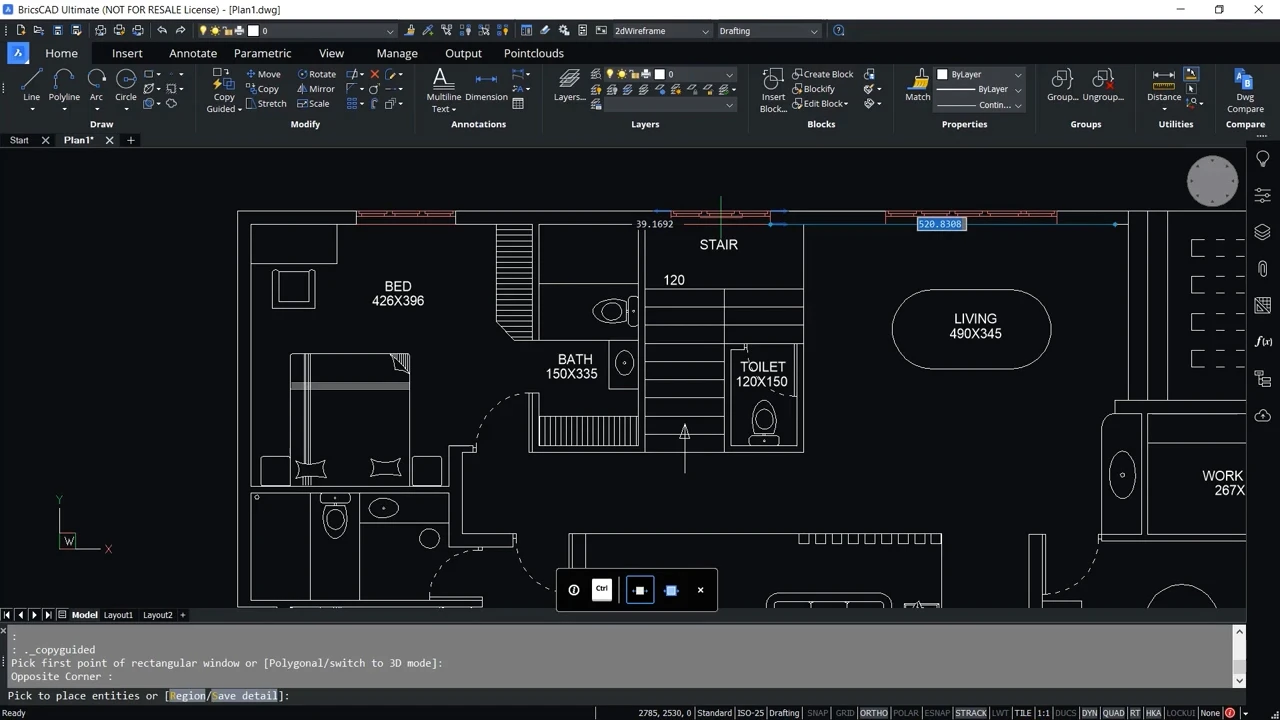
Now you can use the mouse to define the location of the window or define it in the dynamic entry fields.
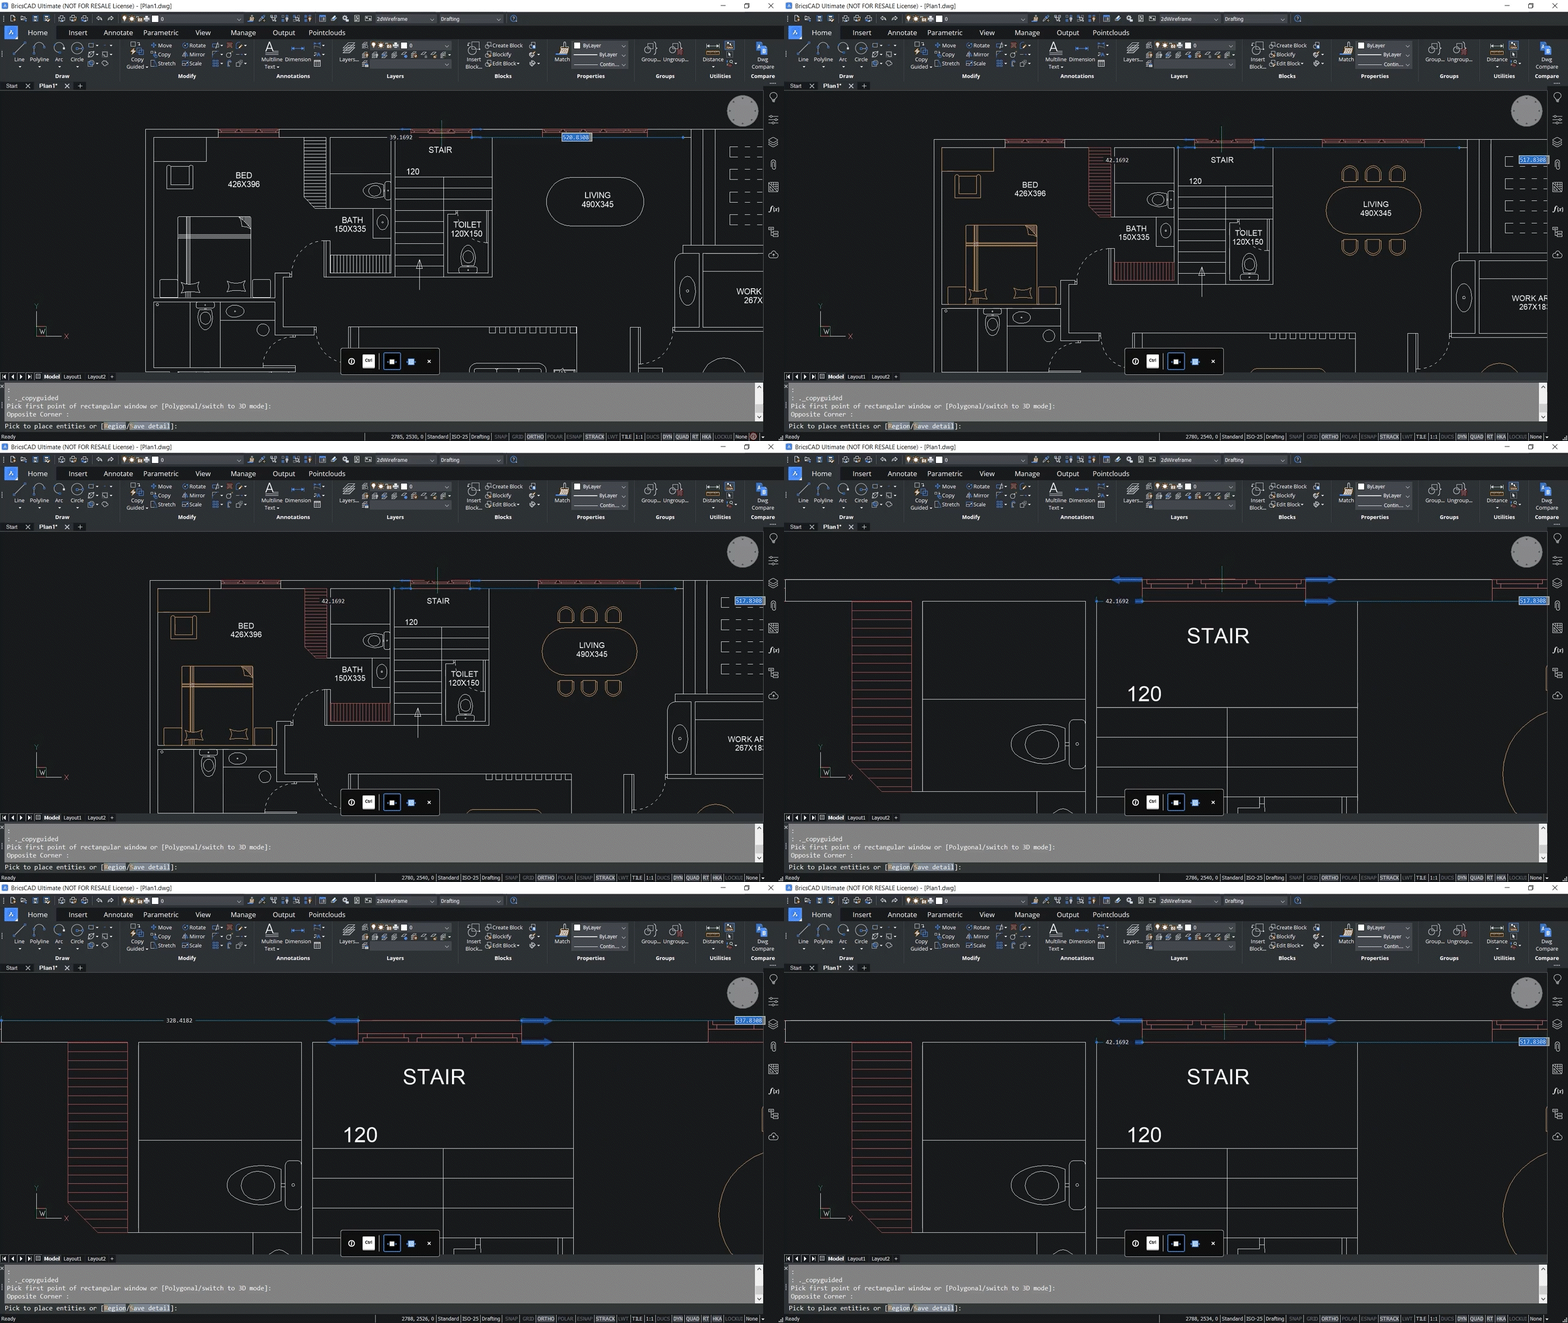
By zooming on the copied element and moving the mouse up and down, you can flip the entity. This allows you to copy the entity either in the original orientation or a reversed one by moving the mouse up or down. Then hit enter to define the location.
Now, in the example below, we drag the same entity to the vertical wall. You can see how it perfectly aligns with the vertical wall because the guide curve conditions have been met by that wall.
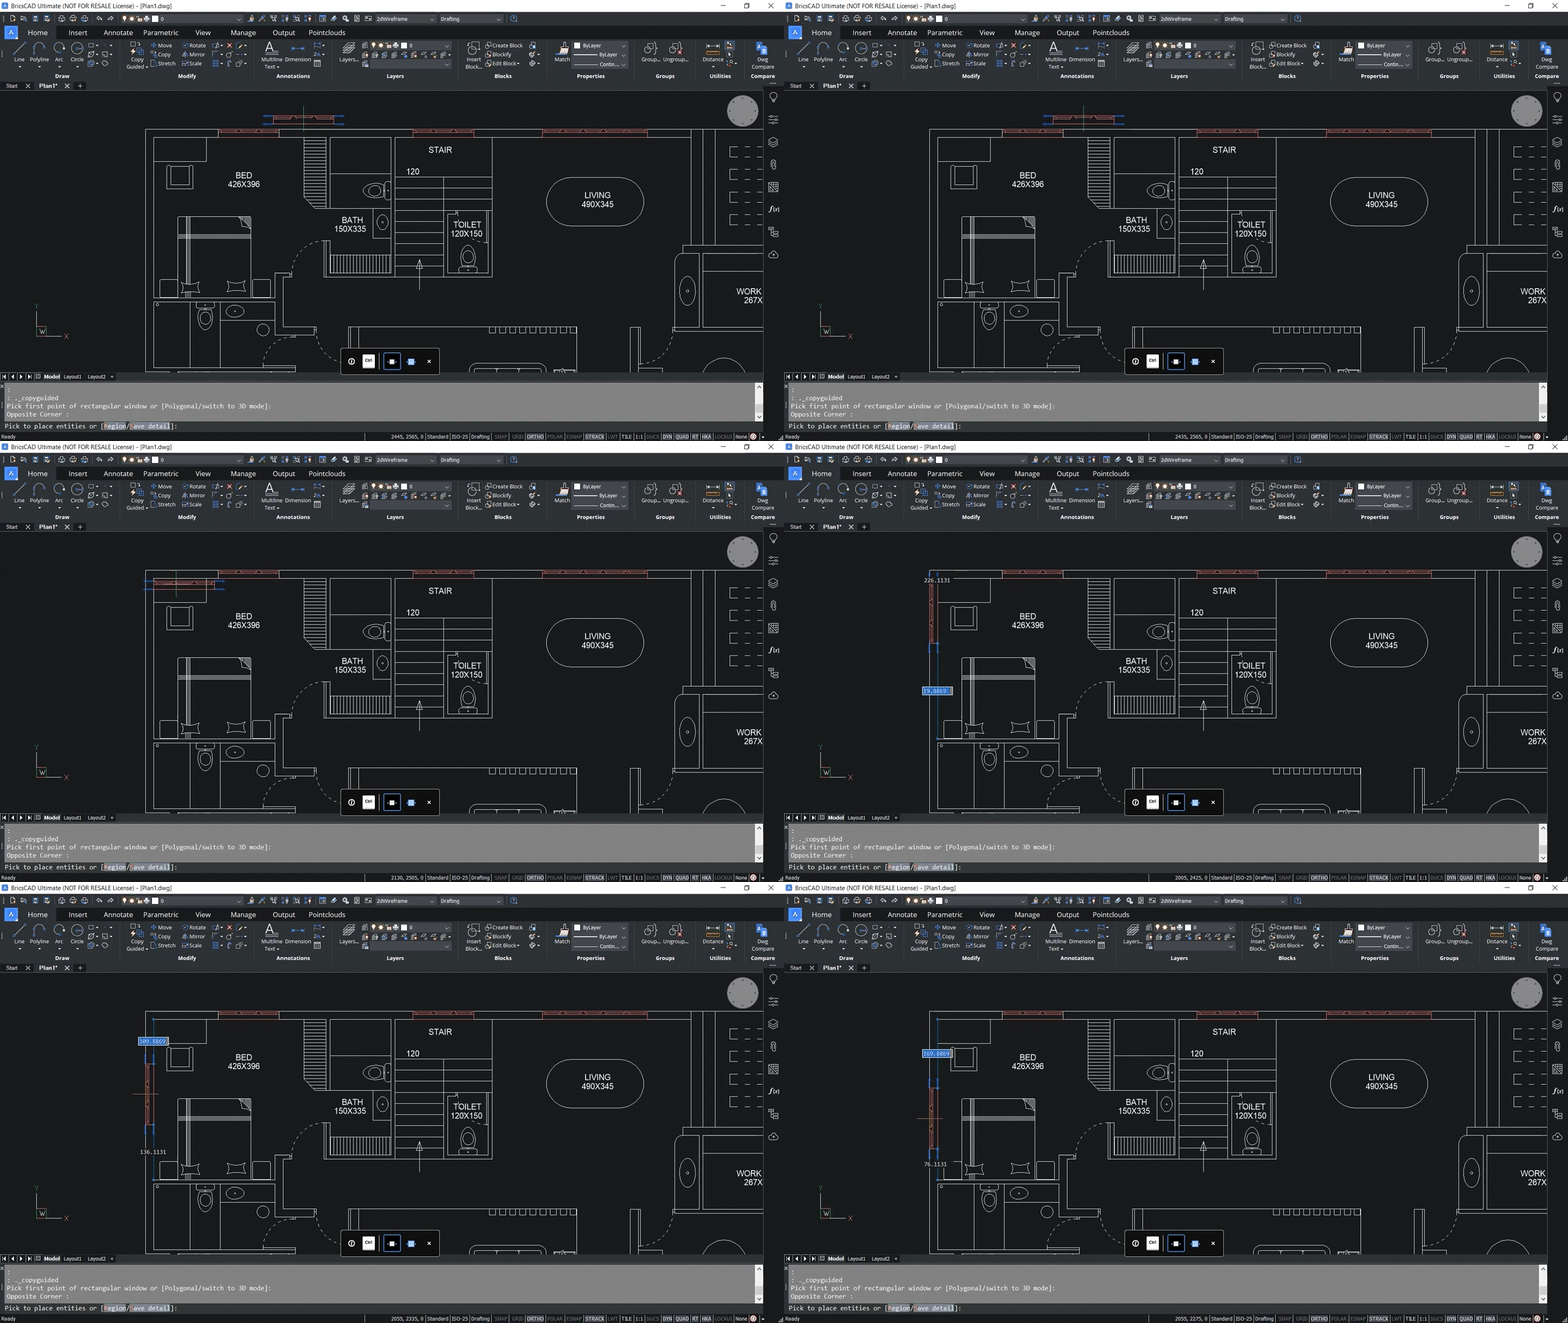
You can move the mouse right and left to flip the orientation of an entity displayed vertically like this.
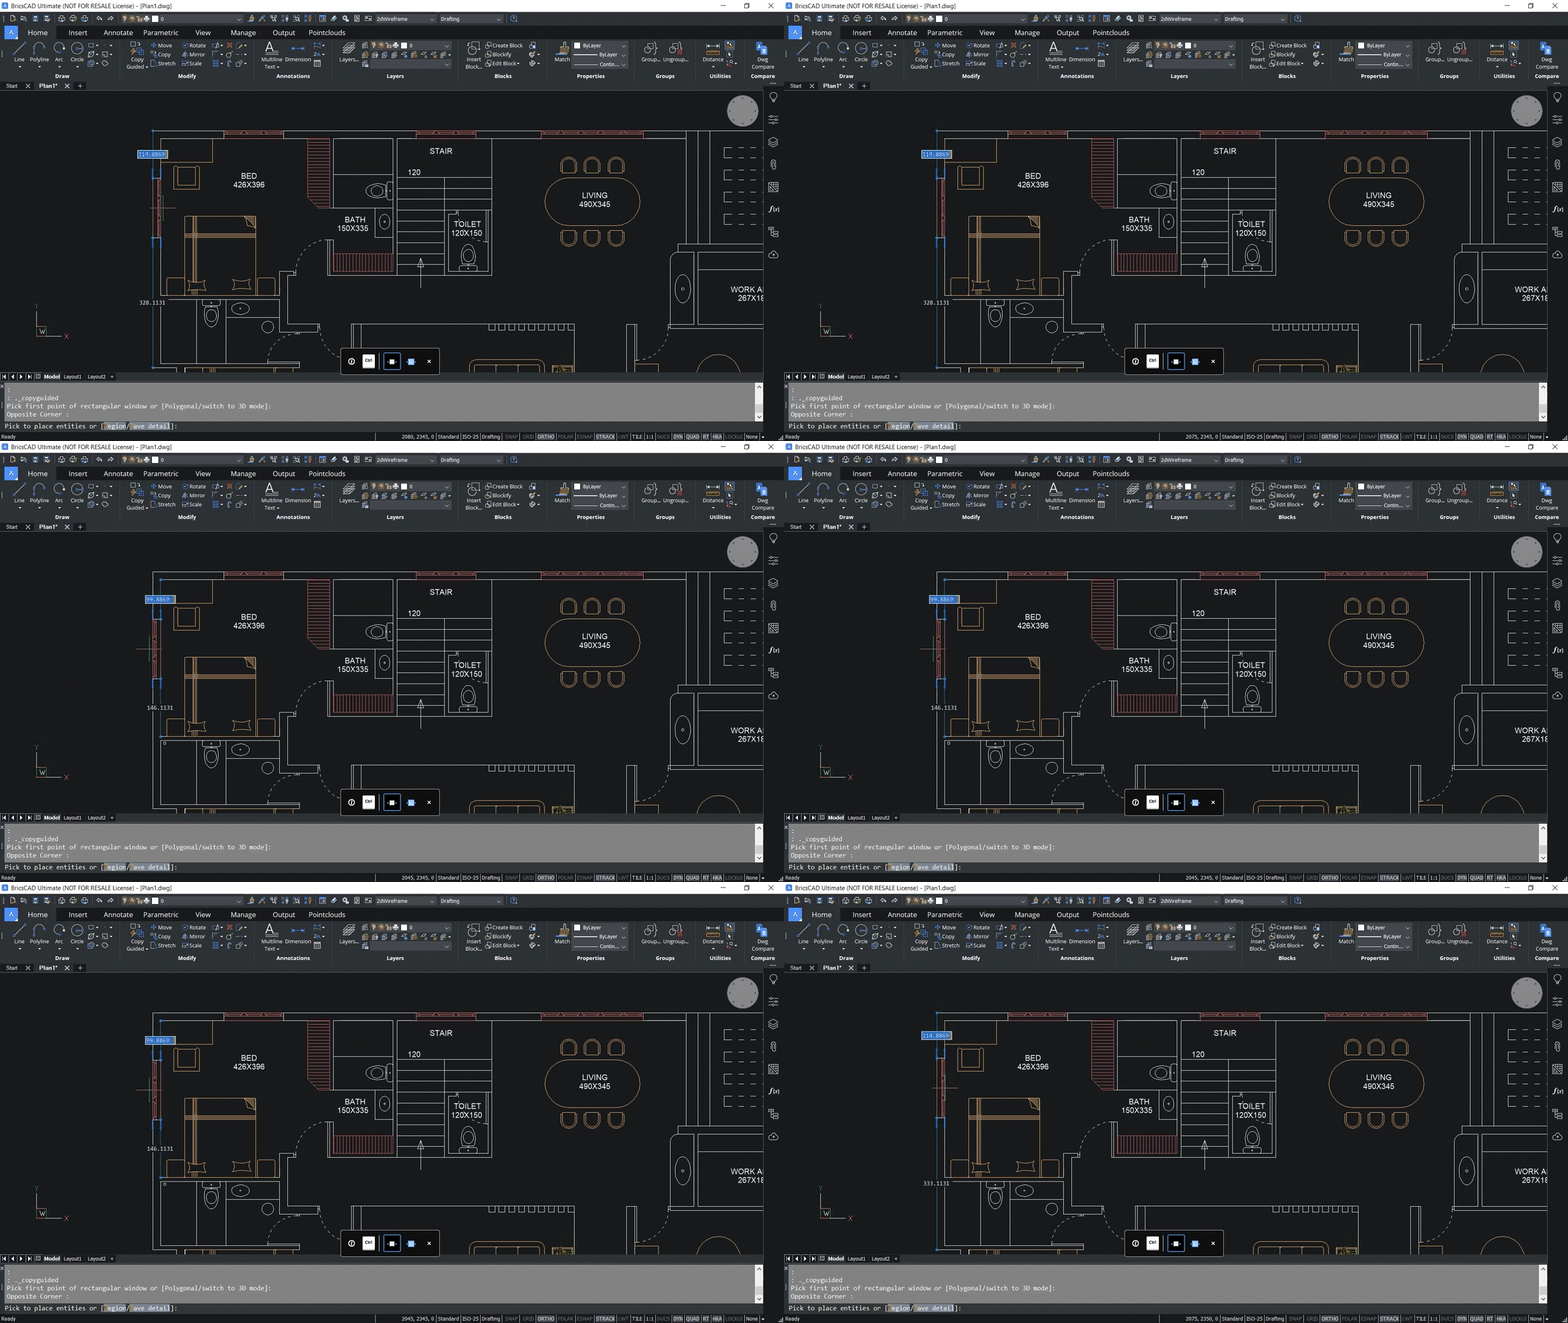
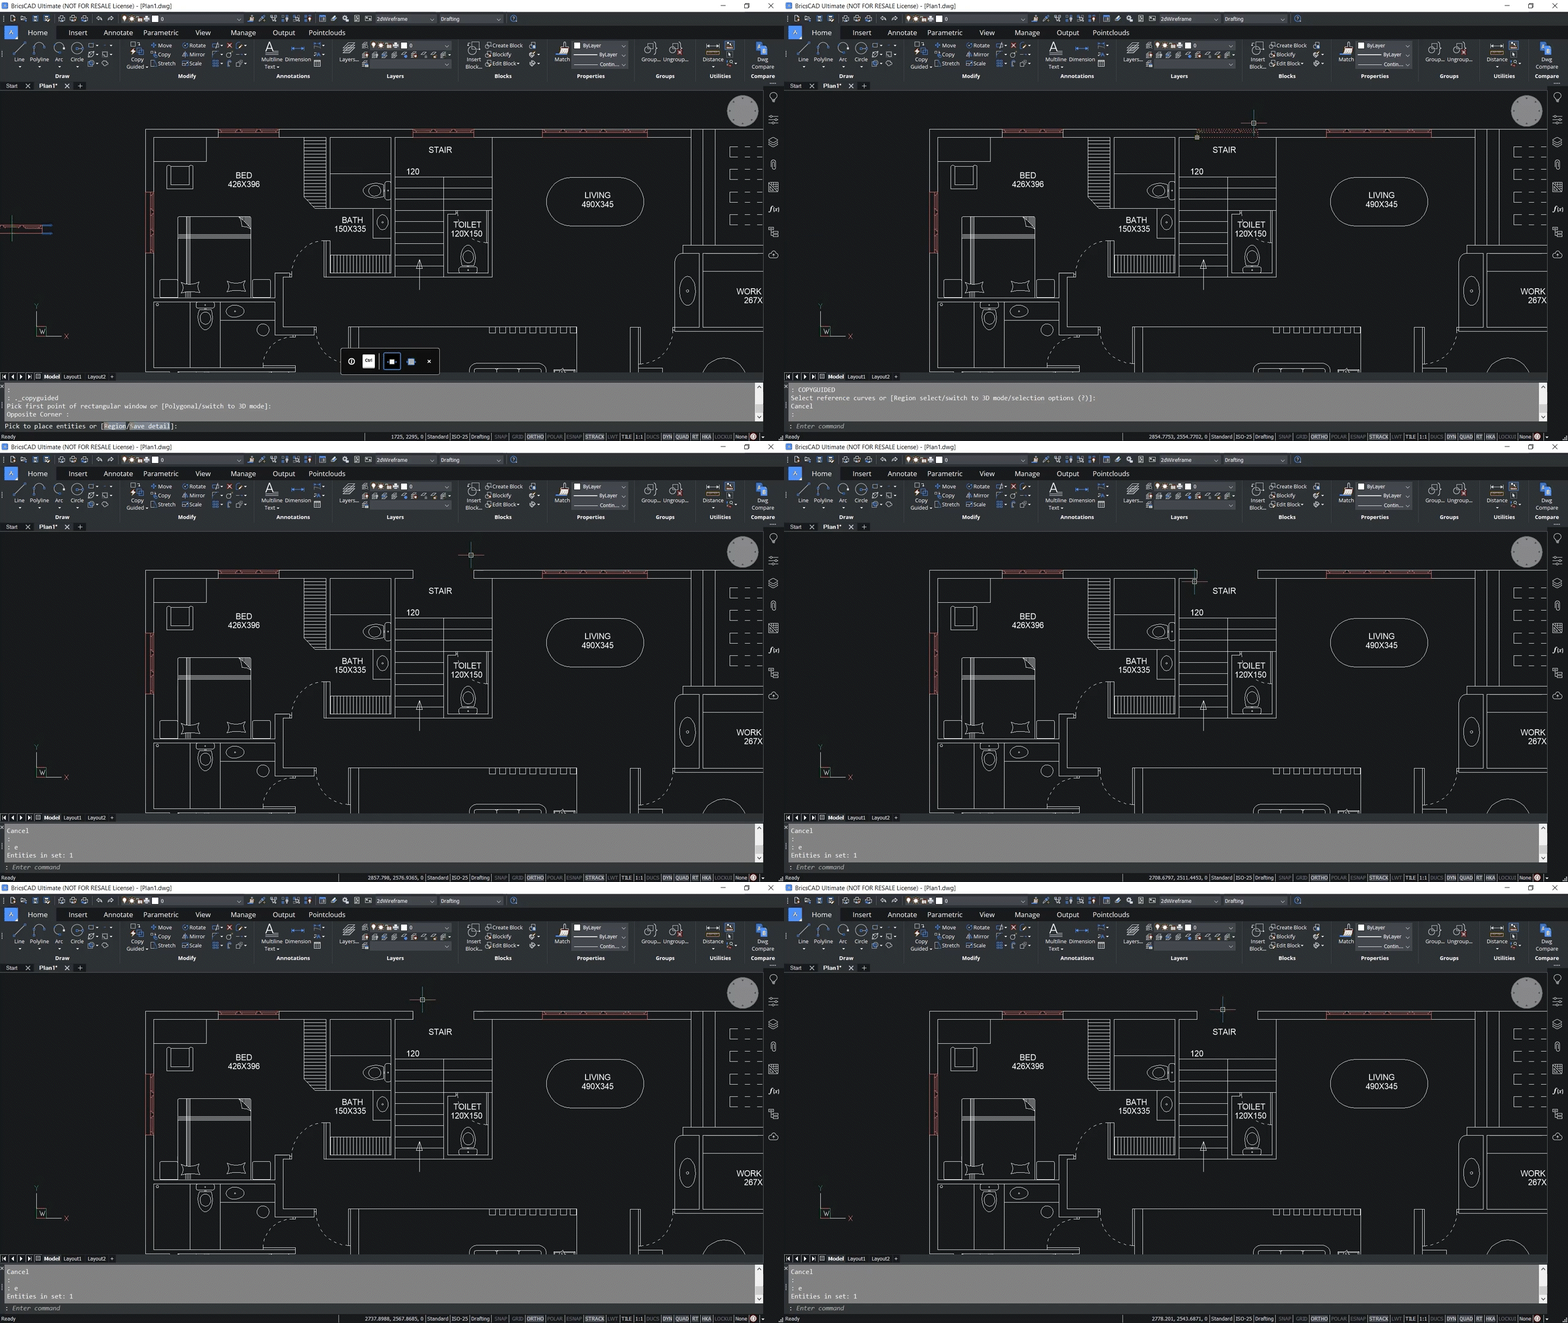
When you erase the entity, BricsCAD will automatically clean up the drawing, as seen below.
All of this functionality makes the COPYGUIDED command a replacement for the 'Copy', 'Rotate', 'Mirror' and 'Trim' commands in this context.
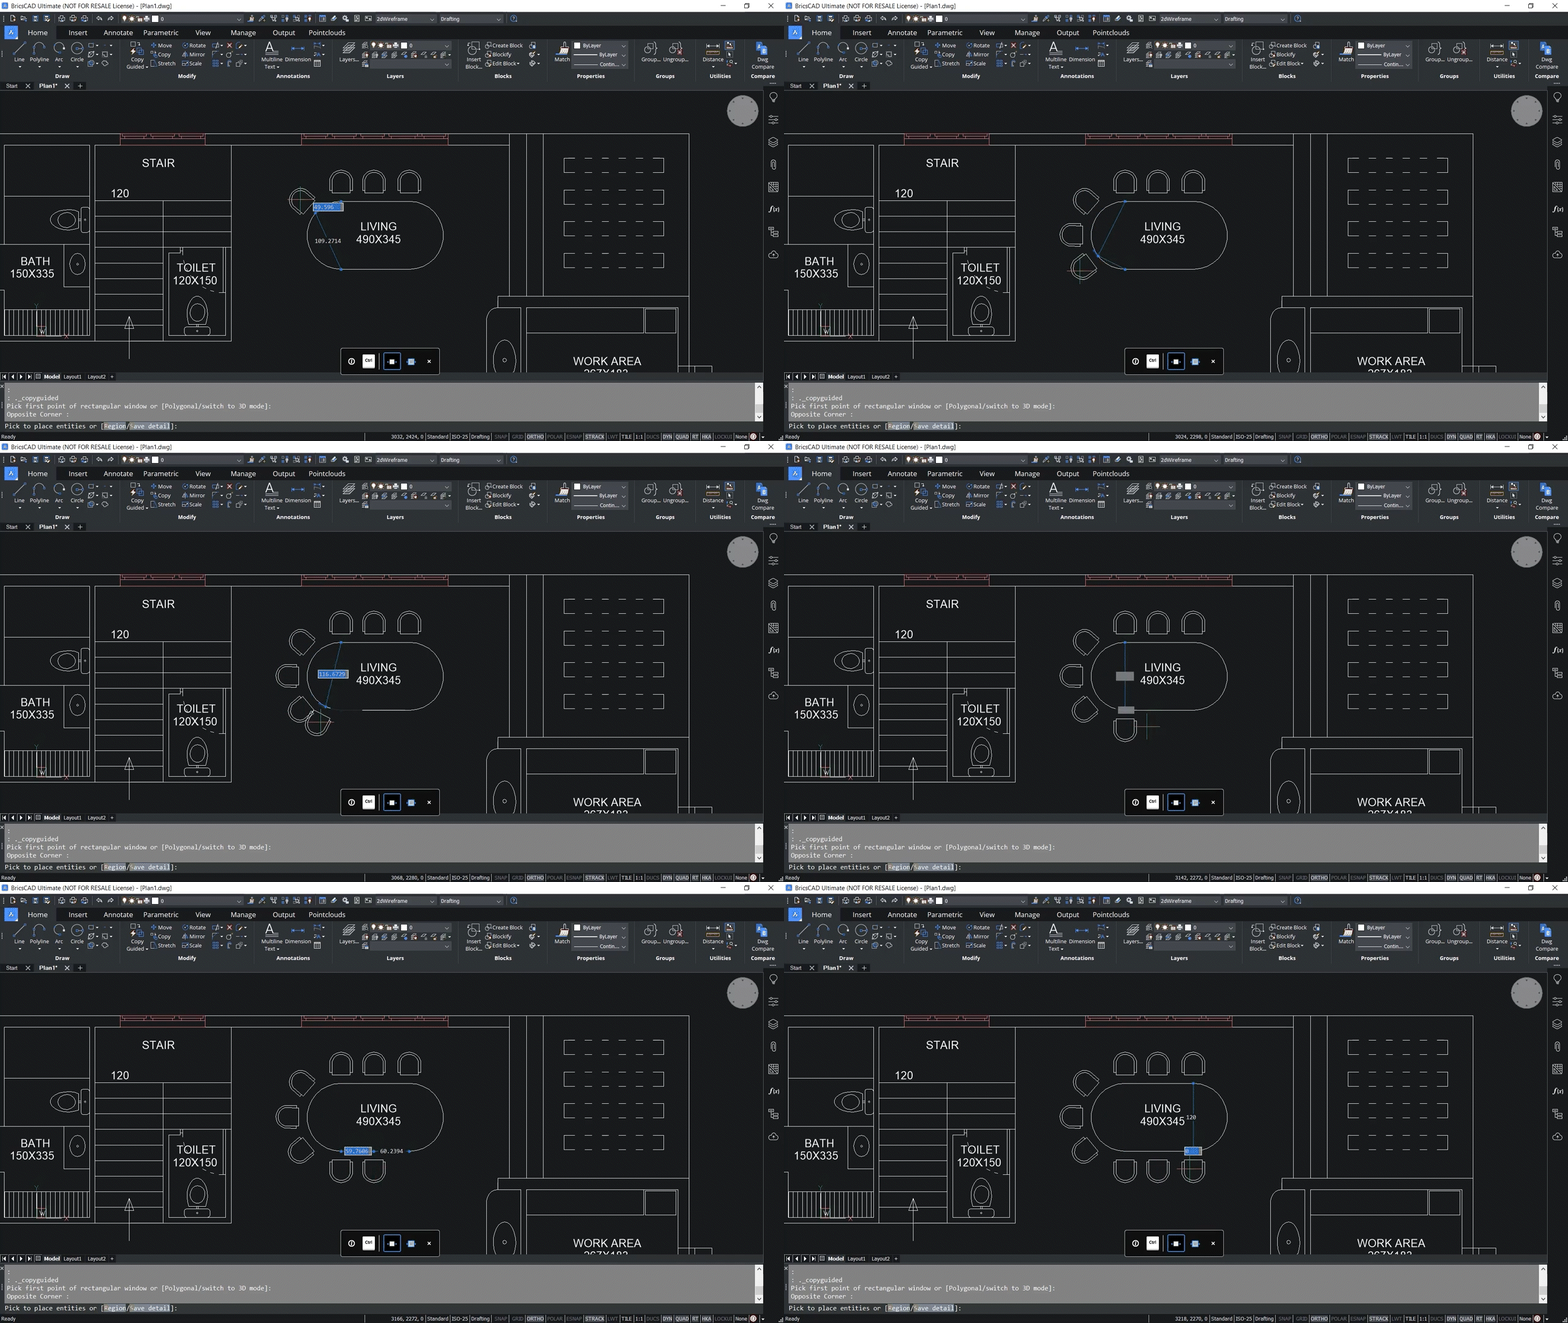
When you are copying an entity, sometimes it will have only one guideline, like in the example below of the chair. In the example, the single guideline even aligns with the curve on the table.
Using the COPYGUIDED Command to Copy Regions
You can also select regions in your drawing with the COPYGUIDED command. First, you need to make sure that the 'Hotkey Assistant' is active. You can do this by clicking the HKA button in the status bar.
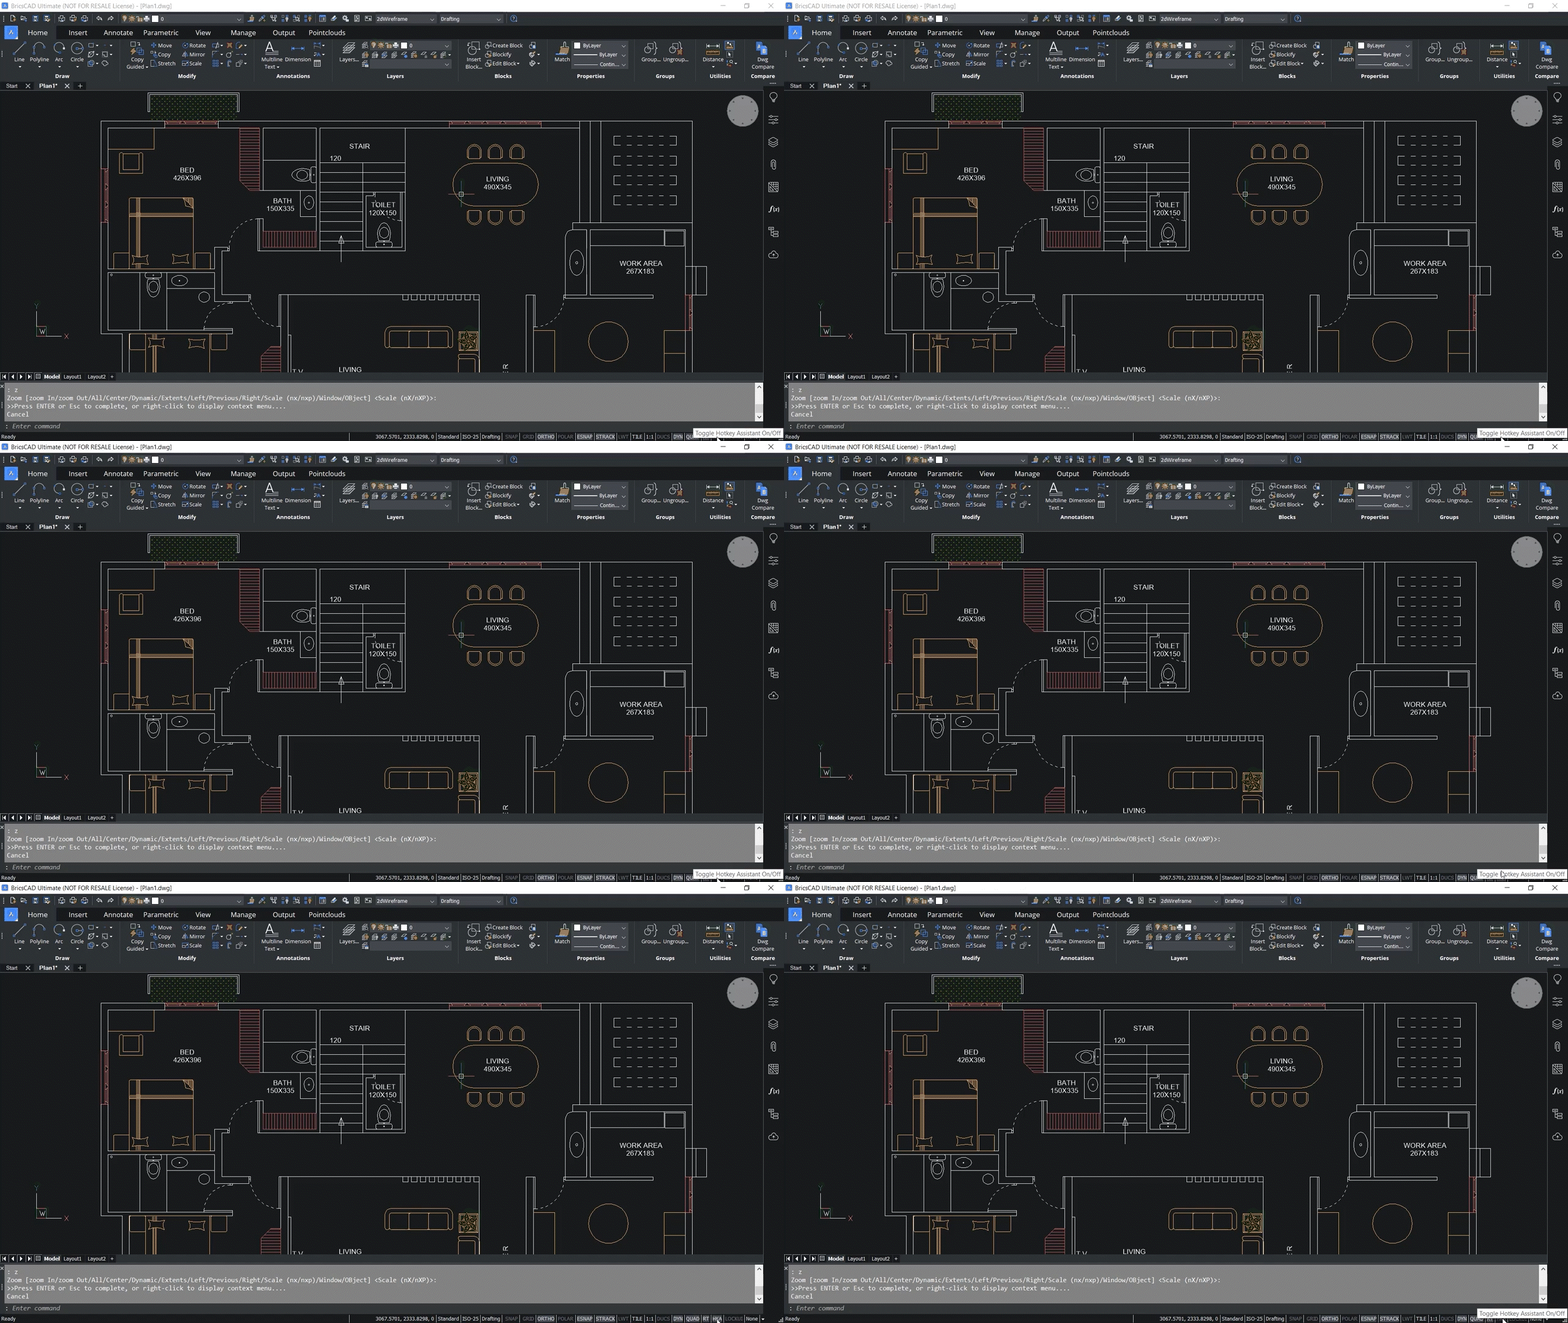
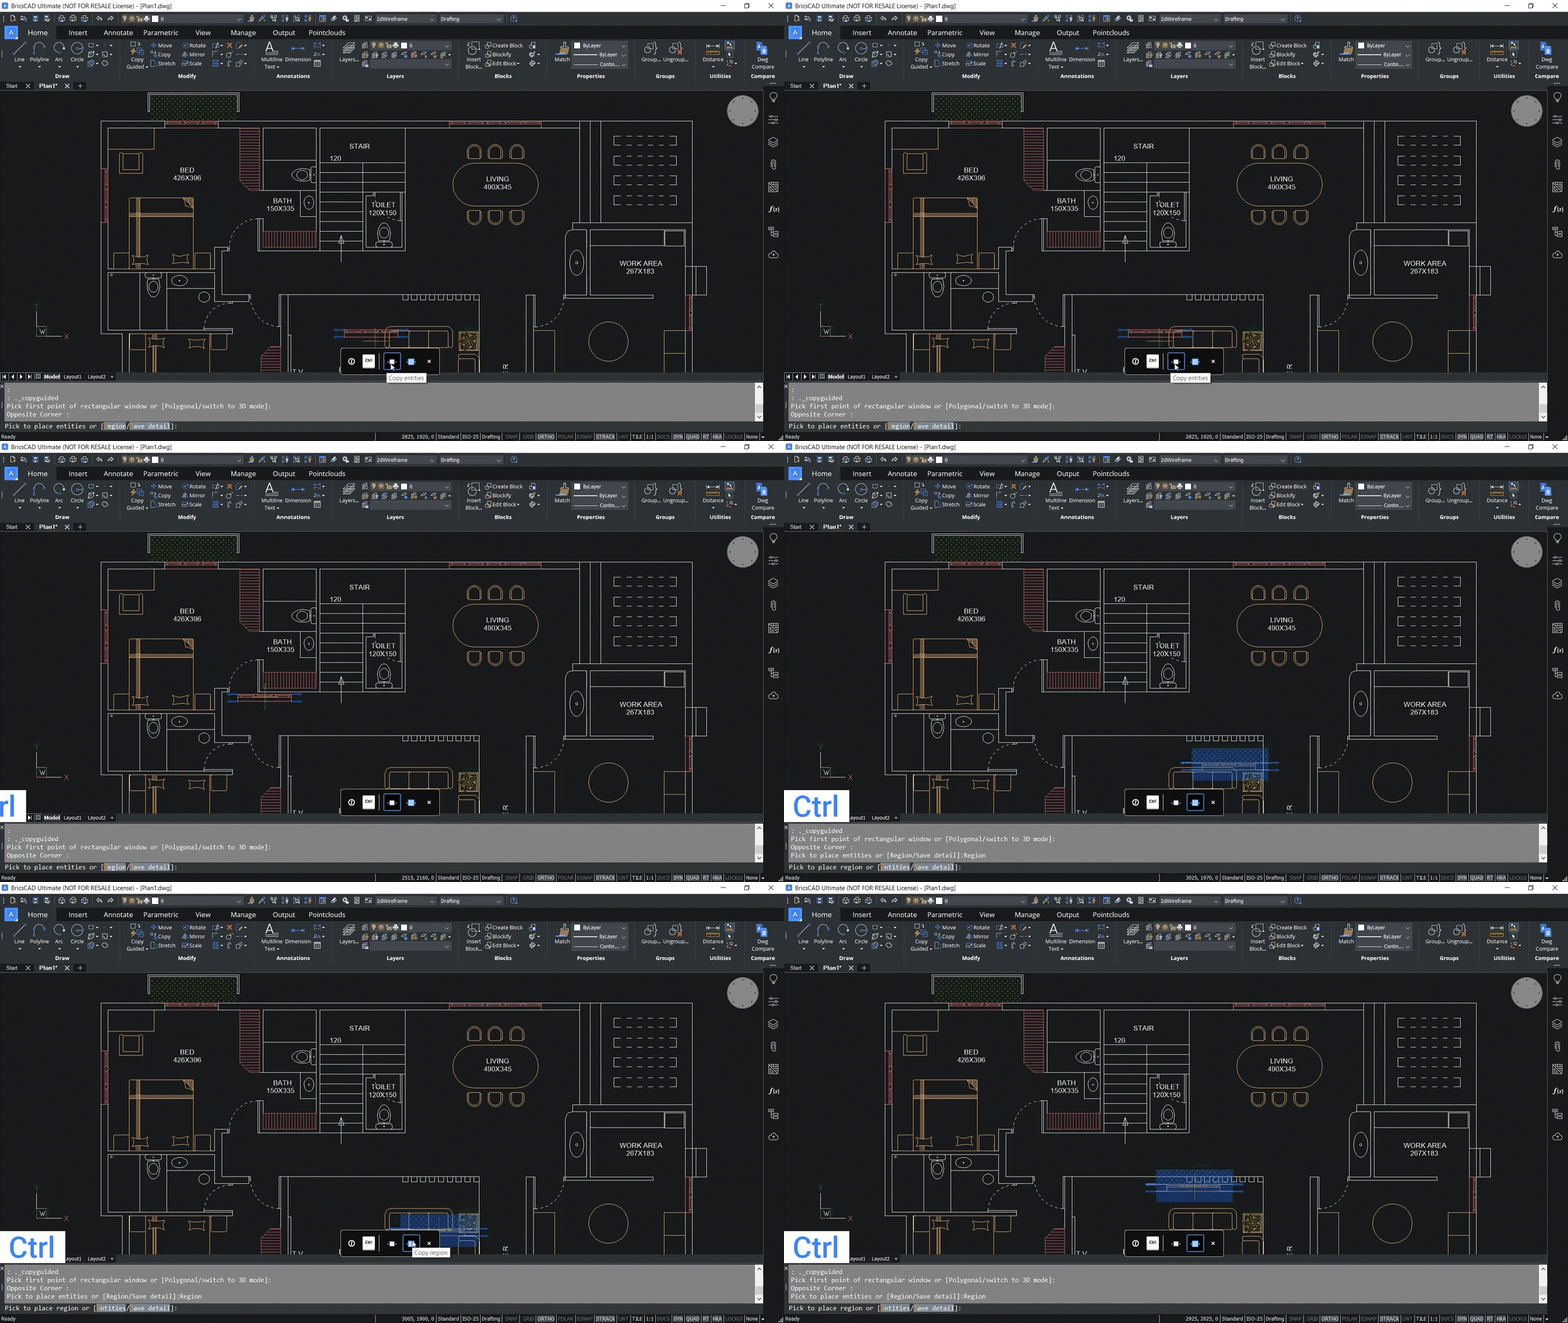
In this next example, we have added a planter to the window that we copied before, and we will copy it again. So we click the ‘Copy Guided’ button in the ‘Home’ tab and choose ‘Copy Guided’ from the dropdown menu as we did before. By default, it is using the ‘Copy entities’ option and only copies the window entity. But by hitting the Ctrl button when 'Hotkey Assistant' is active, you can switch to the ‘Copy region’ option. You can see that in the example below, and now the copied section has the planter along with the window.
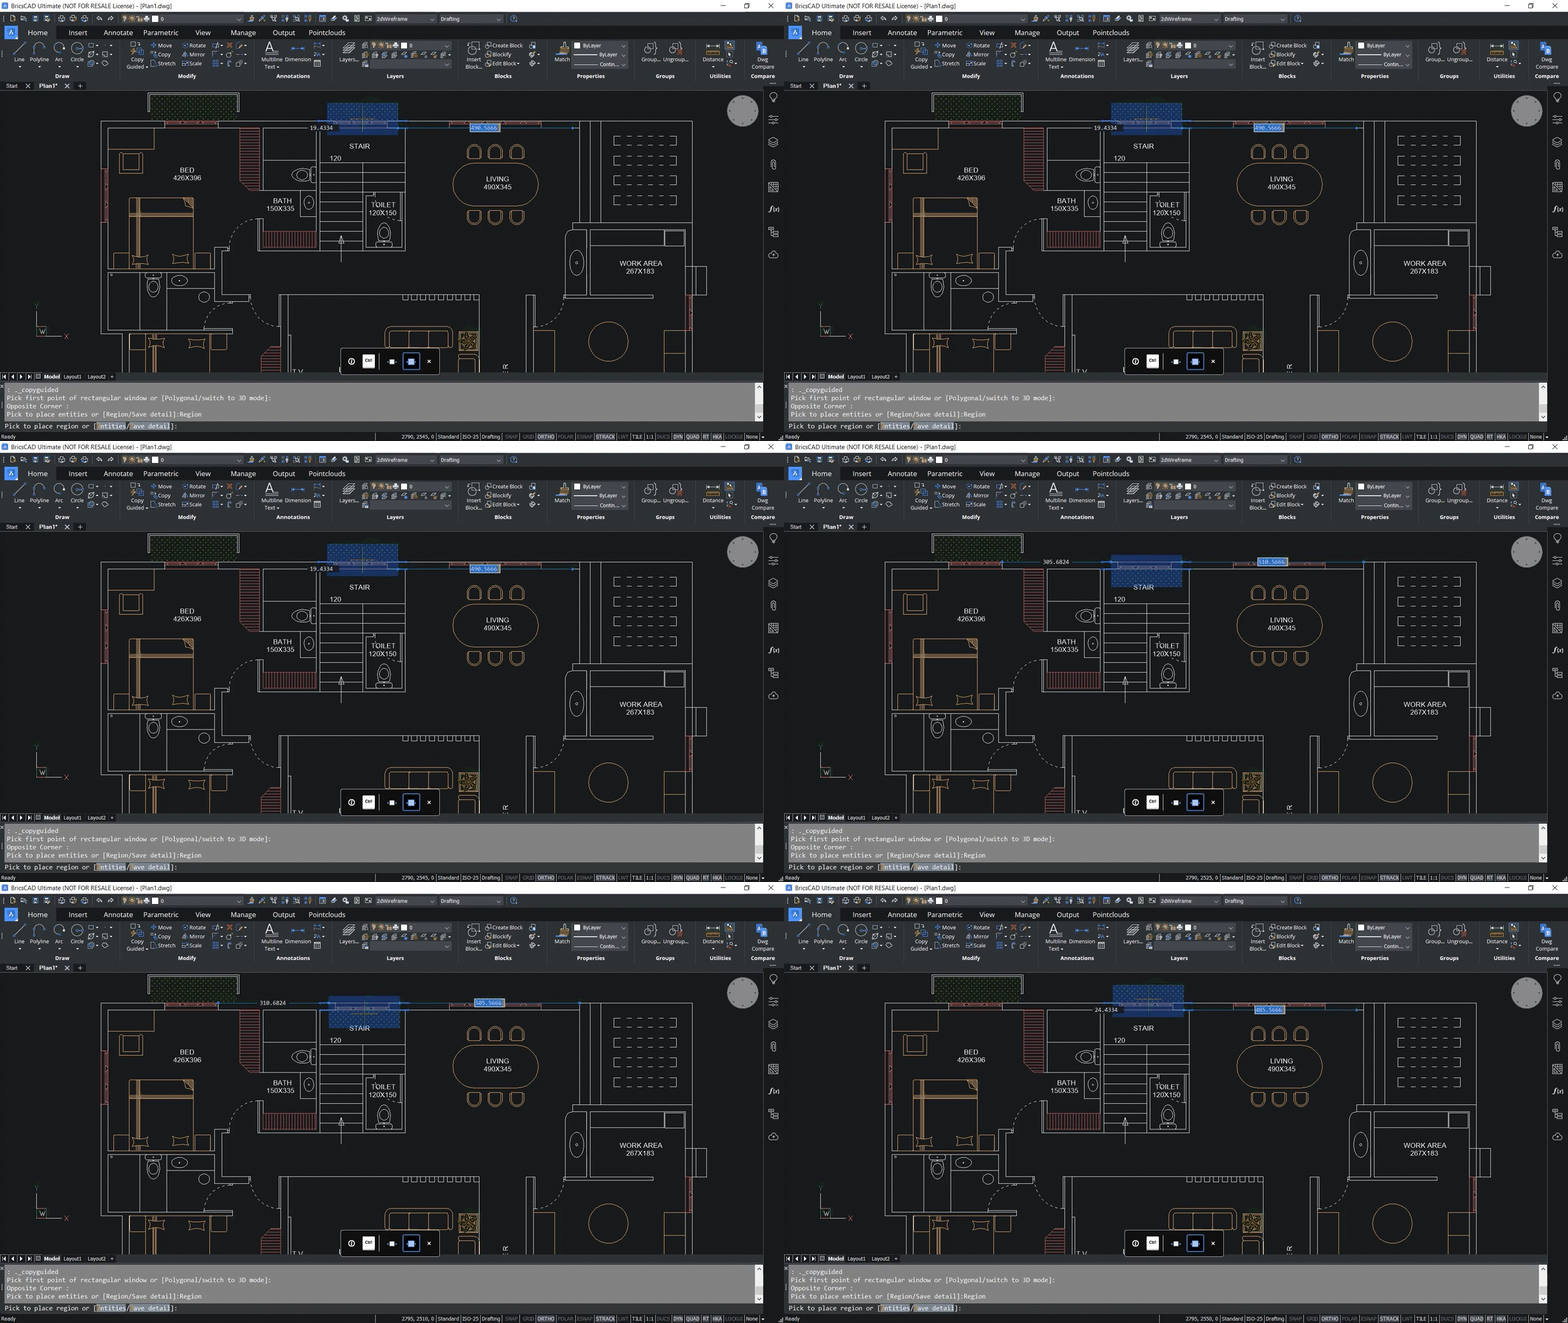
You can also flip a copied region like you would an entity by moving the cursor.
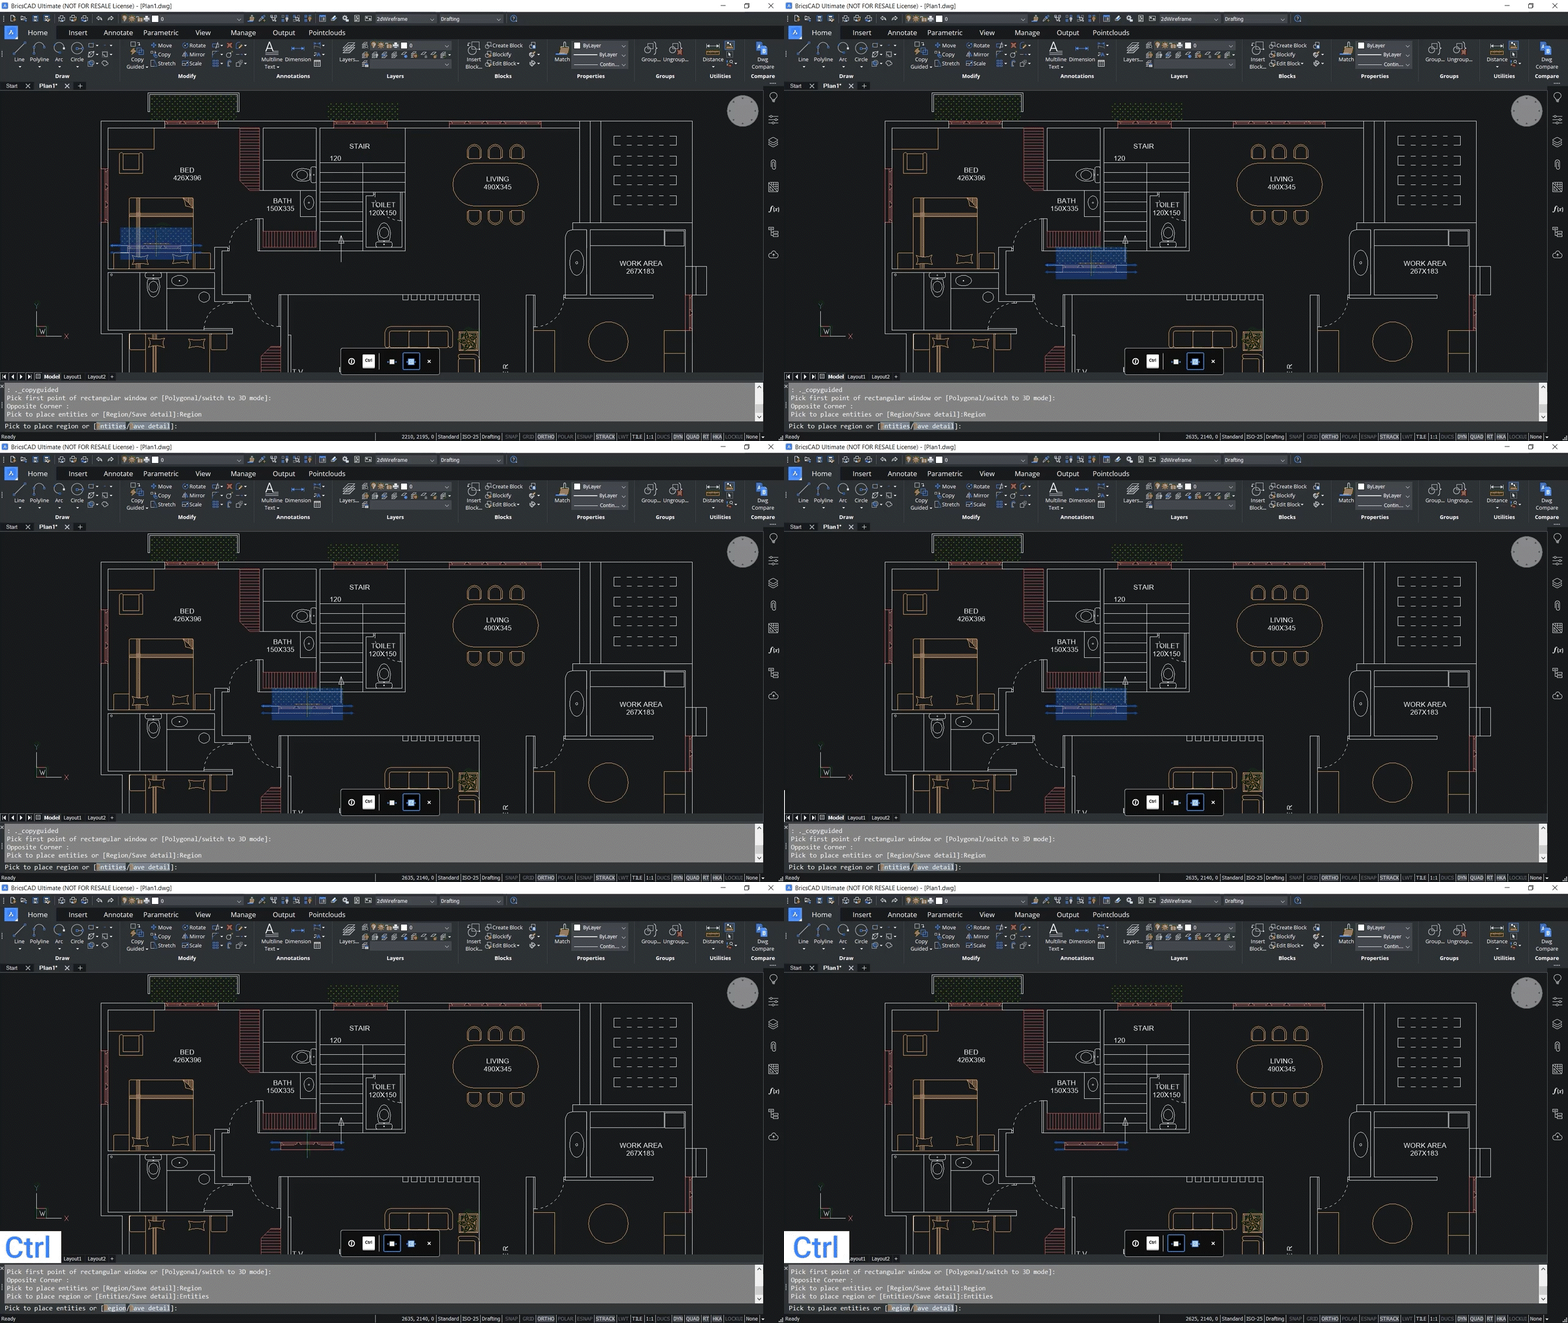
While you still have 'Hotkey Assistant' active, you can click Ctrl again if you want to go back to ‘Copy entities’ mode, as we do here in this example.
Using the COPYGUIDED Command with the Polygonal Option
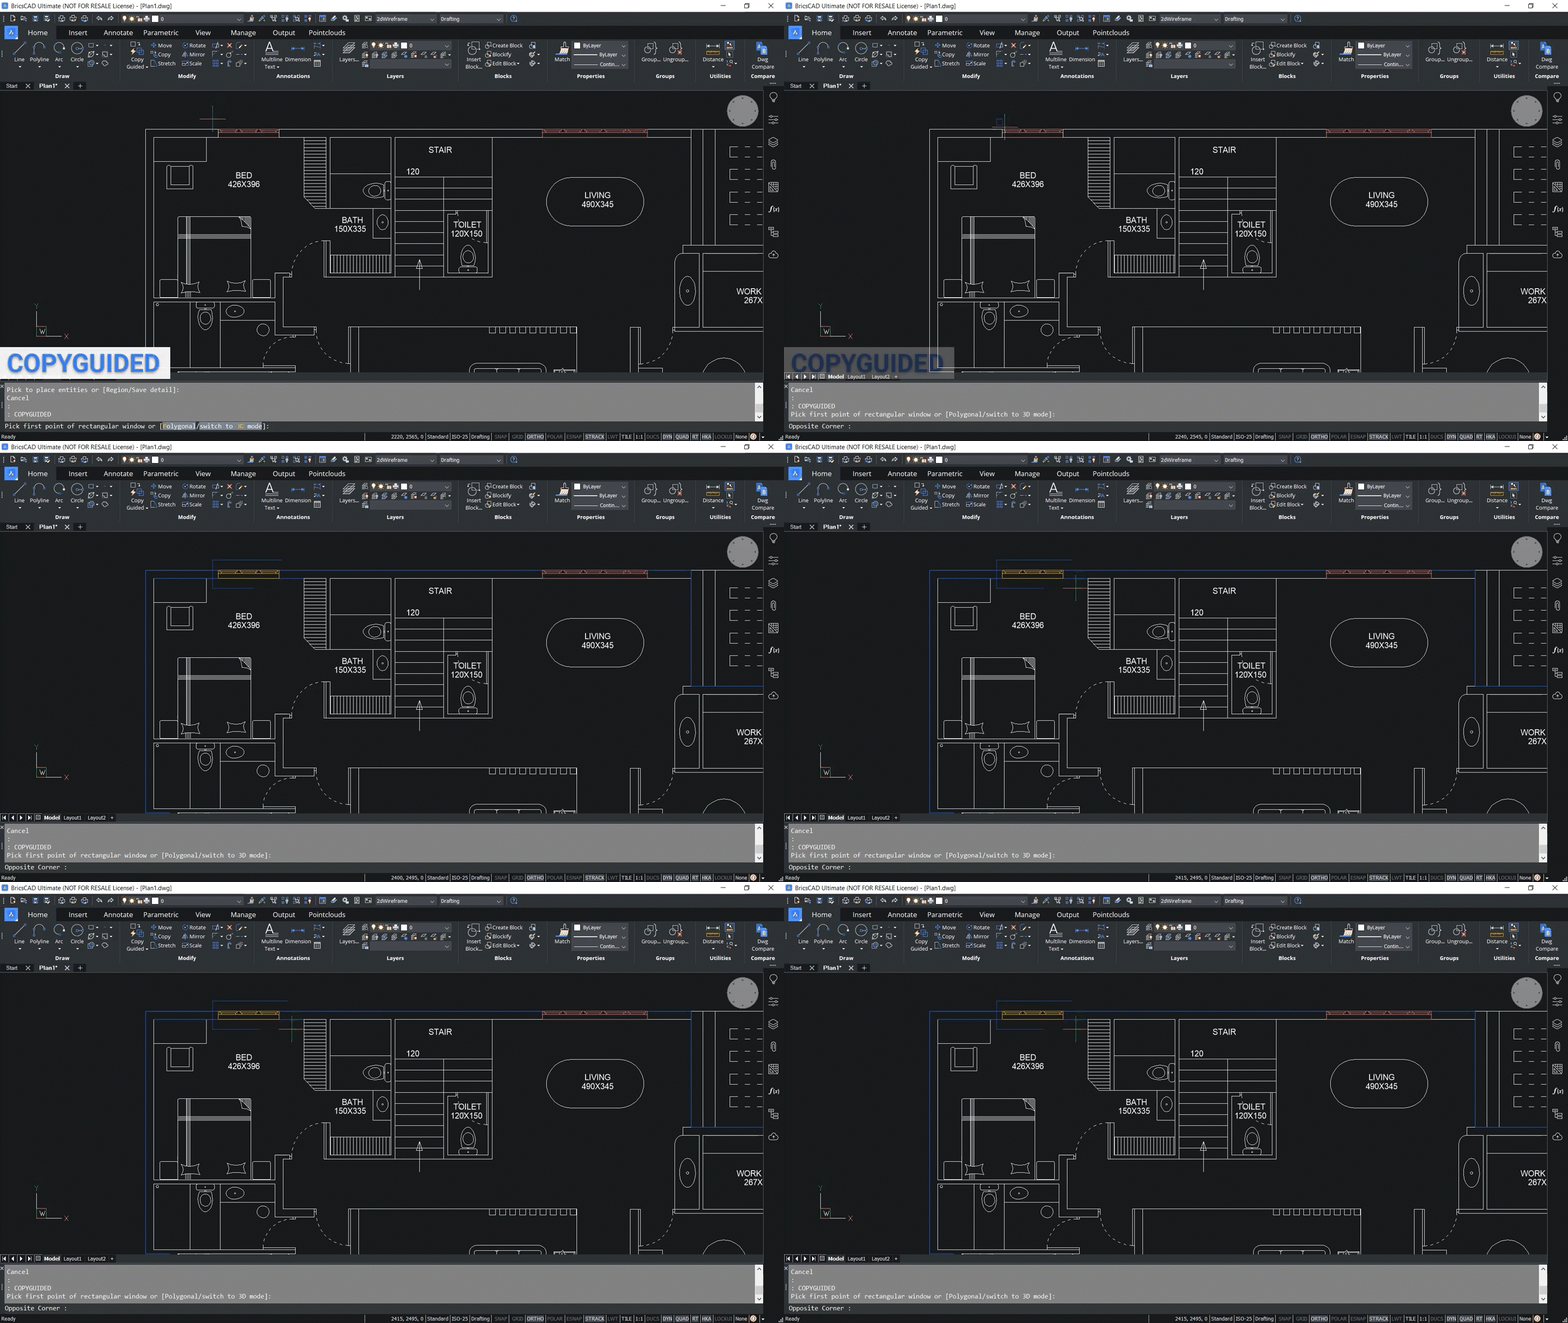
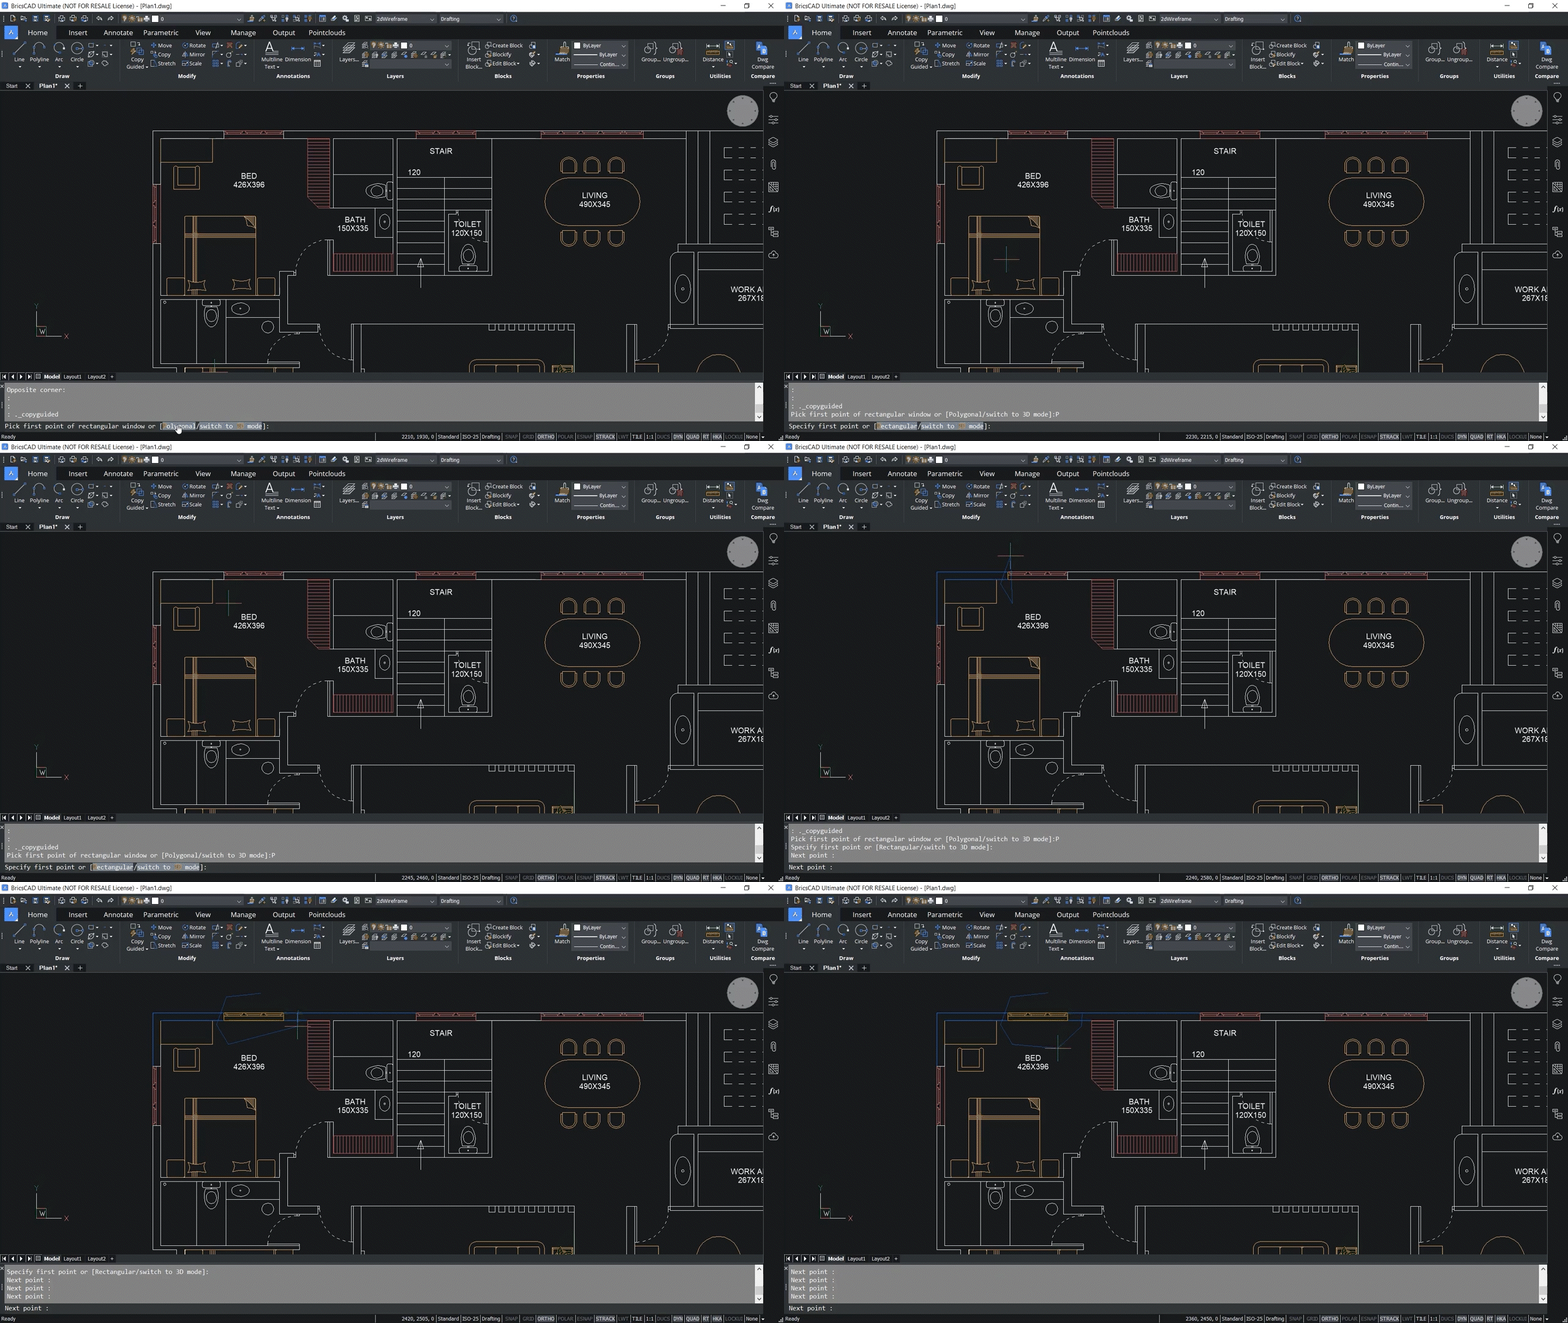
You can also select entities with the COPYGUIDED command using the 'Polygonal' option. To do this, click the 'Polygonal' button at the bottom of the screen, as seen in the example below. Then you can select the corners of the polygon, and entities captured within this polygon will be selected and have corresponding guide curves.
Using the MOVEGUIDED Command
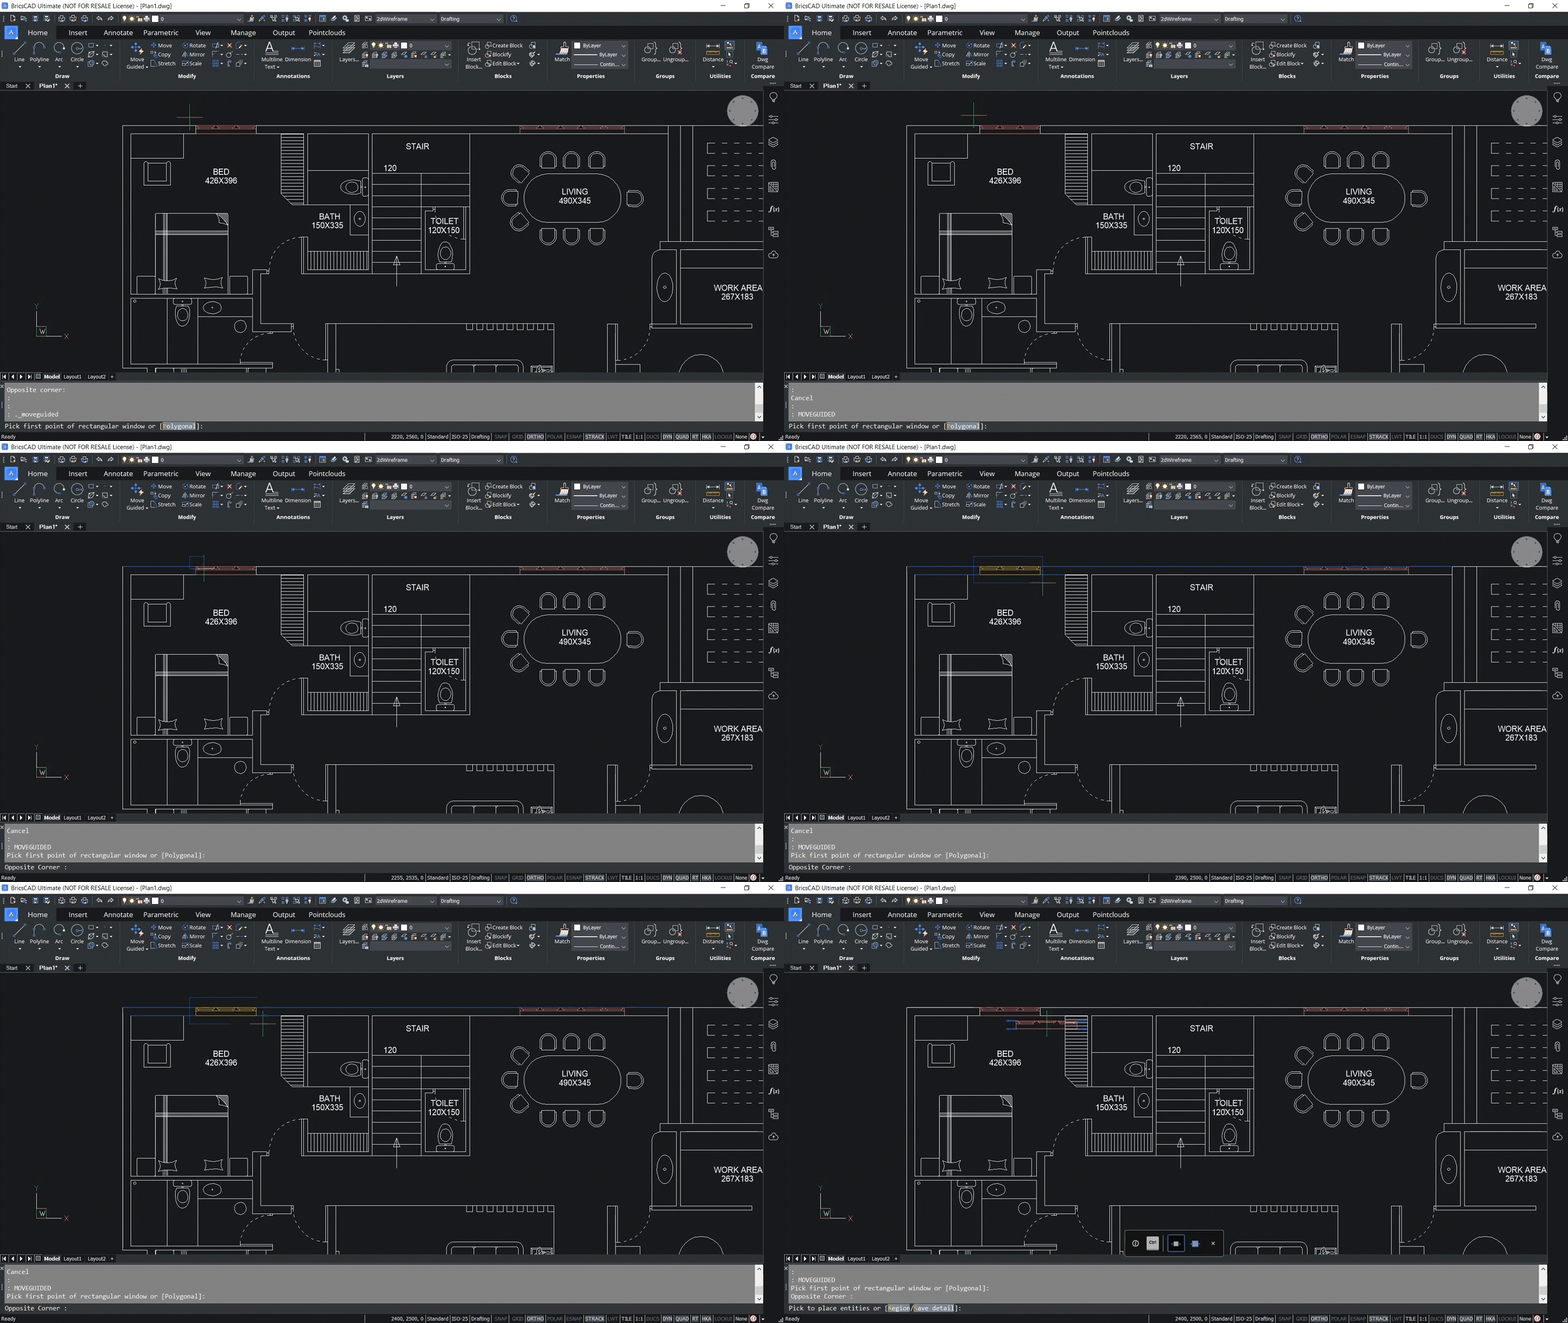
The MOVEGUIDED is similar to the COPYGUIDED command, except you are moving an entity instead of copying it. You get the same guide curves to help fit the entity in its new location. You can activate the 'Move Guided' command by the ‘Copy Guided’ button in the ‘Home’ tab and choose ‘Copy Guided’ from the dropdown menu, as you can see in the example below.
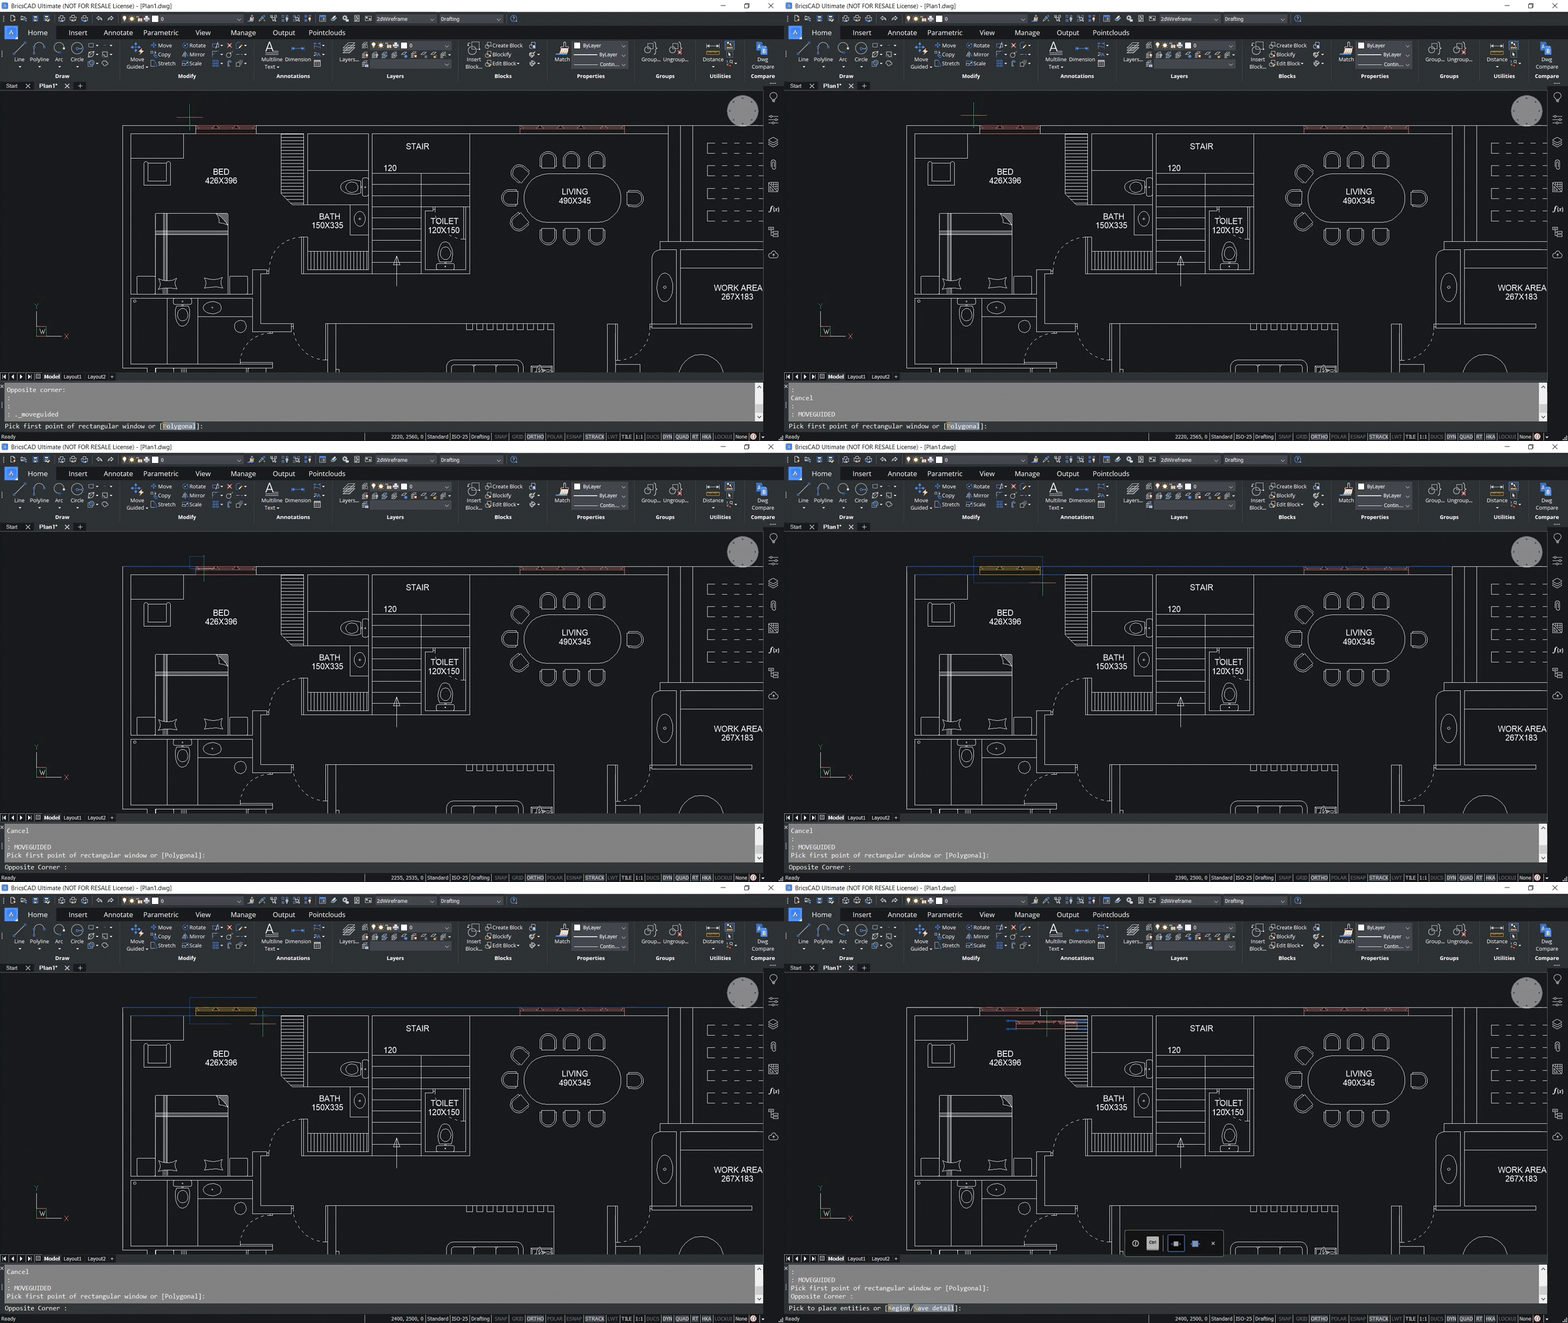
You can select the entity to move in the same way you selected an entity to copy by clicking and dragging around the entity. You see an entity with guide curves in the example below.
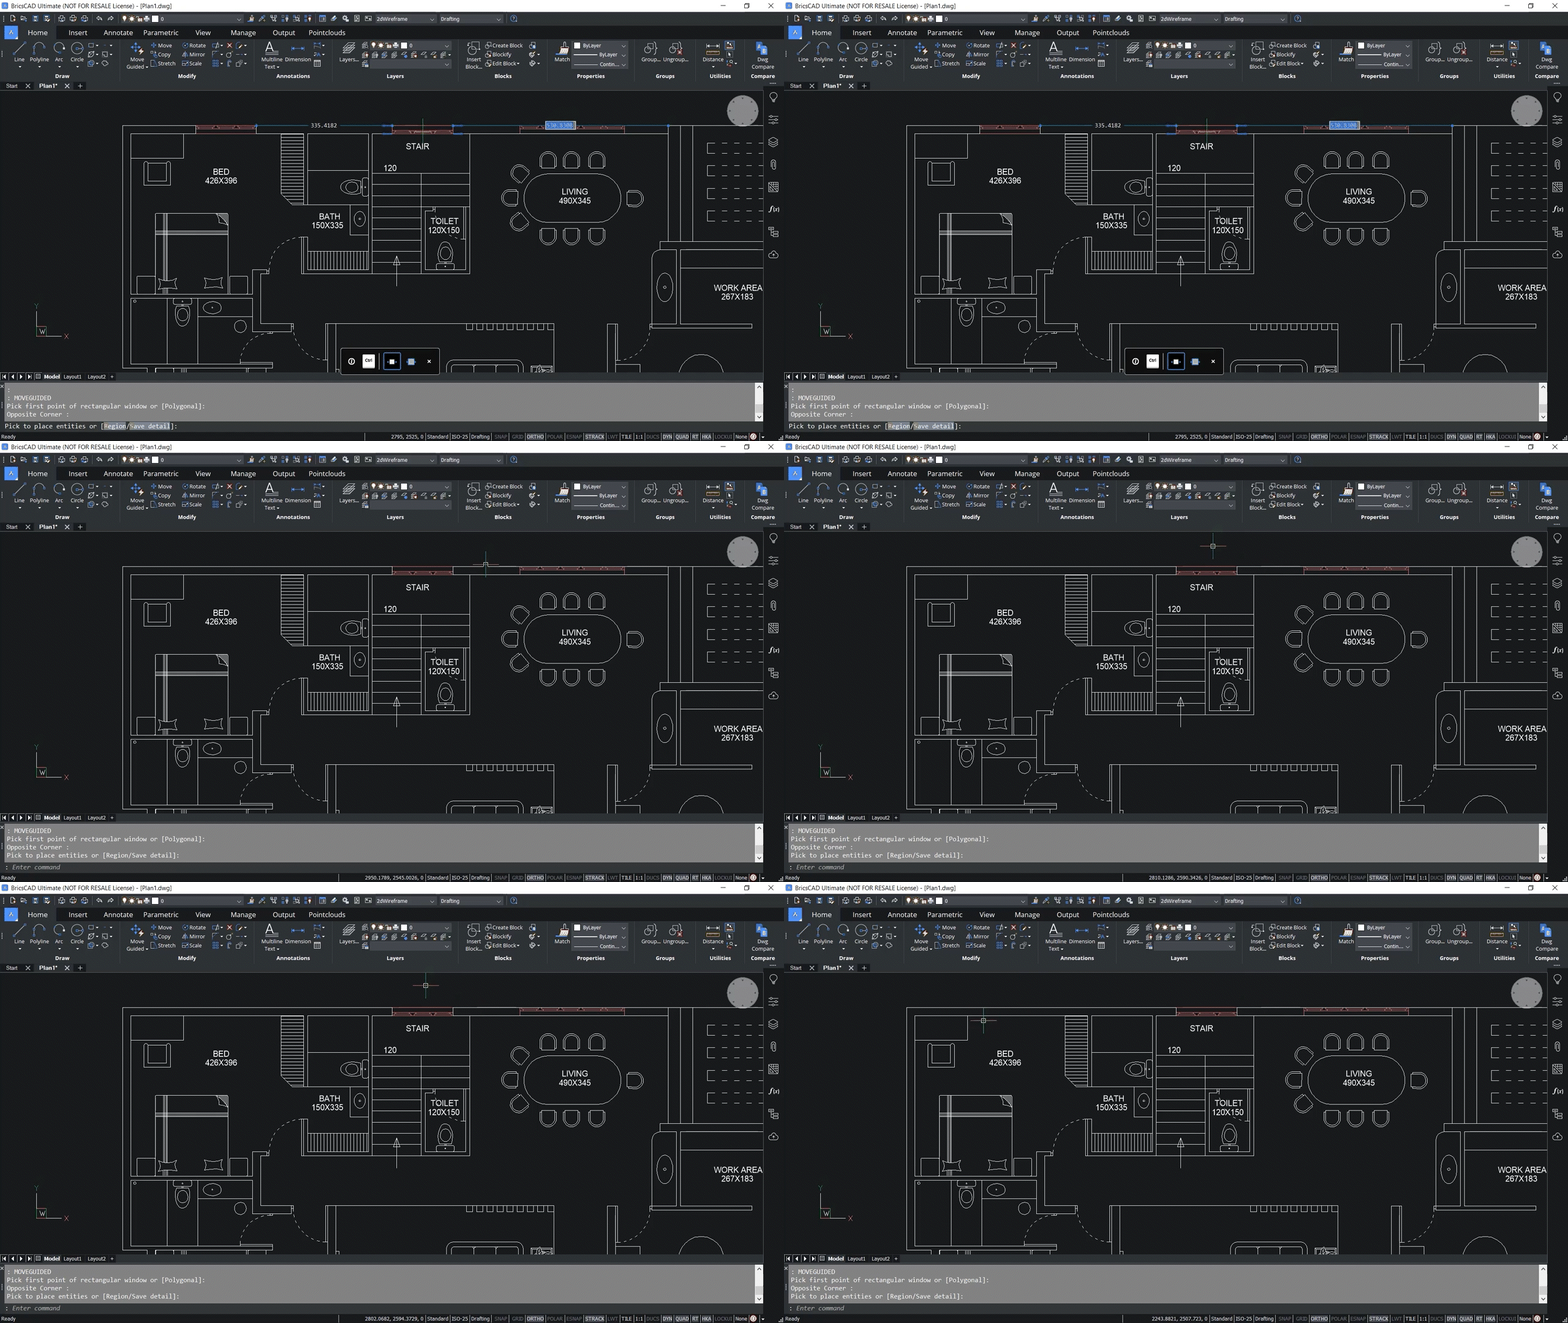
You can place the moved entity into a location that will fit its geometry using the guide curves, and once you place it, the location you removed it from will be automatically repaired, as you can see in the example below.
In most ways, the COPYGUIDED command works just like the MOVEGUIDED command.
Now that you have the COPYGUIDED and MOVEGUIDED commands, you can start using these powerful commands in your 2D drawings and 3D models to give you more flexibility and save you time and effort. For more details on how to use these commands, you can watch the full video of the tutorial here.
