Within BricsCAD V22 are components called parametric blocks. These blocks contain not only pure geometry but also metadata, which affects the geometry (e.g., the block's size and visibility). The metadata of parametric blocks controls the way the components of the block behave. This feature is extremely helpful as it allows you to modify the size and appearance of a parametric block without editing the block definition.
In this guide, we’ll take a look at how you can work with 2D parametric blocks, using the advanced features that BricsCAD V22 offers for creating these blocks.
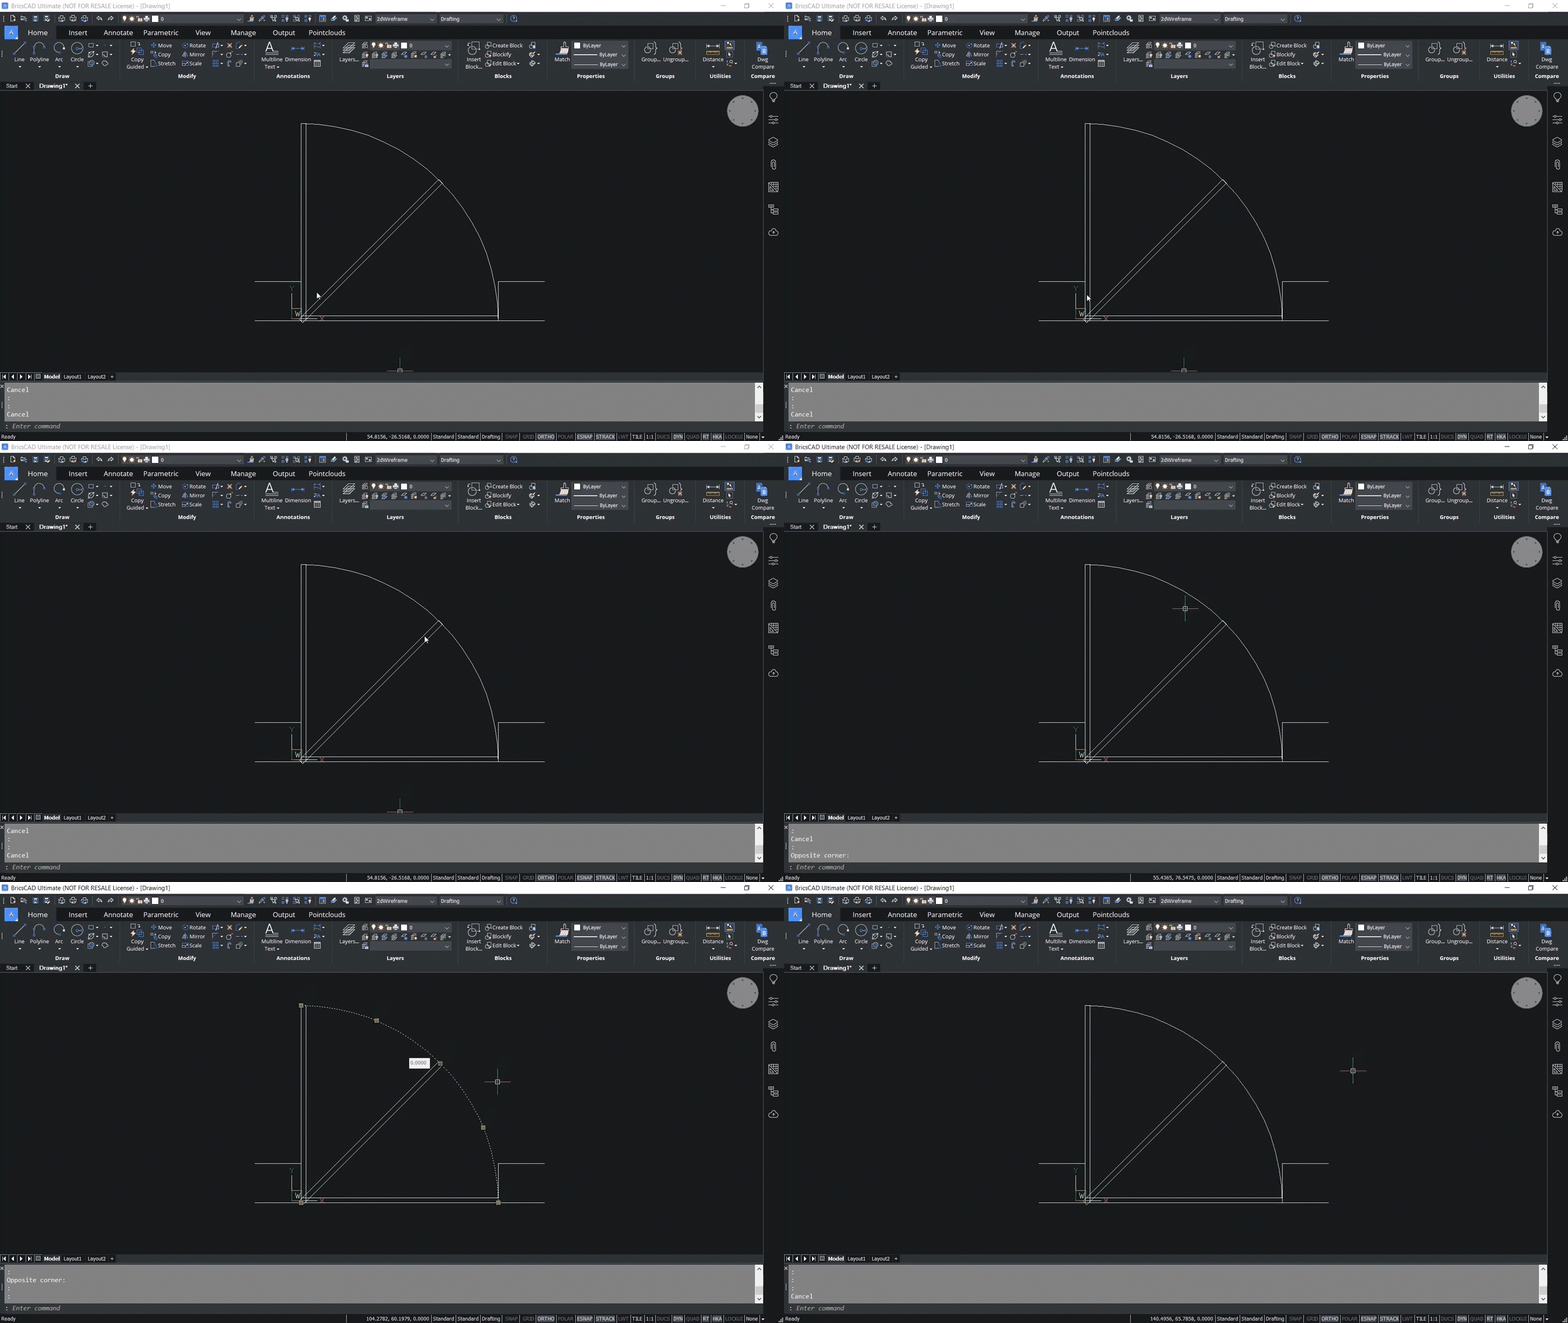
To start, we will work with a drawing of a door. In this drawing, you can see the different positions of the door represented in one drawing (e.g., the parametrized door). Notice the open state, the half-open state, and the closed state are all represented. Additionally, an arc is used to indicate the door swing direction, and adjoining lines indicate the wall thickness.

With the drawing ready to go, use the Block command to block the drawing. Click on the Insert tab and select Create Block.
With the Block Definition box open, name your block. Next, click on Pick Point to choose which point will act as the insertion point.
Next, click Select Entities and choose all the entities of your door, and hit enter. Once you hit enter, your drawing will be converted into a block.

Double click on this block to open the Create or Edit Block Definition interface. Alternatively, you can use the BEDIT command to reach the same interface. First, we will work on setting our fliplines.
Once here, select the Parametric tab at the top of the ribbon and click on the Parametric Blocks panel within this tab. From here, click the button Flipline.
Now you will draw a vertical line on the center of the block. This will create a line that is added to the fliplines layer, visualized by a green line. Next, give a name to the flip parameter; in this case, Horizontal.

Once again, click on the Parametric Blocks panel and select the Flipline button. To define your vertical flipline, you’ll be asked to specify the start of the line. Shift + Right Click and click on Snap to Middle of 2 Points.
Now you’ll click on your start point and end point, which will then provide you with your mid-point line joining those two points. Finally, you’ll be asked to specify your endpoint, which in this case is above your drawing of the door. You’ll call this flipline Vertical.

Next, you’ll define your alignment parameter. To do so, go to the Parametric Blocks panel and select the Reference Curves button.
From here, you’ll be asked to select your reference curves. In this example, we’ll select the wall lines to the right and left of the door. Once these are selected, simply hit enter and click on Accept.

The reference curves are now shown as purple. If you go to your Layers panel, you will see both your fliplines and reference curves shown as individual layers. You can use this to toggle the layers on and off at any point in time.

Next, we will define the visibility parameters. Click on the Parametric Blocks panel and select the Visibility States Panel. This will launch the Visibility States Panel on the left of your screen.
On the panel, click on the plus sign, which will allow you to define a visibility state. In this example, we will name our state Door_State.
From underneath this visibility state, you can click on the +Add state. The first state we will add in this example is Open. Click on +Add state again, and this time we will name the second state Half Open. Finally, click on +Add state one more time and name the final state Closed.

With your three states named, go back up to the Open state and click on the three dots to the right of the name. Choose the Make Entities Invisible option. This allows you to select which entities should be made invisible in this state.
In the fully open state, we choose the appropriate entities to make invisible.
Now, we will do the same for our half-open and closed state. Click on the three dots to the right of Half Open and choose the Make Entities Invisible option. Now, you’ll pick the appropriate entities to make invisible when the door is half-open.
Finally, choose the three dots to the left of Closed and select the appropriate entities to make invisible when the door is closed. At this point, you have defined all of the required visibility states. Before saving the block, change the default visibility to Open. By doing so, when this block is inserted into a drawing, it will be automatically displayed in the open position. Now click on Block Editor and save changes to the block.

With this block saved, let’s take a look at a drawing with lines representing vertical, horizontal, and incline wall lines. With this drawing open, click on the Insert tab and select Insert Block.
Using the file name for your parametric block, hit OK. This will allow you to place your parametric block into your drawing with your cursor. You will note that your door block will now align with the wall, and as you move your cursor, the door will flip respectively, based on where your cursor is aligned.
In this example, we will add our doors facing both inward and outward to showcase how your parameters are put to work. Not only that, but as you click to place your doors, you’ll notice that automatic trimming is taking place.

Next, to see the feature in full action, go to your Layers panel and turn off the flipline and reference curves layers.
Now, we’ll test out the function of our parameters further. Select a parametric door block and click on the Properties panel.
Here, under Parameters, you will see various parameters defined in this parametric block. From this panel, you can flip the door in any desired direction, vertical or horizontal, as defined. You can control the door state to be opening, closing, or in a half-open state. Note that you can even select more than one block at a time and change the parameters via this panel simultaneously.

Now, let’s dive back into our parameters. Return back to the drawing of the door, and we’ll take a look at the lines indicating the wall thickness, in this case, 20 centimeters. From here, we are going to block the drawing again. Click on the Insert tab, Create Block, and name the block Door Parametric. Then, you’ll pick the midpoint in the wall thickness lines as the insertion point, and you’ll select all the entities and hit OK.

Now, double-click on the block and hit OK to open the block editor interface. Remember, another option for opening this interface is to use the BEDIT command.
Head back to the Parametric tab, and under Parametric Blocks select reference curves. Now, we’ll choose the wall thickness lines as our reference curves. From here, you’ll click on Parametrize from the command line box.
The Parametrize option automatically adjusts the gap between the reference curves when this block is inserted into a geometry.

Next, we will apply a 2D geometry constraint on these entities called the Coincident constraint. This will make sure that all the coincident entities in this block will remain coincident.
From the Parametric tab, click on the Coincident button. Next, in the command line box, click on the Autoconstrain option.
Now you’ll be asked to select the entities. In this case, select all the entities on your screen and hit enter. Immediately, you should see the coincident constraint symbols on your block. Click on Block Editor and select Save Block.
To see this new parametric block in action, we’ll take a look at inserting it onto a wall layout. From the wall layout drawing, select Insert Block. Select the Door Parametric block and hit OK.
Now, as you move your cursor around, you’ll see that the block will be aligned automatically with the wall because of the reference curves you have defined. Simply click, and it will snap into place.

As an example, we will also insert the door onto a wall with the incorrect thickness. While the door snaps into place, you will notice it creates an error.
You can eliminate this error by applying another constraint to the two entities to ensure they always remain perpendicular. Start by undoing the insert command. Then double-click on your block to open the Block Editor and click OK. Toggle back to the Parametric tab and choose the Perpendicular constraint button. Now set your entities and hit enter.
Toggle back to Block Editor and click Save Block.
Now going back to the wall layout, we’ll perform the same insertion on the wall with the mismatched thickness. With the new Perpendicular constraint parameters in place, there is no longer an error when the door is inserted.

To learn more about Parametric Blocks, watch our how-to video or download a free trial of BricsCAD V22.

