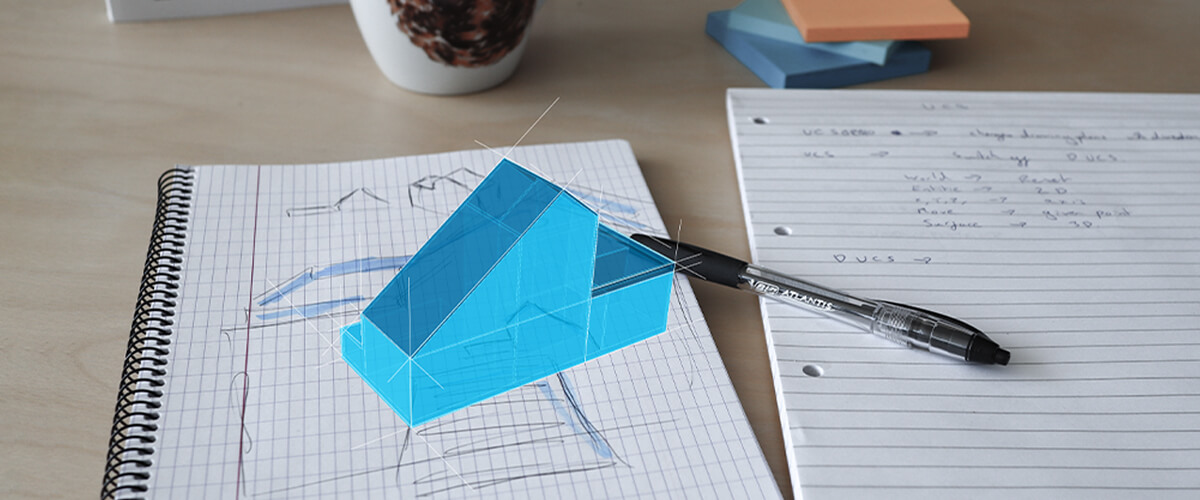
Last time we looked at how to use some of the tools used to create walls, slabs (floors) and simple flat rooves. This time I'm going to show you another way of making a flat roof and one method to create a pitched roof. There are still many, many ways of working with BricsCAD BIM, but this should give you a good starting point.
New Commands covered this time:
This time we will focus on new techniques for commands you already know.
Flat Roof
I created a flat roof by extruding some of the existing walls, tidying up the join and extruding a floor.
How to do this:
- Draw a line across the top.
- IMPRINT the line on the top face of the far wall shown (yellow). Delete the source object?: yes.
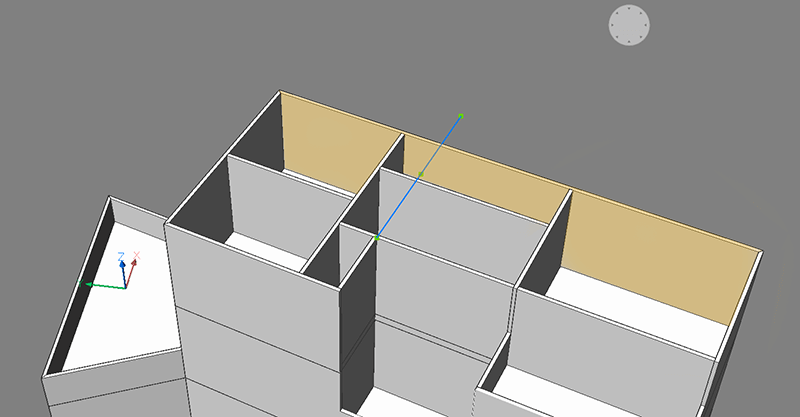
- Select the top surfaces shown (orange).
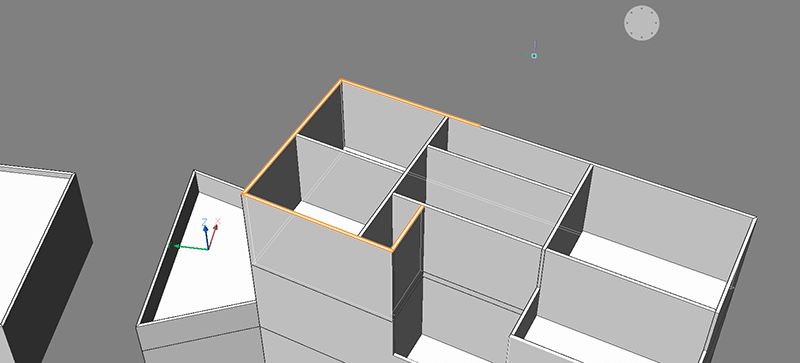
- EXTRUDE up.
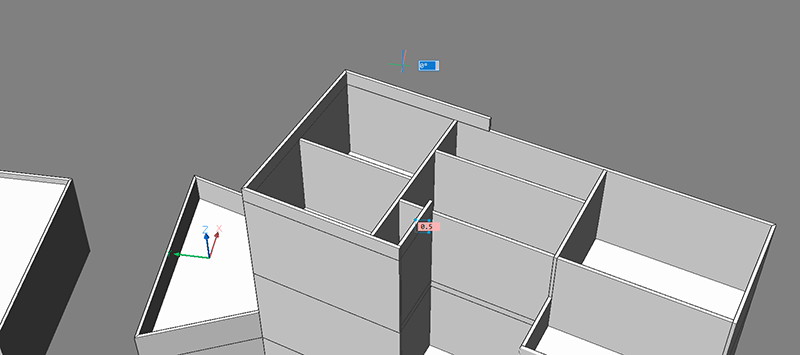
- Use TCONNECT -- 'Connect to nearest' to close the gap.
Note: If you are not sure how to do this, check Part 1.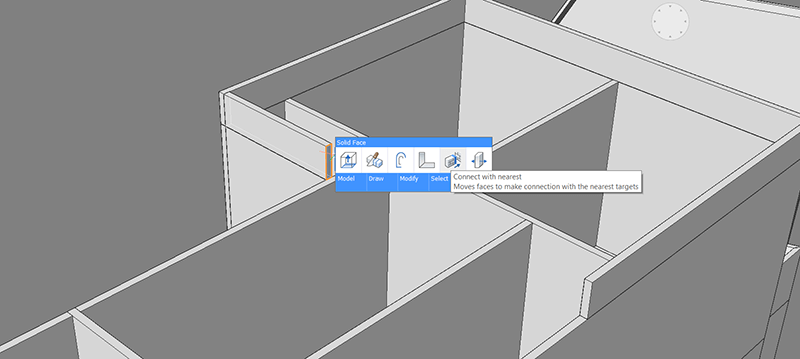
- Draw a RECTANGLE in the gap.
Note: Use DUCS to align the rectangle with the top face of the lower layer walls.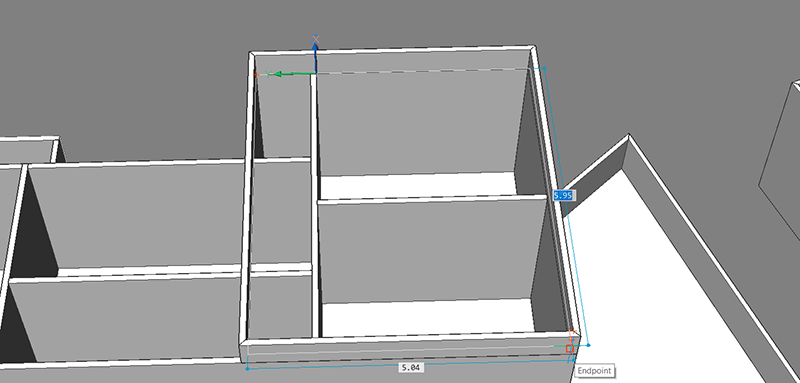
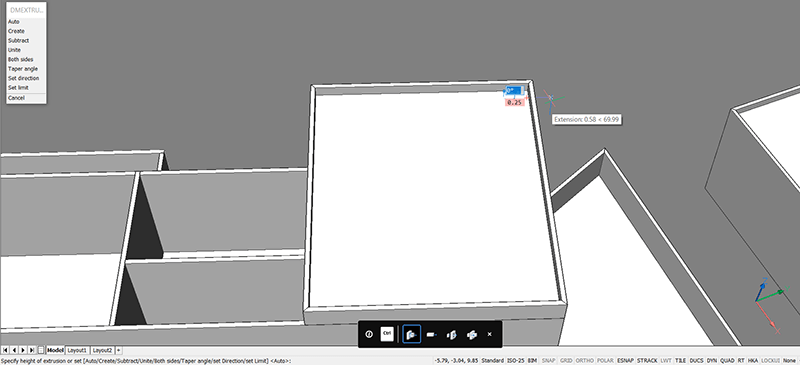
- EXTRUDE the rectangle up to create a flat roof.
Sloped Roof
I used a polysolid to create a base for my roof, edited it and then connected the exterior and interior walls to the roof.
How to do this:
- Use POLYSOLID to draw a roof.
Note: Hit Shift to change the UCS.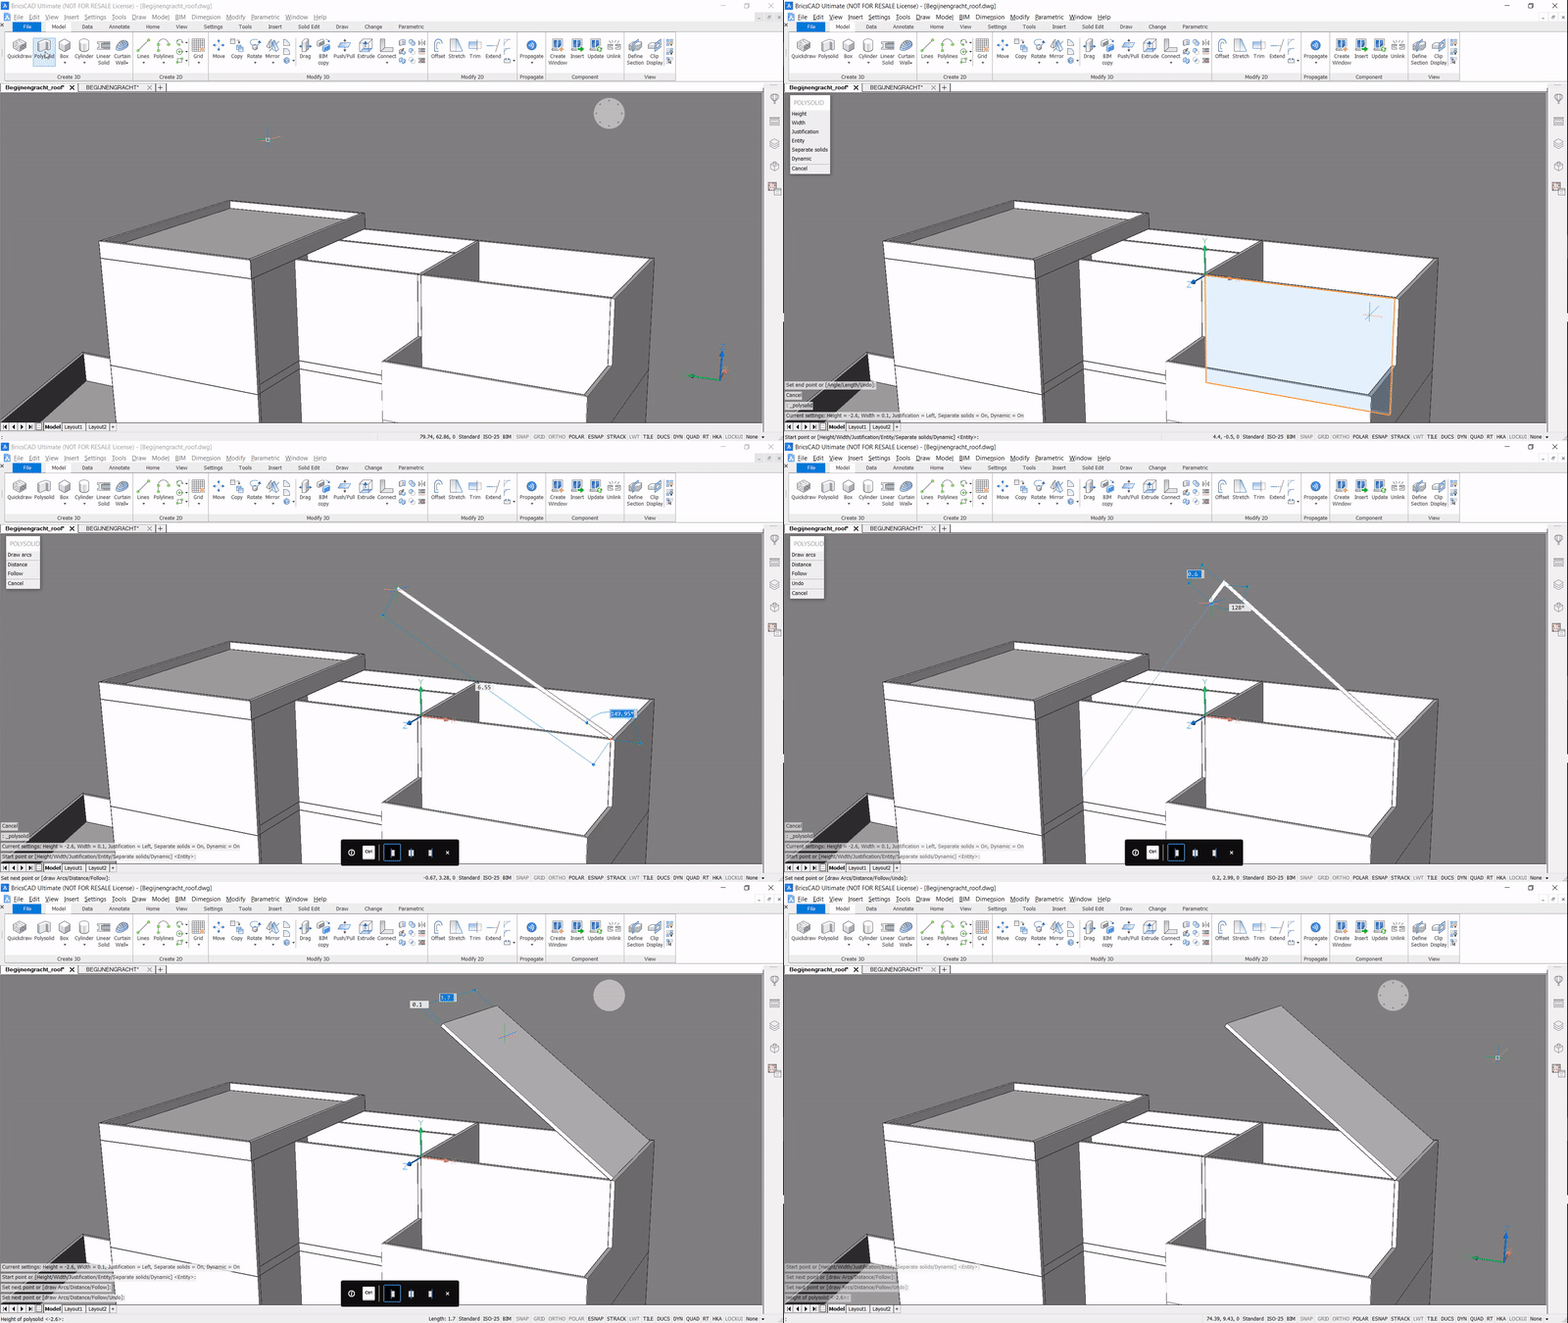
- MIRROR the roof.
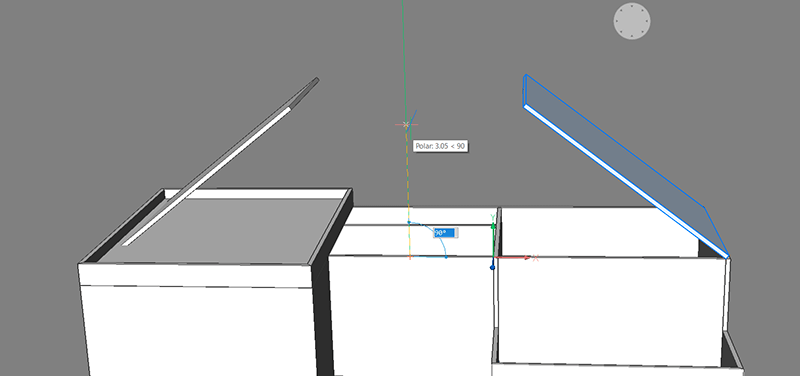
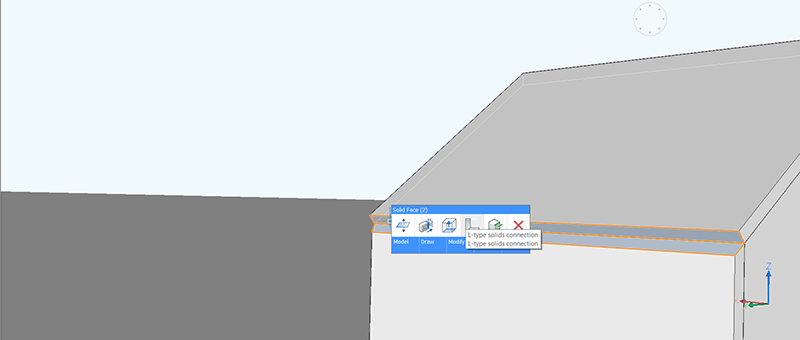
- Use LCONNECT to join the solids.
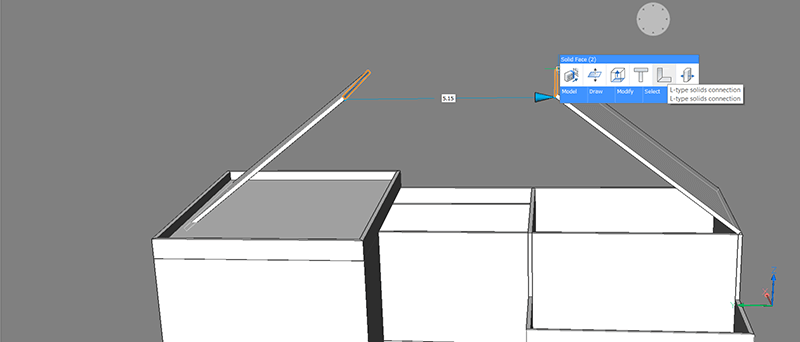
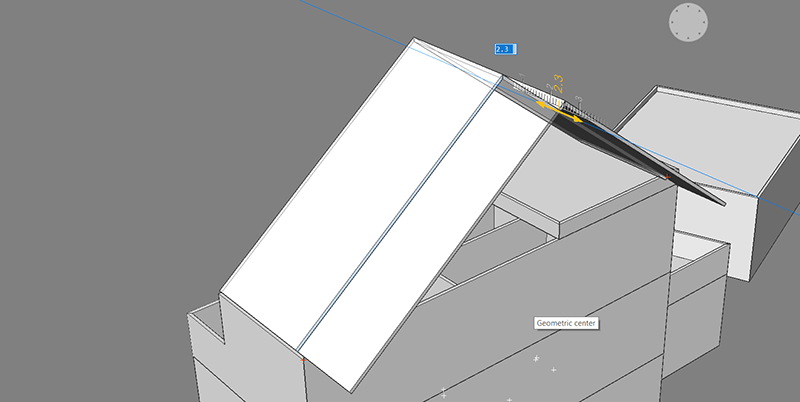
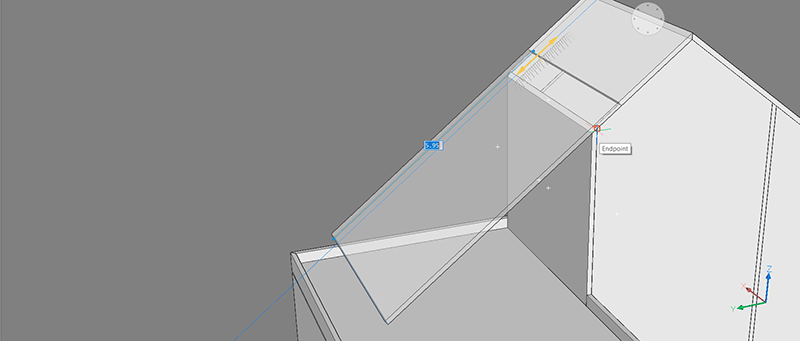
- Use PUSHPULL to set the correct overhang.
- SLICE the walls shown (blue).
Note: If you are not sure how to do this, check part 5.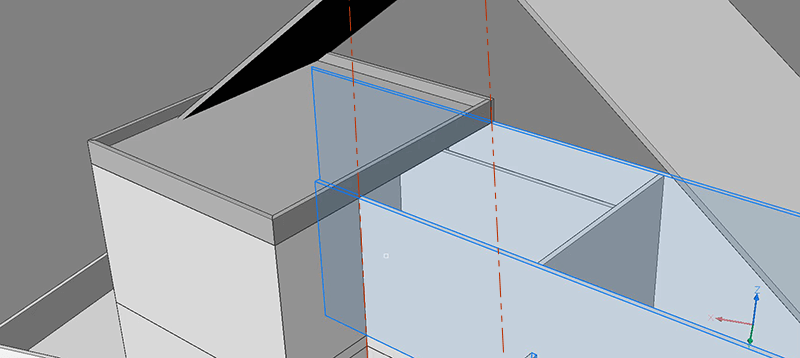
- Repeat
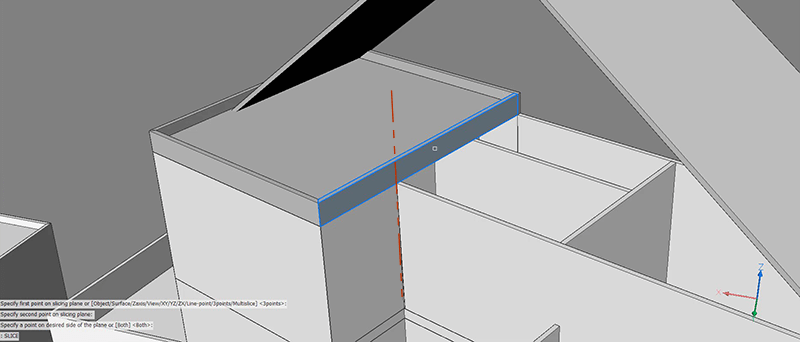
- Select the top faces of the wall solids (orange).
- Connect to Nearest.
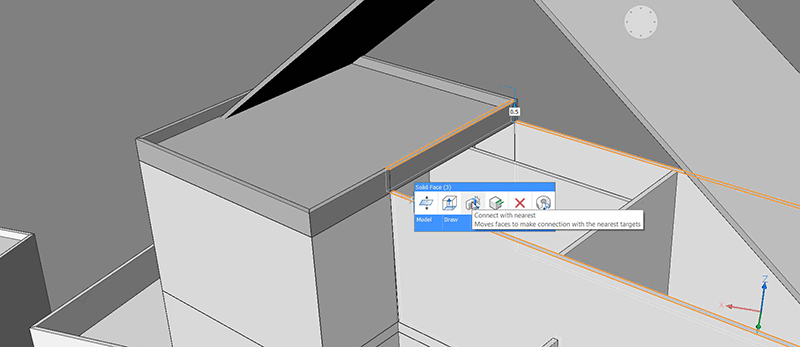
- Shorten the overhang of the roof with PUSHPULL.
- LCONNECT to tidy the join.
Finishing up
Use BIMCLASSIFY to assign the appropriate BIM information to the newly created roof: 'BIM Roof'. If you can't remember how, check part 8.

Next Time
Now it's taking shape! Now the building has a roof. Join us next time when we look at how to windows and doors using BricsCAD BIM.
Don't have BricsCAD yet?
Easy to try, easy to buy, easy to own. That's BricsCAD. Try all of our products, for free for 30 days at www.bricsys.com. Freedom of choice, plus perpetual (permanent) product licenses that work with all languages, in all places. You'll love what we've built for you with BricsCAD.
Keep Reading
- Moving from 2D to 3D CAD
- 3D Drawing from engineering plans
- Drawing everything but the kitchen sink
- More Advanced Modeling
- The Shower
- The Sink
- The Toilet
- Walls and Floors
- The Roof
- Windows and Doors
- Create your own components
- Rubber Duck
- Laser-cut puzzle project
Note: This series is intended as a guide to demonstrate how to use different aspects of 3D modeling tools. It may not always demonstrate the fastest way of getting the result. Keep coming back to see if we cover a faster technique at a later date.

