In our Part 1, we talked about automating the installation of BricsCAD using a variety of
command line switches to assist in deploying large quantities of seats. Yet installing the
software is only part of the startup effort since you’ll certainly want to have a standardized
profile that is customized to your unique environment. The good news here is that
BricsCAD makes the process easy if you know a few key pieces of information.
In this installment, we’ll explore how you can use a little bit of AutoLISP code and profile
(ARG) files to get BricsCAD setup perfectly for your users from the very first time they
start the software.
The Concept
Like most any computer program, BricsCAD needs to be configured to operate in your
specific environment. These configuration parameters can be loosely categorized as
follows:
Files and folders. Where files are stored, where to find various device drivers, folders to trust, font locations, etc.
Drivers and devices. Printers/plotters or PDF utilities to print to, device calibration and page setup files, etc.
Variables. A universe of settings that defines everything from dimension styles, to text styles, to DGN translation parameters, cursor settings, etc.
Once you have a single machine setup to your liking, all these parameters may be bulk
exported to a profile (ARG) file that can be subsequently imported into other user’s
machines so that the setup of all machines can be consistent.
Note: If you’re familiar with managing AutoCAD-based tools, you’ll find BricsCAD very, very
similar.
Create the Profile and Export It
Now your challenge is to get BricsCAD all set up the way you’d like your users to run it.
Take whatever time you need to get your test machine perfectly setup before you proceed
to the next steps. After you’ve done your homework here are the steps to follow:
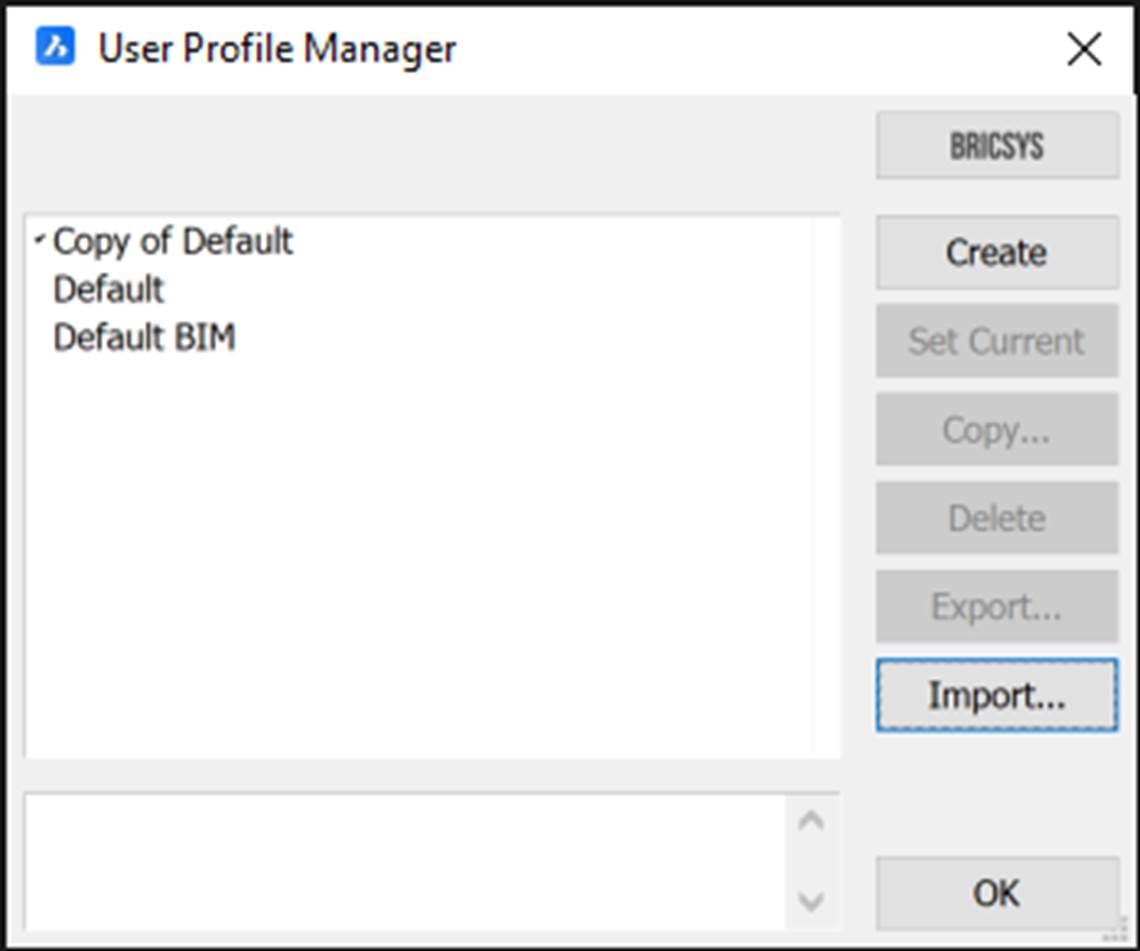
In BricsCAD key in PROFILEMANAGER at the command line and click the CREATE button to create a new profile.
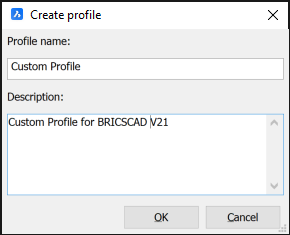
Enter the name and notes for the profile and click the OK button.
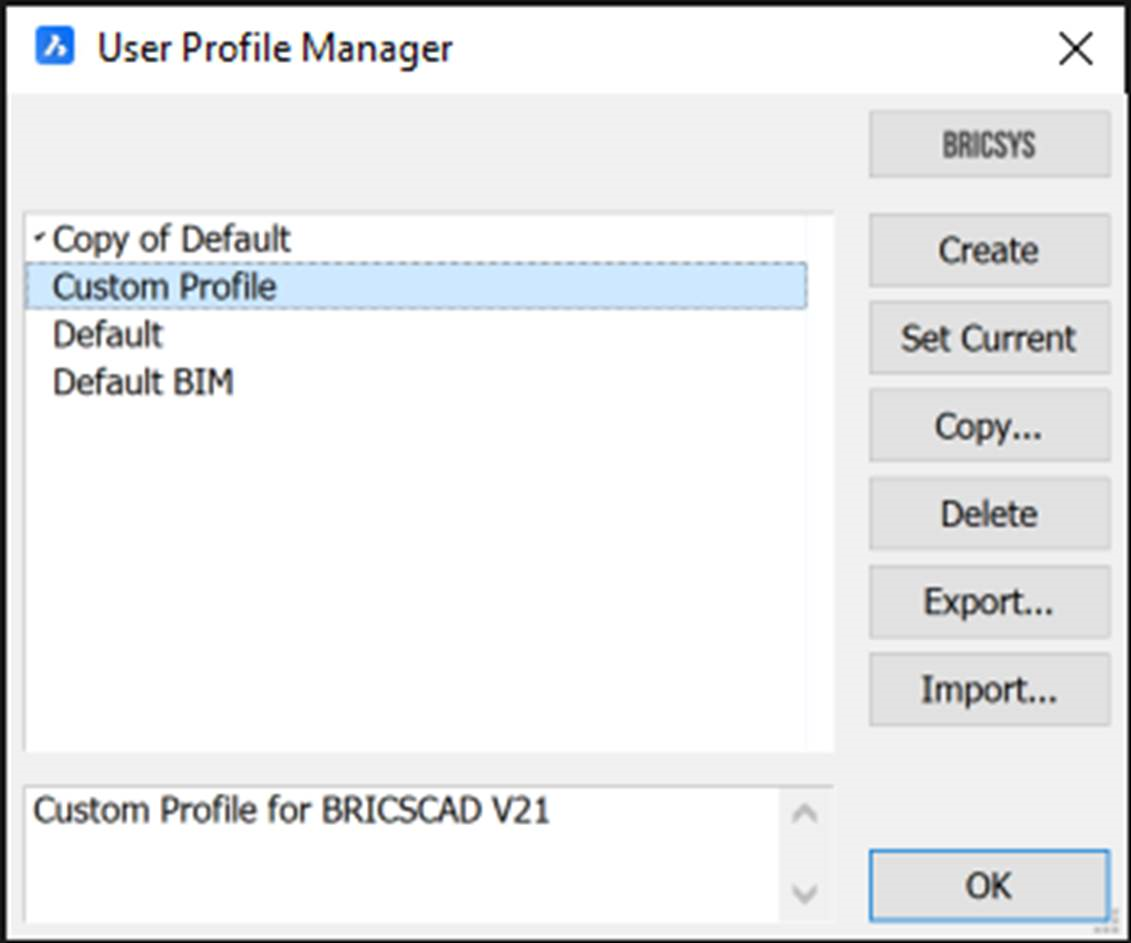
Set the new profile to current and test for proper operation of the system.
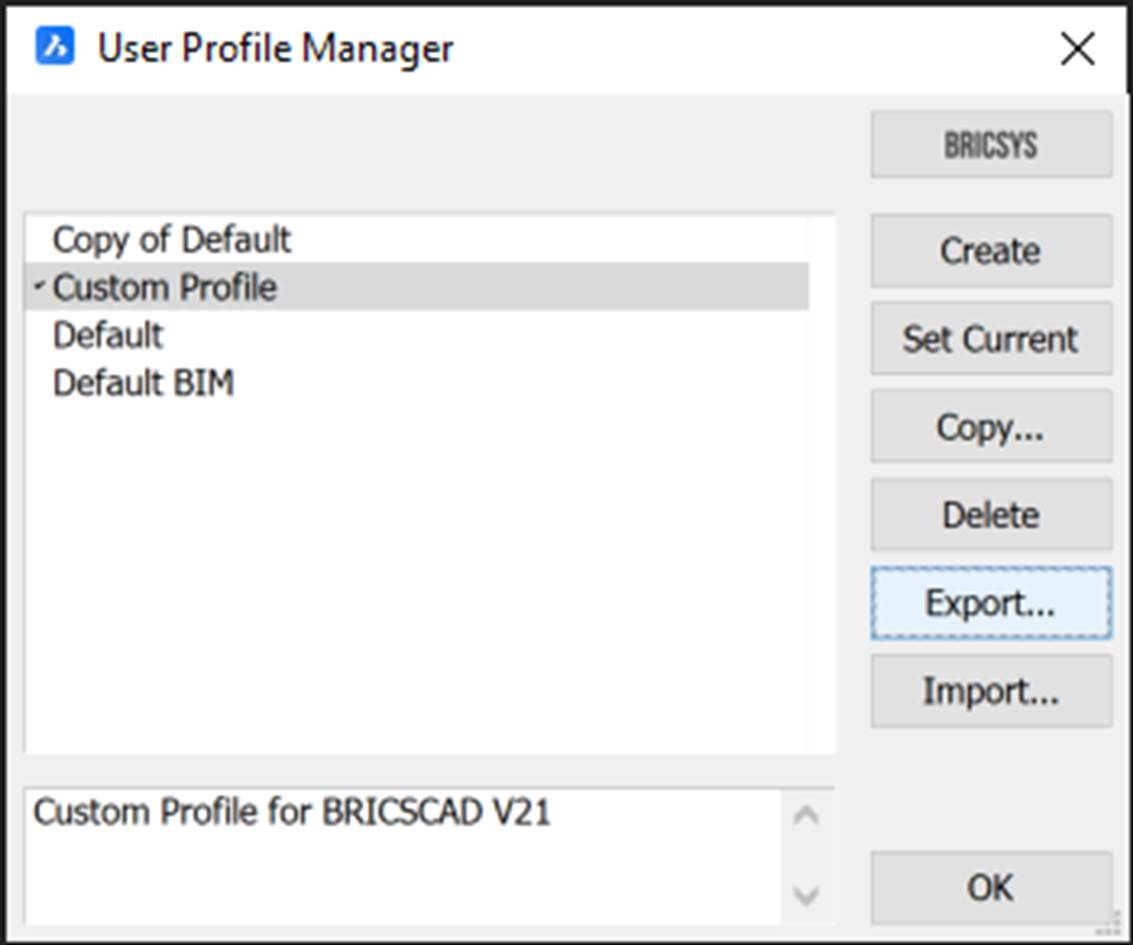
Assuming everything is working properly, key in PROFILEMANAGER at the command line again then click the EXPORT button.
Save the profile to a network location that will be available to all machines you’ll wish to setup later. (Note: I like to use the installation files directory where I keep installer files and batch procedures for consistency.)
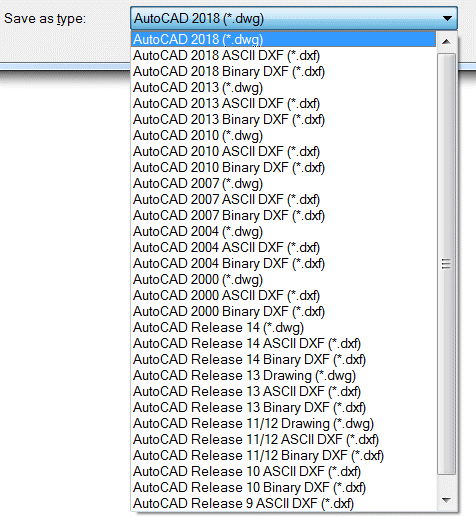
Now you’re ready to start importing profiles to the user machines.
Setting Up to Import
When BricsCAD starts up it automatically looks for an AutoLISP file called ON_START.LSP and executes any code it finds in the file. This automatic load/execute behavior can be used to your advantage to automatically load a profile and set it current if you know the code to do it. Here is that code:
    (vl-load-com)
    ; Load LISP ActiveX support and set some useful variables

    (setq profile_name "Custom Profile")
    ; set the profile name here
    (setq profile_import "O:\\BricsCAD v21 Installation Files\\Custom Profile.arg")
    ; point to your ARG file here, note double \\
    (setq proprefs
    ; gets all profiles from BricsCAD
      (vla-get-profiles
(vla-get-preferences
  (vlax-get-acad-object))))</br>
(vla-getallprofilenames proprefs 'namesarray)
; obtain all valid profiles
(setq names (vlax-safearray->list namesarray))
; create a NAMES variable to search
(if (not (member profile_name names))
; check if your profile is already loaded
(progn
(vla-importprofile proprefs profile_name profile_import :vlax-true) ; if not already there, load profile
(vla-put-ActiveProfile
    ; make the profile active
  (vla-get-Profiles
    (vla-get-Preferences
      (vlax-get-acad-object)
    )
  )
  profile_name
) ; set it current
)
)
There are a few things to mention about the code I’ve constructed:
- I assume you’re comfortable with using a programmer’s editor. Notepad will work just fine for this task if you like.
- This is not casual AutoLISP code nor is it a novice project. I’ve used several ActiveX controls to access the BricsCAD application environment and the syntax for this program is extremely specific.
- Your names and paths will vary. Be sure you input your precise ARG file name and path and that you get the exact profile name.
- Everything matters syntactically. All spaces, \, “ marks and parenthesis do indeed matter.
- You won’t scuttle your system if you mess up. The program may look like dangerous work, but it won’t do any harm if it doesn’t run correctly so feel free to keep trying until it works.
Testing it Out
Now all you have to do is place the ON_START.LSP file in BricsCAD’s support directory – you can find this using the SETTINGS command and looking under Program Options / Files.
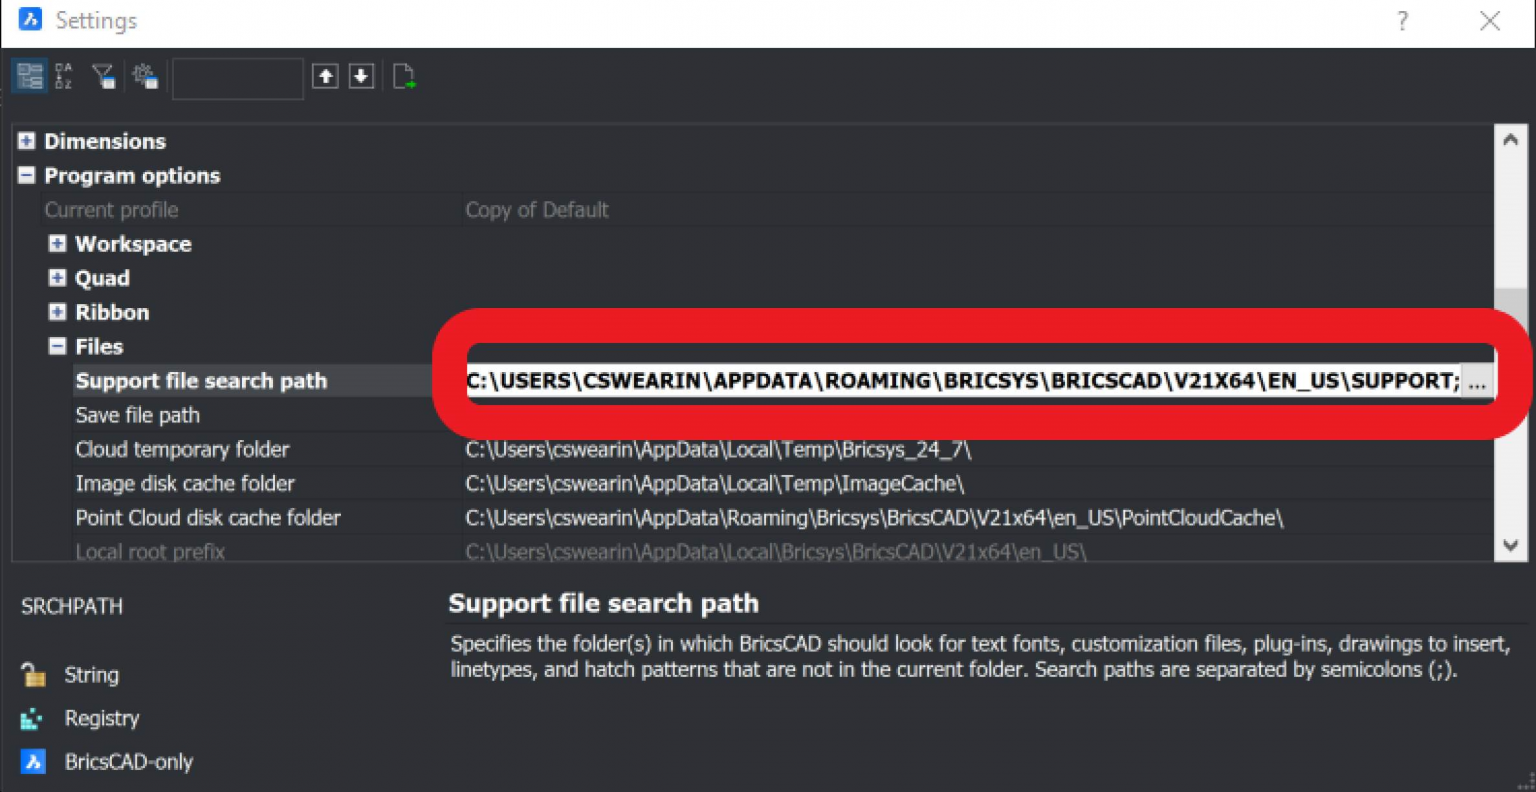
Now simply exit BricsCAD and restart and the CUSTOM PROFILE will load in and set itself to current. That’s it!
And if it doesn’t work look at the command screen – you can find this by hitting F2 – and see what sort of error messages you receive to assist you in finding the error in your code.
Next Steps
Now that BricsCAD is installed and you’ve got it working the way you want with a default custom profile, you’re off to a great start.
If you take a little time to make this work in your environment, you’ll be rewarded with a consistent BricsCAD installation that takes very little time to setup. But wait – here’s the bonus – you’ll also have a basis for further controlling and customizing BricsCAD in your network environment. And that’s the topic we cover in the additional blog posts.
Ready to try BricsCAD?
Easy to try, easy to buy, easy to own. That’s BricsCAD. Try all of our products, for free for 30 days at www.bricsys.com. Freedom of choice, plus perpetual (permanent) product licenses that work with all languages, in all places. You’ll love what we’ve built for you with the BricsCAD V21 product family.


