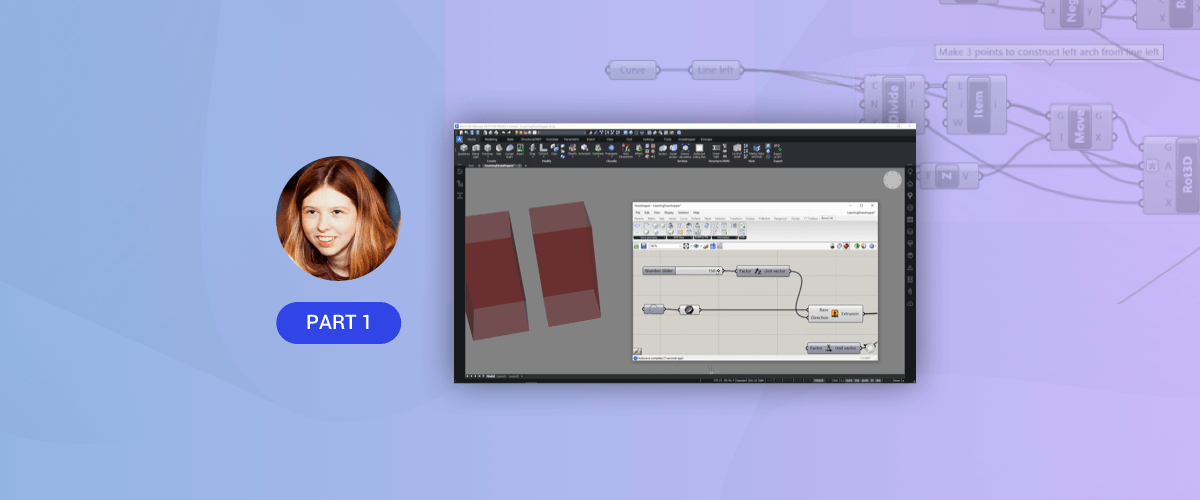
Welcome to the Grasshopper® -- BricsCAD® connection blog post series. Everything you need to know to get started with Grasshopper for BricsCAD BIM from the very beginning.
This series will cover the following topics:
- What is generative design?
- What does a Grasshopper script/workflow look like?
- How does Bricsys use McNeel's Rhino.inside technology to make the Grasshopper-BricsCAD connection?
- What are the advantages of generative design in BricsCAD BIM?
- How to create a parametric patio cover with the Grasshopper-BricsCAD
- The endless possibilities of Grasshopper + BricsCAD
Generative design in Grasshopper
When you hear the phrase 'generative design' or 'parametric design' you might think of free-form flowing models adjusted through input values. This is indeed one of the applications of generative design, but it is so much more than that!

This visual was made using BricsCAD BIM, Enscape and Grasshopper.
Parametric modeling gives you the possibility to adapt your design at any given point in time. This means that you can react to changing criteria throughout the design process. Whether you're designing jewelry, houses, or submarines, you're an architect, a structural engineer or interior designer, knowledge of generative design can help you streamline your creation process!
McNeel's® Grasshopper allows you to take input parameters and transform them into the design of your dreams. All it takes is a little bit of visual 'programming'. However, do not be afraid of the word 'programming'. Grasshopper is suitable for anyone. With a few tutorials and a couple blog posts, you can be up and running in no time!
The Grasshopper workflow
First of all, it is important to know what the Grasshopper environment looks like. Below you can find a screenshot of what we call the 'Grasshopper canvas': this is where your art starts!

Grasshopper environment
You make a script by dragging little boxes, (components) on the canvas and connecting them together. Components are the 'atomic' particles of a Grasshopper script.
Input-components
The first type of components are the input-components. They allow you to input numerical values. This can be done inside Grasshopper directly, or by referencing geometry from the 3D modeler that Grasshopper is running on, for example, BricsCAD.

How to make a numerical input slider by double-clicking on the canvas and typing the domain.

How to input geometrical entities from within BricsCAD.
If you are not yet familiar with component names, you can also search them in the Components Palettes above the Grasshopper canvas.

Native Rhinoceros/Grasshopper input
Once you have found the component you need to simply drag and drop it from the Components Palettes onto your canvas.

Geometrical components in the Ribbon.
Functional components
The second type of components available in Grasshopper are functional-components. These components have 2 small circles (nodes) attached to them: input nodes (left-hand side) and output nodes (right-hand side). You can connect the output nodes of input-components to the input nodes of functional-components.
Functional-components (as the name suggests) take the input and apply a function, e.g. an extrude function (see below). The output data is "sent" from the output node(s). You can link these to more functional component input nodes.
As you connect more components, you create a graph that represents a logical flow on the canvas, from left to right. This flow starts with input-components, goes to functional-components and ends in the generation of geometry.

The scripts starts with an input rectangle and transforms it into a box.
You can go further and for example, duplicate the box to a new location using a move-component.

Duplicating a box.
You can choose to see a preview of the output of each function in your 3D modeler.
It is not necessary to have a duplicate function, it is OK to simply move your box to a new location and keep the old preview on at the same time. You can then input both boxes (the output nodes of the two functions in the script) to one output-component. This component can be a visualization component or a component that adds data to your geometry, such as the BricsCAD 'Bake Building Element'-component.

The BricsCAD 'Bake Building Element'-component in action
Here the geometry has been 'baked' to BricsCAD. This means that we convert the preview geometry to real BricsCAD geometry. You can now manipulate it from inside BricsCAD.
Caution: Once baked, the geometry will no longer be parametric and no further changes can be made using the script. To continue to make changes you must remain in preview, as illustrated below.

Box adaptation through slider ND geometrical input
Grasshopper inside BricsCAD BIM
In this post you have seen, examples of Grasshopper inside BricsCAD BIM, instead of Grasshopper inside Rhinoceros. For those who have used Grasshopper before this might be somewhat confusing. However, all the generative designing principles remain the same.
In addition, BricsCAD allows you to add BIM data to your parametric models! How Bricsys was able to merge the best of both BIM and parametric design, and how you can benefit from this, you will learn in the next blog post. So stay tuned and get ready for some hands-on experience in the next posts!
Get started with Parametric modeling today
Get Grasshopper for BricsCAD BIM
Keep reading:
Enscape for BricsCAD will be discontinued and taken down from the Bricsys App Store on 22/10/2023. All active subscriptions purchased before this date will keep receiving support until the subscription expires. Bricsys will provide a version of “Enscape for BricsCAD” that will be compatible with BricsCAD v24.1 If you have any questions please click the “Contact” button in the App Store and create a Support Request.

